
Introduction
Flower nails are a popular nail art design that adds a touch of beauty and elegance to your fingertips. Creating stunning flower nails may seem complicated, but with a few simple techniques and a bit of practice, you can achieve professional-looking results right at home. In this article, we will explore easy flower nail designs and provide step-by-step instructions to help you create your own gorgeous floral manicure.
Gather Your Materials
Before diving into creating your easy flower nails, it's essential to gather all the necessary materials. Here's a list of items you'll need:

Choosing the Right Nail Polish
The first step in creating easy flower nails is selecting the right nail polish colors. Opt for shades that complement each other and create a harmonious floral palette. Soft pastel colors or vibrant hues can both work beautifully for flower designs. Remember to consider the occasion and your personal style when choosing your nail polish colors.

Prepping Your Nails
Properly prepping your nails is crucial to ensure your flower nail design stays put and lasts longer. Start by removing any old nail polish and gently shape your nails using a nail file. Push back your cuticles and apply a base coat to create a smooth surface for your flower design.

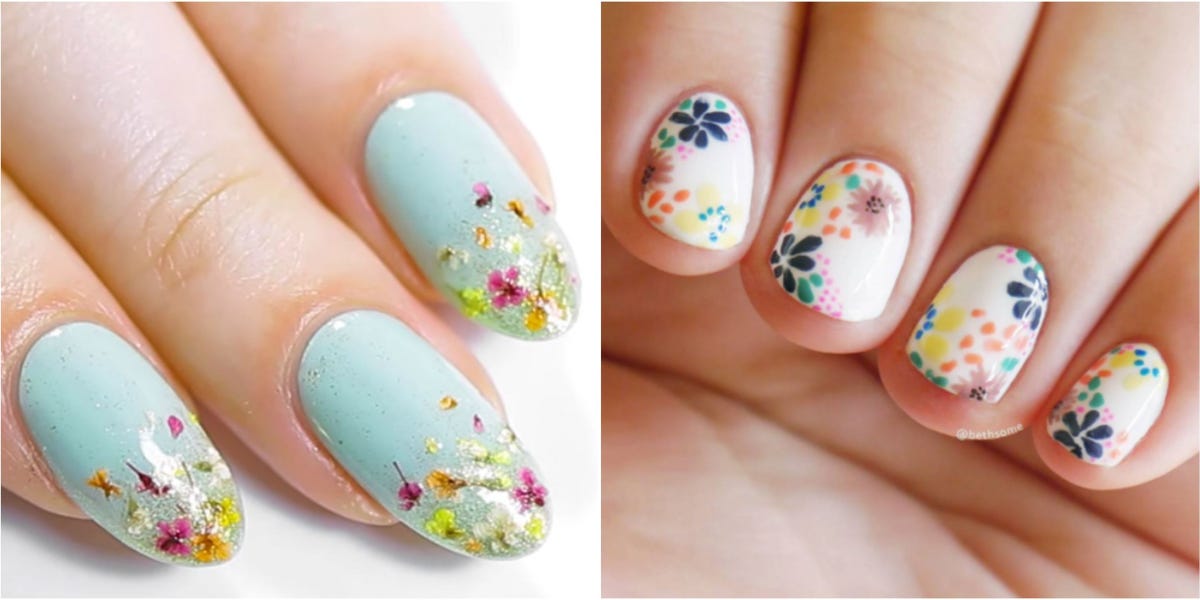
Creating Floral Patterns
Now comes the fun part: creating your flower nail design! There are several techniques you can try to achieve stunning floral patterns. Let's explore a few easy methods:

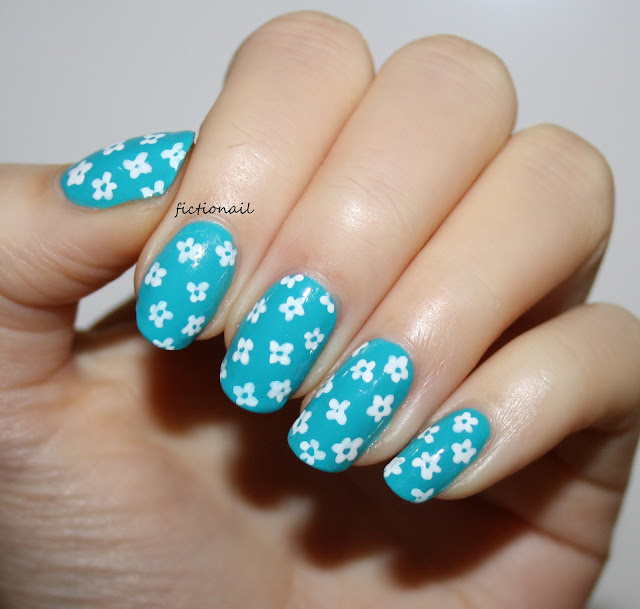
1. Dotting Tool Technique
The dotting tool technique is perfect for beginners. Start by applying a base color to your nails. Once dry, dip the larger end of a dotting tool into a different color and gently press it onto your nails to create flower centers. Then, use a smaller dotting tool or toothpick to create petals around the centers.
2. Stamping Technique
If you prefer a more precise flower design, the stamping technique is a great option. Apply a base color and let it dry. Then, use a special nail stamping kit and select a floral pattern you like. Apply a contrasting color to the pattern, scrape off the excess, and stamp it onto your nails.

3. Water Marble Technique
The water marble technique creates unique and mesmerizing flower patterns. Fill a small cup with room temperature water and drop a few nail polish colors onto the surface. Use a toothpick to swirl the colors gently and dip your nails into the water. The polish will adhere to your nails, creating a beautiful marbled flower design.

Adding Final Touches
Once you've created your flower nail design, it's time to add some final touches to enhance the overall look. Consider adding small rhinestones or glitter accents to the centers of your flowers for added sparkle. Apply a glossy top coat to seal the design and protect it from chipping.
Conclusion
Creating easy flower nails is a delightful way to express your creativity and add a touch of nature to your fingertips. With the right materials and techniques, you can achieve stunning flower nail designs at home. Remember to experiment with different colors and patterns to find your signature floral style. Start practicing today, and soon you'll be flaunting beautiful flower nails wherever you go!
