Introduction
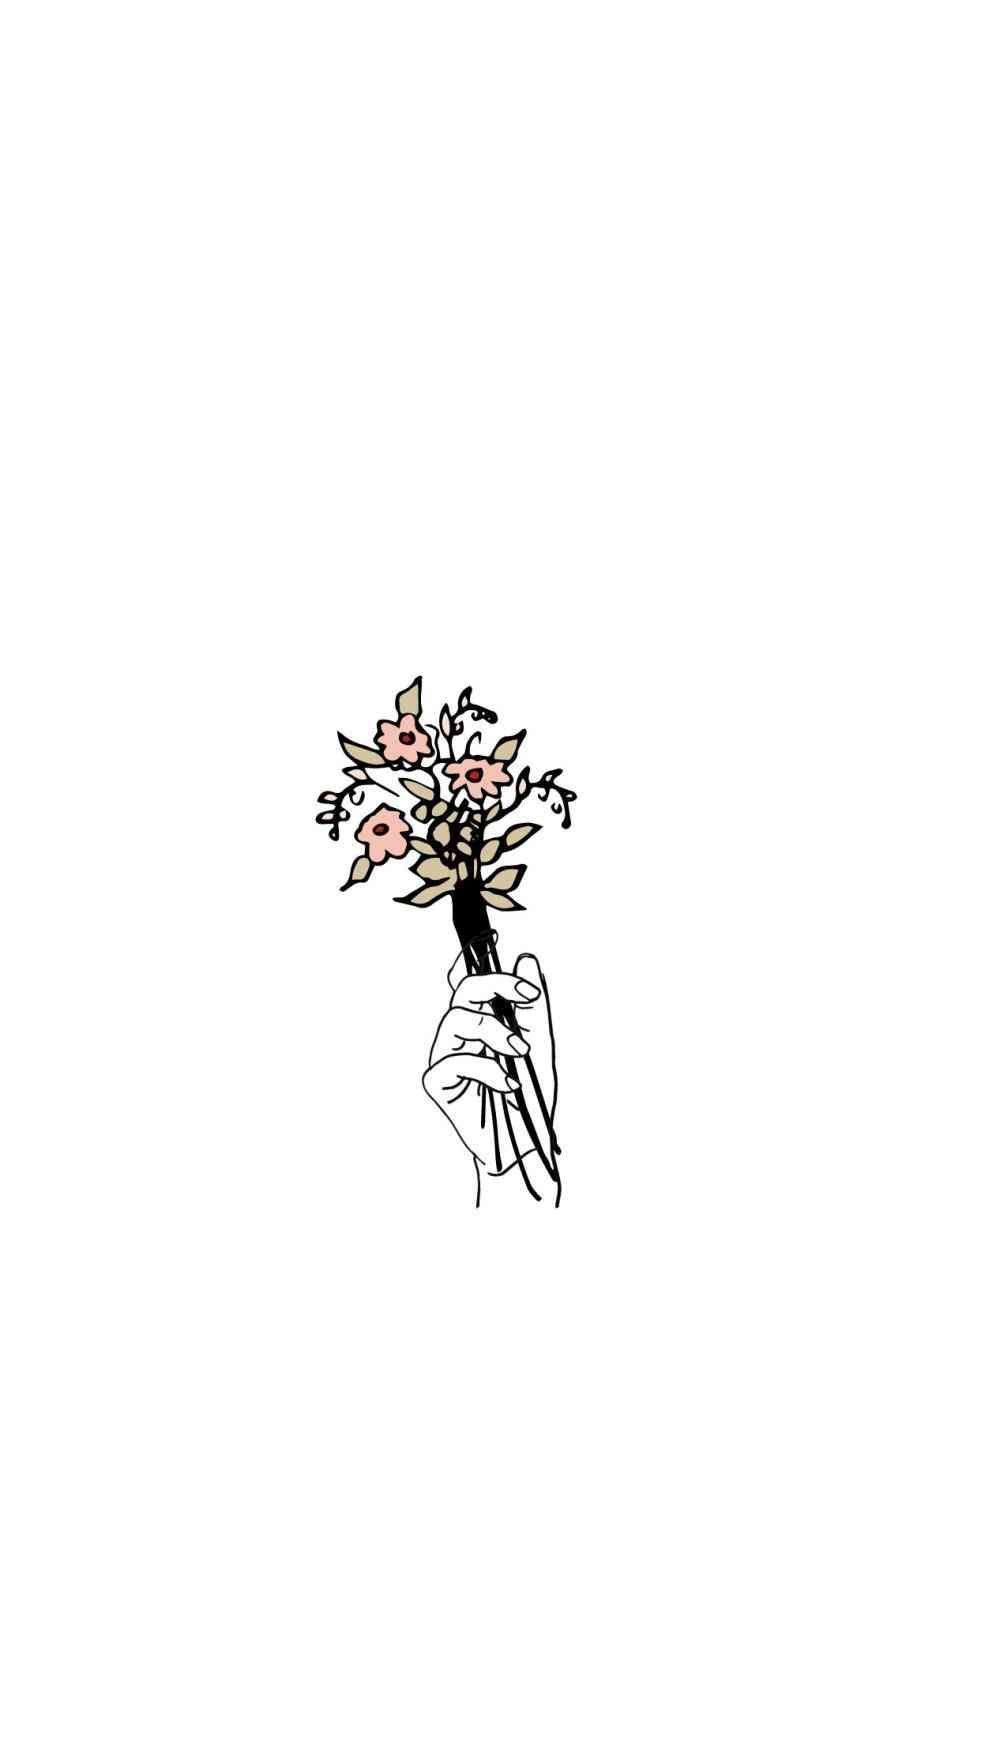
Flowers have always been a popular subject for artists due to their beauty and symbolism. One of the most beloved flowers is the rose, known for its elegance and romantic appeal. In this article, we will explore the art of drawing an easy rose with an aesthetic touch. Whether you are a beginner or an experienced artist, this step-by-step guide will help you create a stunning rose drawing.
Materials Needed
To begin your artistic journey, gather the following materials:
- Pencil
- Eraser
- Drawing paper
- Coloring tools (optional)

Step 1: Sketching the Outline
Start by lightly sketching a small oval shape for the rose's center. This will serve as a guideline for the petals. Then, draw a larger oval around the center, slightly overlapping it. This will be the main shape of your rose. Don't worry about making it perfect; a slightly uneven shape adds to the organic feel of the drawing.

Step 2: Adding Petals
Now, let's add some petals to our rose. Begin by drawing a curved line that starts from the center and extends outward. Repeat this step, gradually increasing the size of the petals as you move outward. Remember to vary the shapes and sizes of the petals for a more realistic look. You can also add some smaller petals in between to create depth and complexity.

Step 3: Detailing the Petals
To make your rose drawing more intricate, add some details to the petals. Start by adding a gentle curve along the edges of the petals, mimicking their natural shape. Then, draw some lines from the base of the petals towards the center to create texture and depth. Don't forget to erase any unnecessary lines from the previous steps.

Step 4: Stem and Leaves
Now, let's give our rose a stem and leaves. Draw a straight line extending downward from the base of the rose. Next, sketch two leaf shapes on either side of the stem, making sure they are connected to it. To add more realism, draw some jagged edges and veins on the leaves. You can also add thorns to the stem if you wish.

Step 5: Adding Shadows and Highlights
To make your rose drawing more three-dimensional, add shadows and highlights. Imagine a light source coming from one direction and shade the areas that would be in shadow. You can use cross-hatching or stippling techniques to create a textured effect. On the opposite side, add some highlights with lighter pencil strokes or white coloring tools.

Step 6: Coloring (Optional)
If you want to add some color to your rose drawing, now is the time! Choose your favorite coloring tools, such as colored pencils or markers, and carefully apply the colors to your artwork. Consider blending different shades to create depth and dimension. Experiment with different color combinations to achieve the desired aesthetic.

Conclusion
Congratulations! You have successfully created an easy rose drawing with an aesthetic touch. Remember, practice makes perfect, so don't be afraid to experiment and try different styles. With time and dedication, you can master the art of drawing beautiful flowers like roses. Enjoy the process and let your creativity bloom!