
Introduction
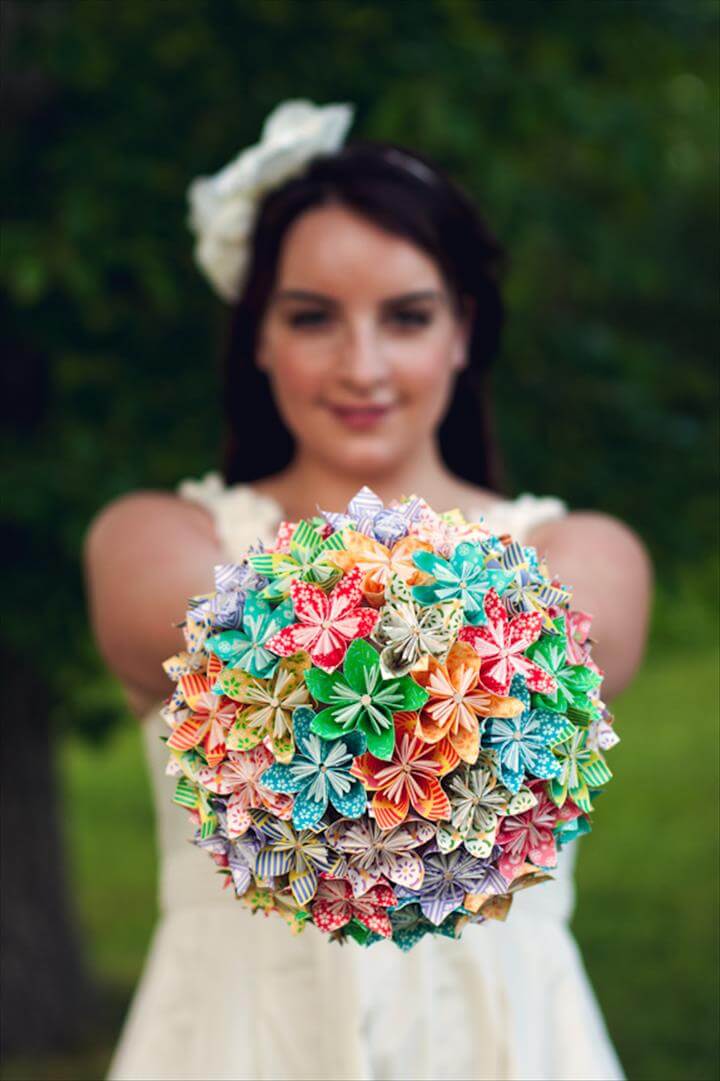
Creating your own flowers bouquet using paper is a fun and creative DIY project that can add a personal touch to any occasion. Whether you are looking to decorate your home, surprise a loved one, or even plan a wedding, paper flowers bouquets can be a cost-effective and long-lasting alternative to fresh flowers. In this article, we will guide you through the process of making your own beautiful paper flowers bouquet.

Choosing the Right Paper
The first step in creating a paper flowers bouquet is to choose the right type of paper. You can either use colored or patterned paper, or even recycle old magazines or newspapers for a unique look. Thicker papers like cardstock or scrapbook paper are recommended for more durable and realistic flowers. Consider the color palette and theme you want to achieve, as well as the size and shape of the flowers you plan to make.
Preparing the Materials
Before starting the actual construction of your paper flowers bouquet, gather all the necessary materials. This includes paper of your choice, scissors, a ruler, a pencil, a glue gun or craft glue, floral wire or wooden skewers, and any additional embellishments you may want to add, such as ribbons or beads. Having everything prepared and within reach will make the process smoother.
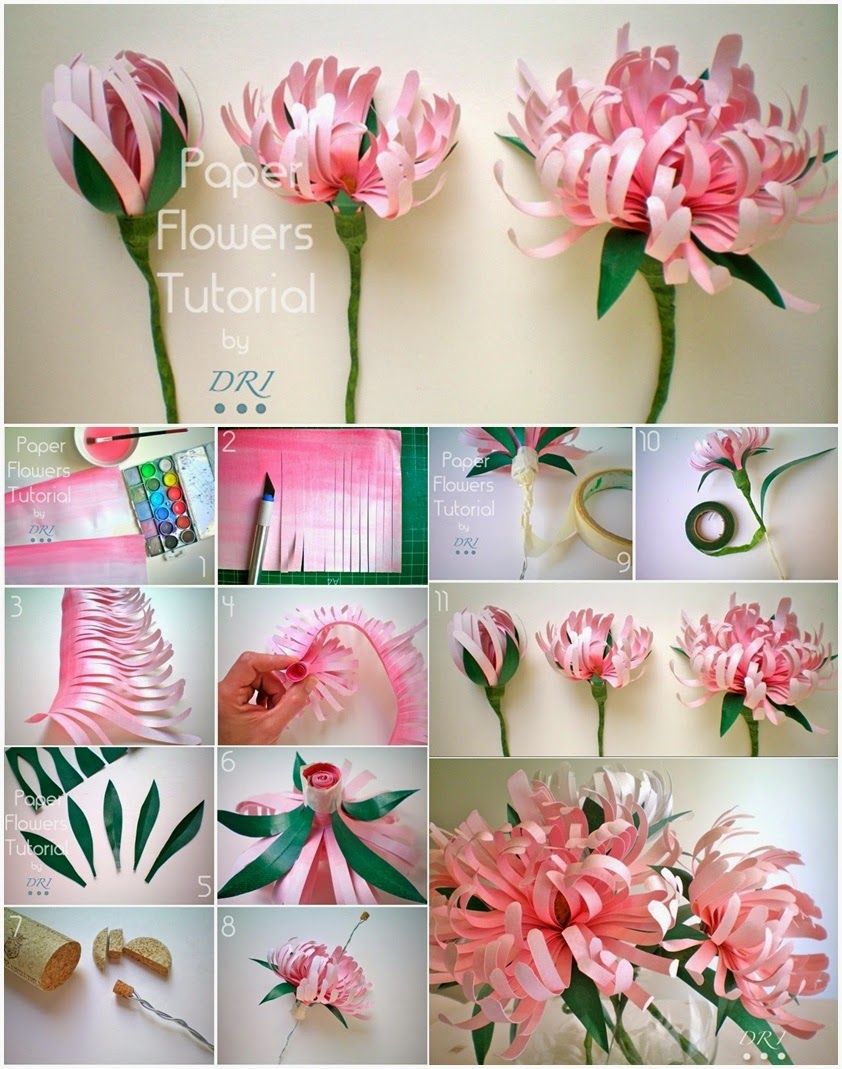
Creating Different Flower Types
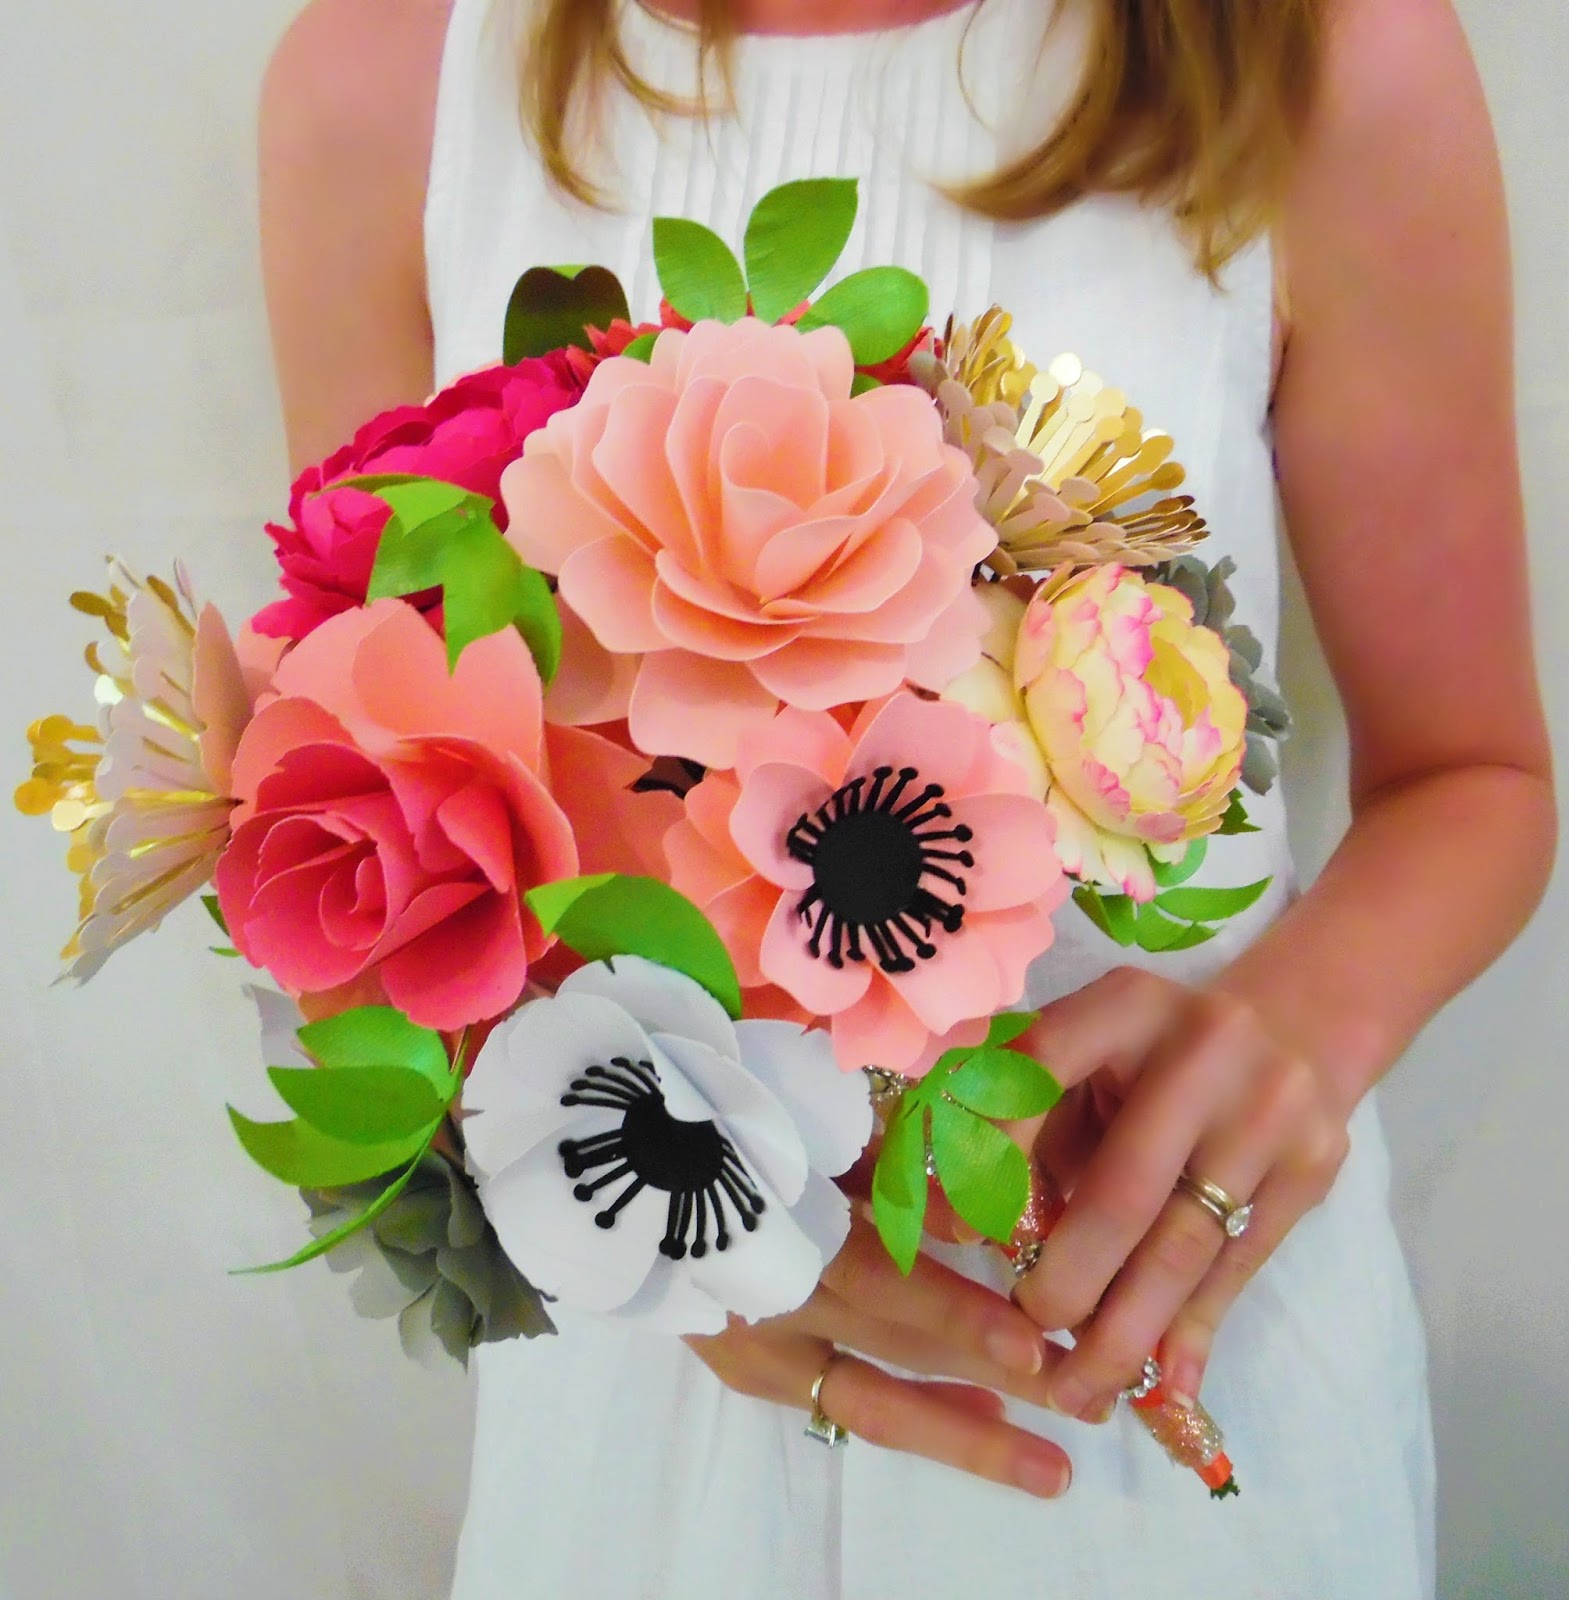
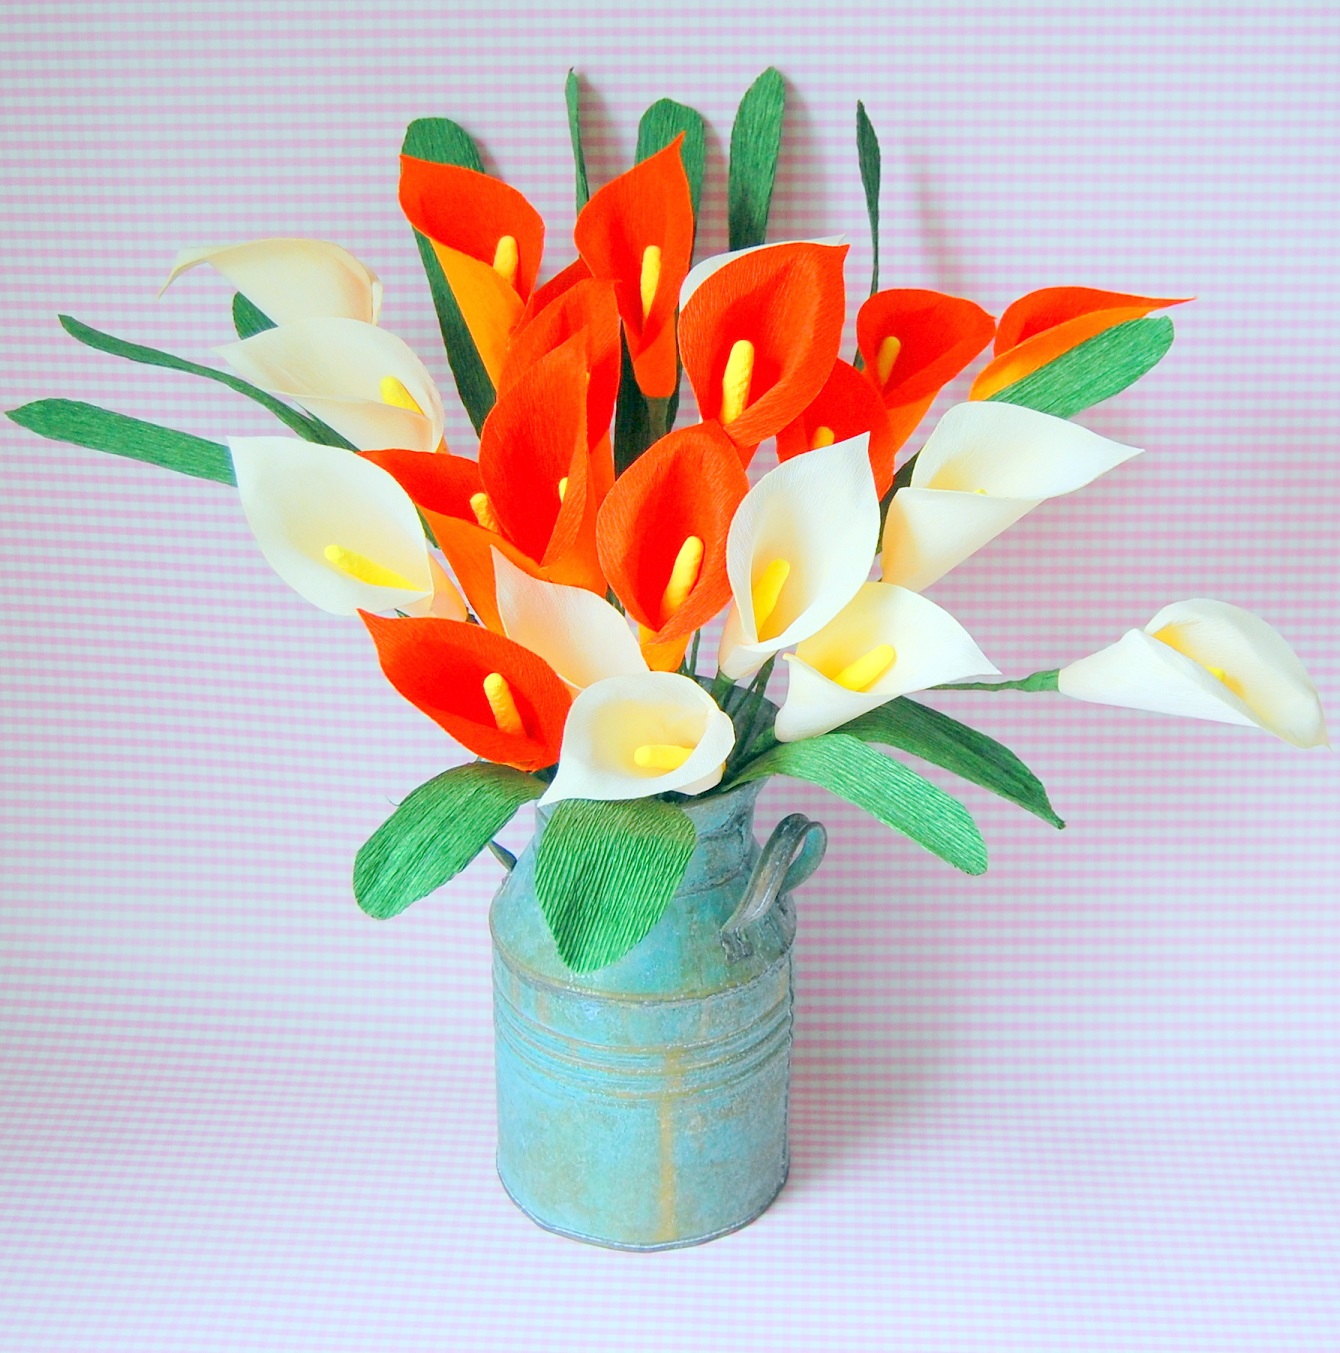
There are various flower types you can create for your bouquet, ranging from simple blooms to more intricate designs. Some popular choices include roses, daisies, tulips, and peonies. Each flower type requires a different technique, so it's essential to follow instructions or watch tutorials specific to the flower you wish to make. Experiment with different shapes and sizes to give your bouquet a diverse and visually appealing look.
Assembling the Bouquet
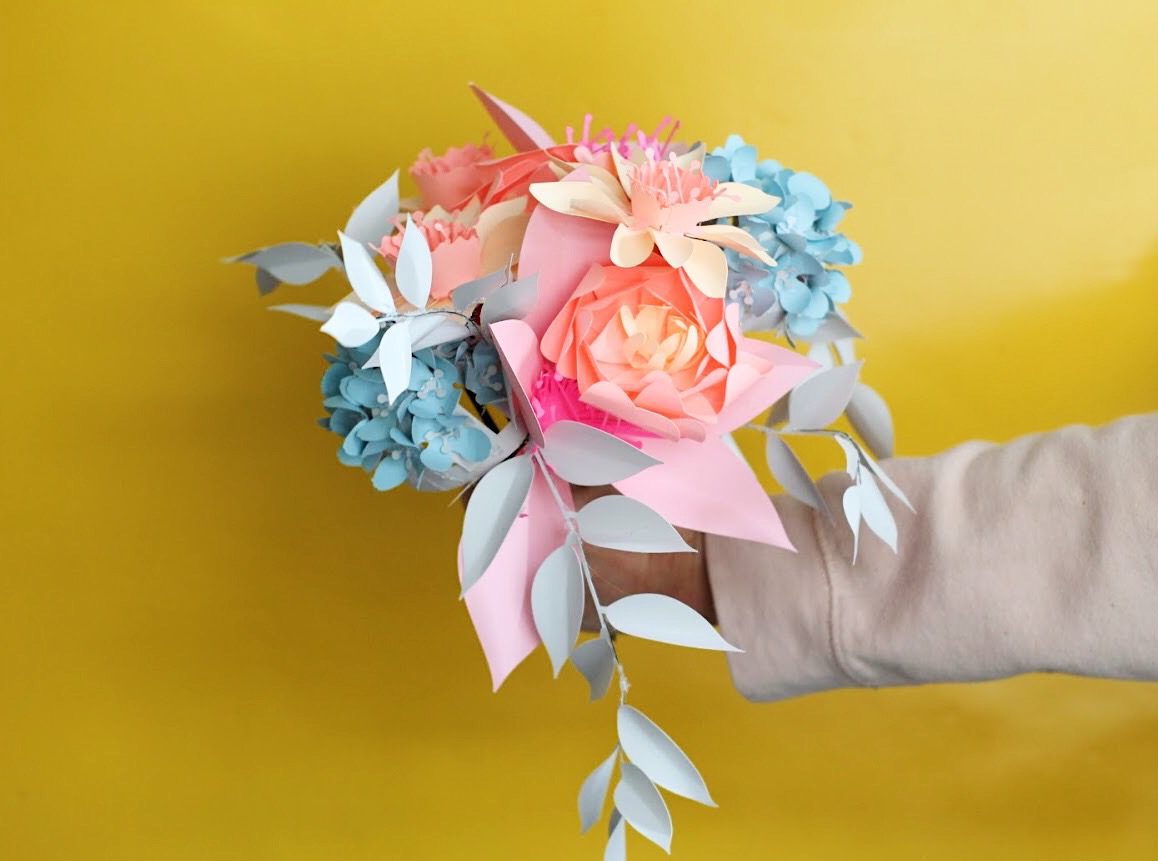
Once you have created enough paper flowers, it's time to assemble your bouquet. Start by arranging the flowers in a pleasing manner, considering their sizes and colors. Attach floral wire or wooden skewers to the base of each flower using a glue gun or craft glue. You can also add greenery or foliage to enhance the bouquet's overall appearance. Secure the stems together by wrapping floral tape around them, creating a cohesive and stable arrangement.
Personalizing Your Bouquet
To make your paper flowers bouquet even more special, consider personalizing it with additional elements. You can tie a ribbon around the stems or add decorative beads or pearls for a touch of elegance. If you are creating the bouquet for a specific occasion, such as a wedding or birthday, incorporate elements that reflect the theme, such as lace or themed charms. The possibilities for personalization are endless, allowing you to create a truly unique bouquet.
Caring for Your Paper Flowers Bouquet
Unlike fresh flowers, paper flowers bouquets require minimal care to maintain their beauty. Keep them away from direct sunlight and moisture, as these can cause the colors to fade or the paper to become limp. If the bouquet gets dusty, use a soft brush or gently blow on the flowers to remove any particles. With proper care, your paper flowers bouquet can last for a long time, serving as a reminder of a special occasion or a beautiful decoration in your home.

Conclusion
Creating a flowers bouquet using paper is a delightful and rewarding DIY project. With a wide variety of paper choices and flower designs, you can customize your bouquet to fit any occasion or personal style. By following the steps outlined in this article, you will be able to make a stunning paper flowers bouquet that will impress your friends and family. Enjoy the process of crafting these beautiful blooms and cherish your handmade bouquet for years to come.
