Introduction
Drawing flowers can be a relaxing and enjoyable activity for anyone, whether you are an experienced artist or just starting out. One of the most popular flowers to draw is the daisy. With its simple yet beautiful structure, the daisy offers a great opportunity for artistic expression. In this article, we will explore different techniques and tips for drawing daisies, helping you create stunning floral artwork.
Understanding the Daisy

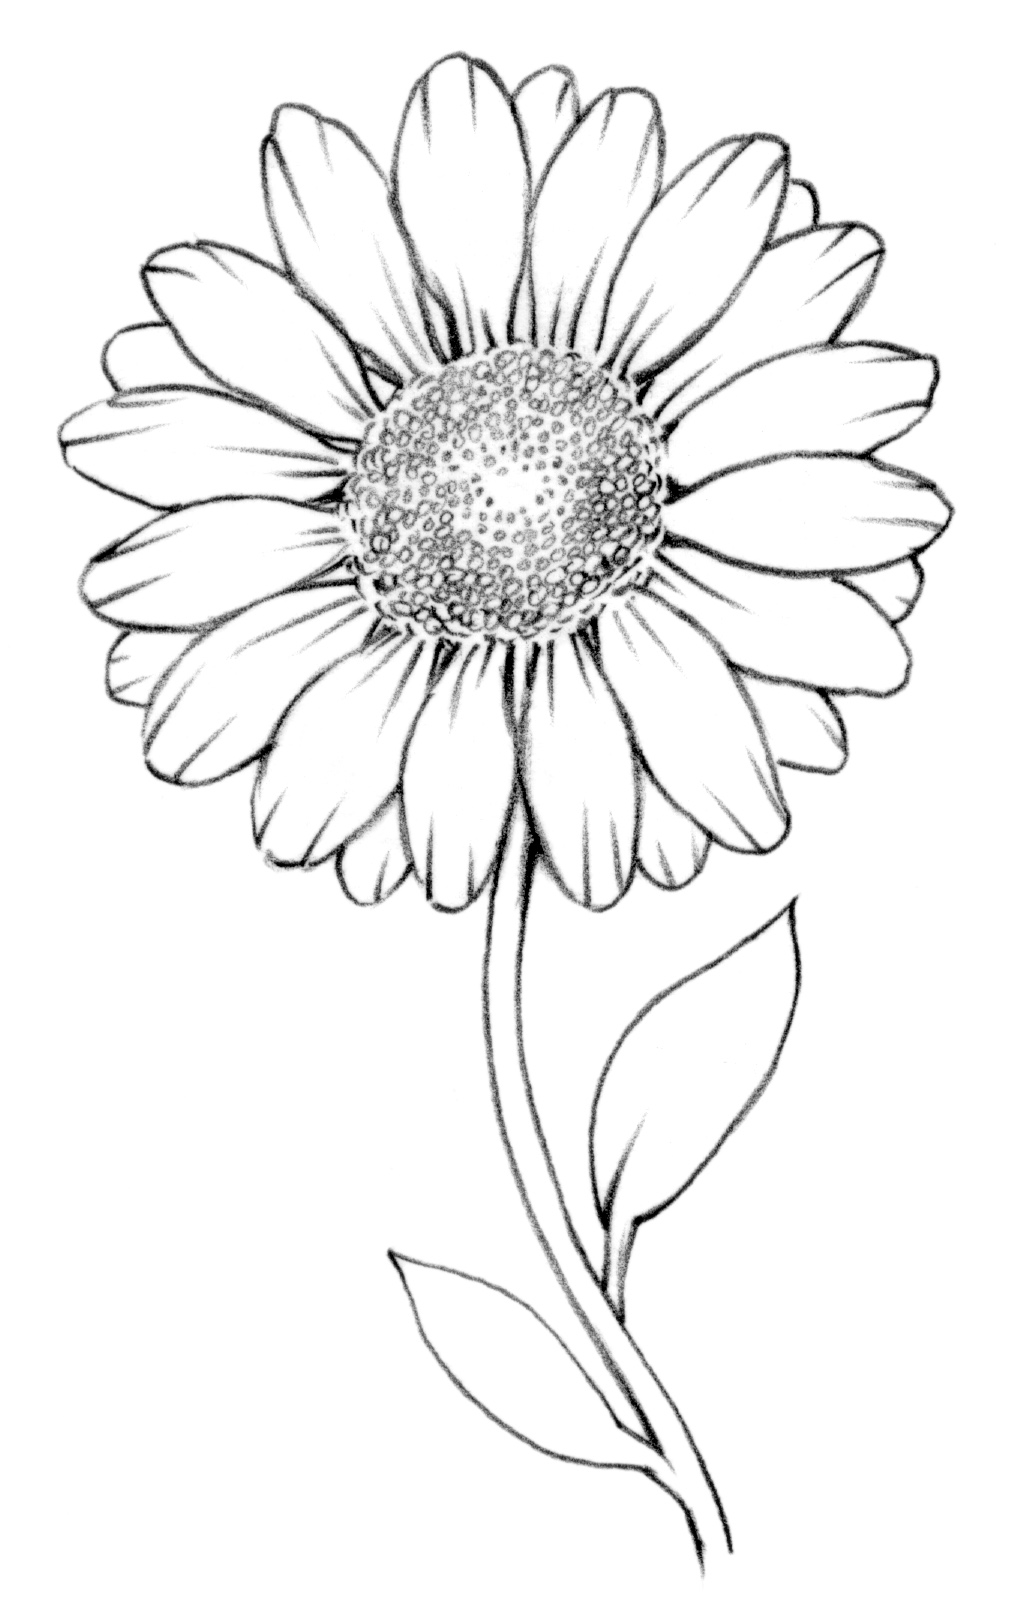
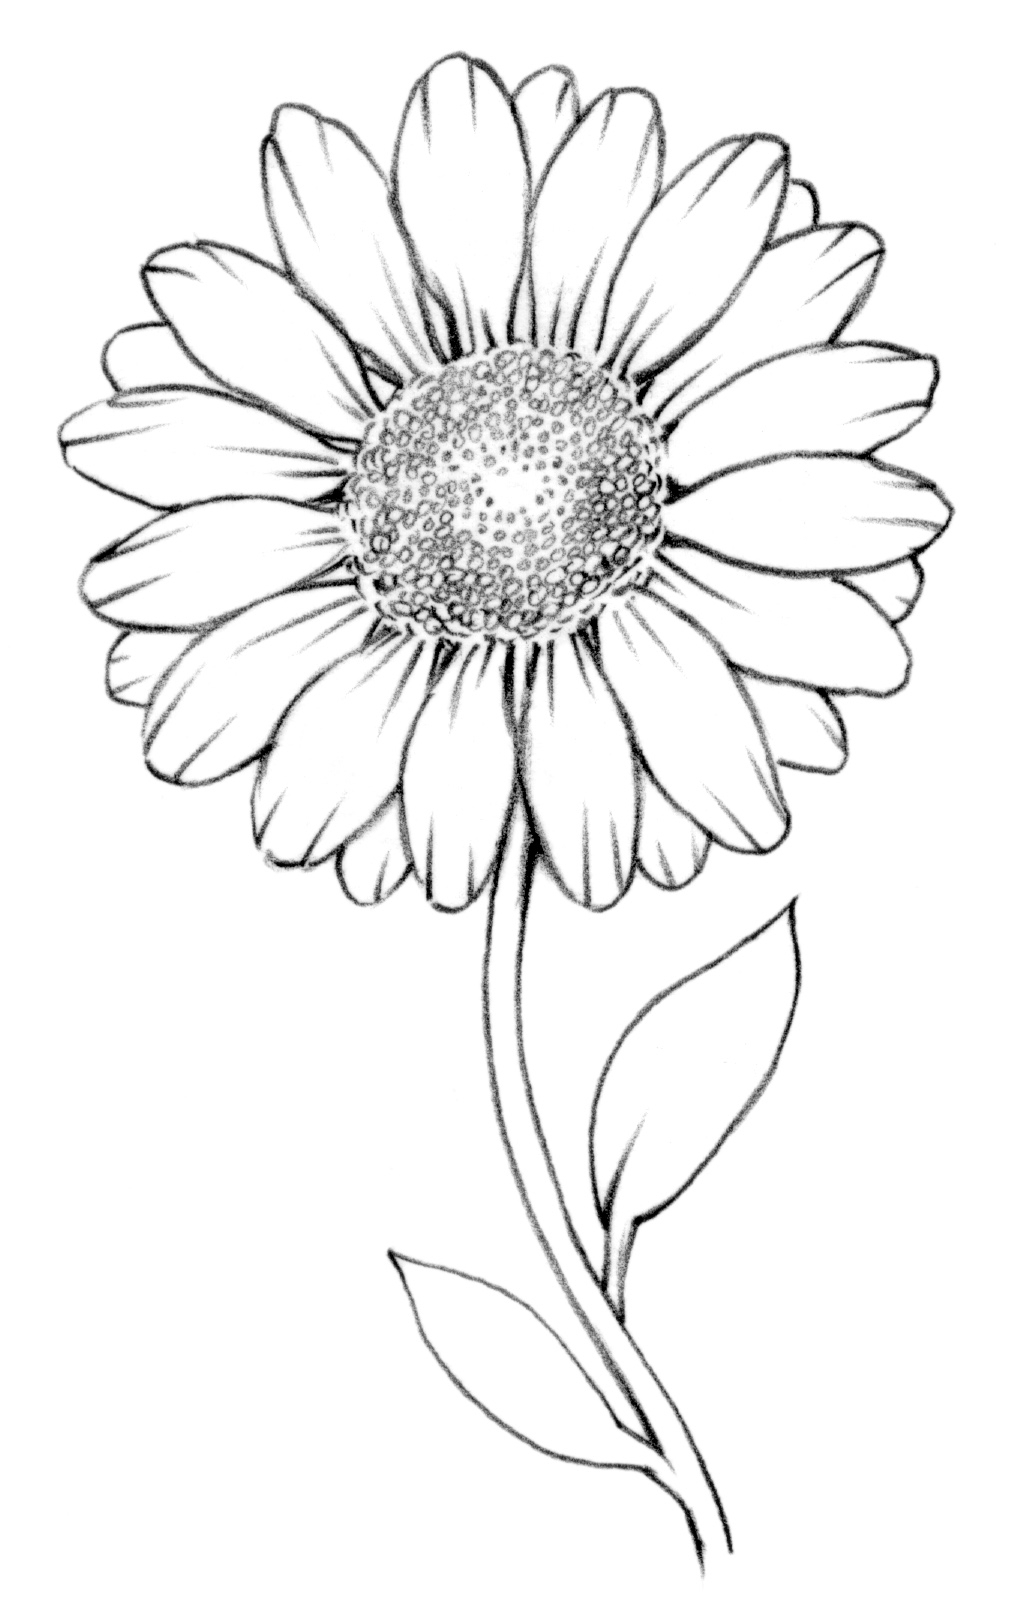
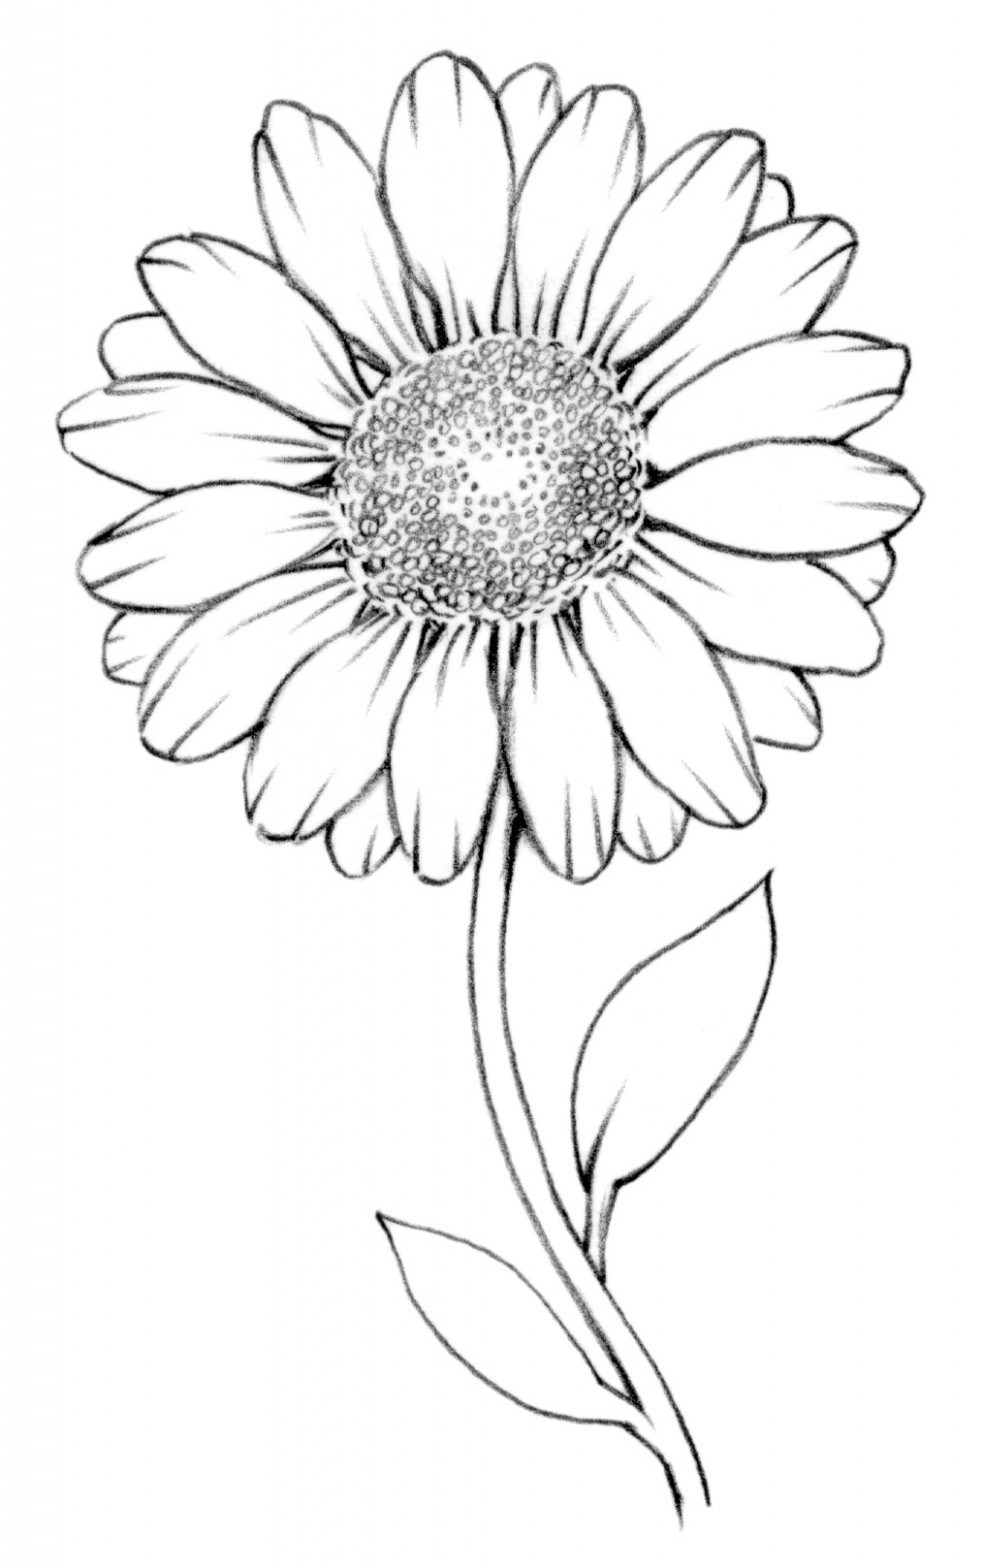
Before you start drawing a daisy, it is essential to understand its basic structure. Daisies have a circular center called the disk that is surrounded by delicate petals. The petals typically have a rounded shape and are arranged in layers around the disk. Observing and studying real daisies or reference images will help you familiarize yourself with their unique characteristics and proportions.
Choosing the Right Materials

Having the right materials is crucial for achieving the desired results in your daisy drawings. Start by selecting quality drawing paper that is suitable for your chosen medium, whether it's pencil, pen, or colored pencils. Consider using a variety of pencils with different hardness grades to create depth and shading. Additionally, investing in a good eraser will allow you to make corrections and refine your artwork along the way.
Sketching the Basic Shape

Begin your daisy drawing by lightly sketching the basic shape of the flower. Use simple geometric shapes like circles and ovals to outline the center disk and petals. Keep the lines loose and light, as they will be refined and adjusted later. This initial sketch serves as a foundation for the more detailed rendering of the daisy.
Adding Petals and Details

Once you have the basic shape, start adding the petals around the disk. Daisies usually have multiple layers of petals, so you can gradually build them up, adding depth and texture to your drawing. Pay attention to the direction and curve of each petal, capturing their natural flow. As you progress, add details like lines and creases to give your daisy a realistic appearance.
Shading and Highlights

Shading is an essential technique in bringing depth and dimension to your daisy drawing. Observe the light source in your reference image and create areas of shadow accordingly. Use a blending tool or your pencil to smoothly transition between darker and lighter areas. Additionally, add highlights to certain parts of the petals and the center to create a sense of light and make your daisy drawing pop.
Coloring Your Daisy

If you prefer to add color to your daisy drawing, colored pencils or watercolor can be great mediums to explore. Start by layering light colors and gradually build up the intensity. Pay attention to the subtle variations in color on the petals and create smooth transitions between shades. Remember to use reference images to help you accurately capture the colors of a real daisy.
Adding Background and Final Touches

After completing the daisy itself, you can enhance your drawing by adding a background. Consider a simple background that complements the daisy without overpowering it. It could be a soft gradient, a textured surface, or even just a plain color. Once you are satisfied with the overall composition, make any final touches or adjustments to refine your artwork.
Conclusion
Drawing daisies is a delightful way to explore your artistic skills and create beautiful floral artwork. By understanding the structure of daisies, choosing the right materials, and employing various techniques like sketching, shading, and coloring, you can bring your daisy drawings to life. Remember to practice regularly and have fun with your artistic journey. Happy drawing!