
Introduction
Drawing flowers can be a delightful and therapeutic activity, and one of the most beautiful flowers to draw is the hibiscus. With its vibrant colors and intricate details, a hibiscus drawing can bring life and joy to any artwork. In this article, we will explore various techniques and tips for drawing hibiscus flowers. Whether you are a beginner or an experienced artist, this guide will help you create stunning hibiscus drawings that will leave a lasting impression.
Choosing the Right Materials
Before diving into the world of hibiscus drawing, it's essential to have the right materials. Here are some suggestions:
- Pencil: Start with a light pencil such as an HB or 2B for sketching the initial outline.
- Paper: Opt for a smooth, heavyweight paper that can handle shading and erasing.
- Eraser: Have a kneaded eraser handy for correcting mistakes and refining details.
- Colored Pencils: If you want to add vibrant colors to your drawing, invest in a good set of colored pencils.

Observing the Hibiscus
To draw a realistic hibiscus, it's crucial to observe the flower closely. Take a moment to examine the shape of the petals, the positioning of the stamen, and the overall structure of the flower. This observation will help you capture the essence of the hibiscus in your drawing.
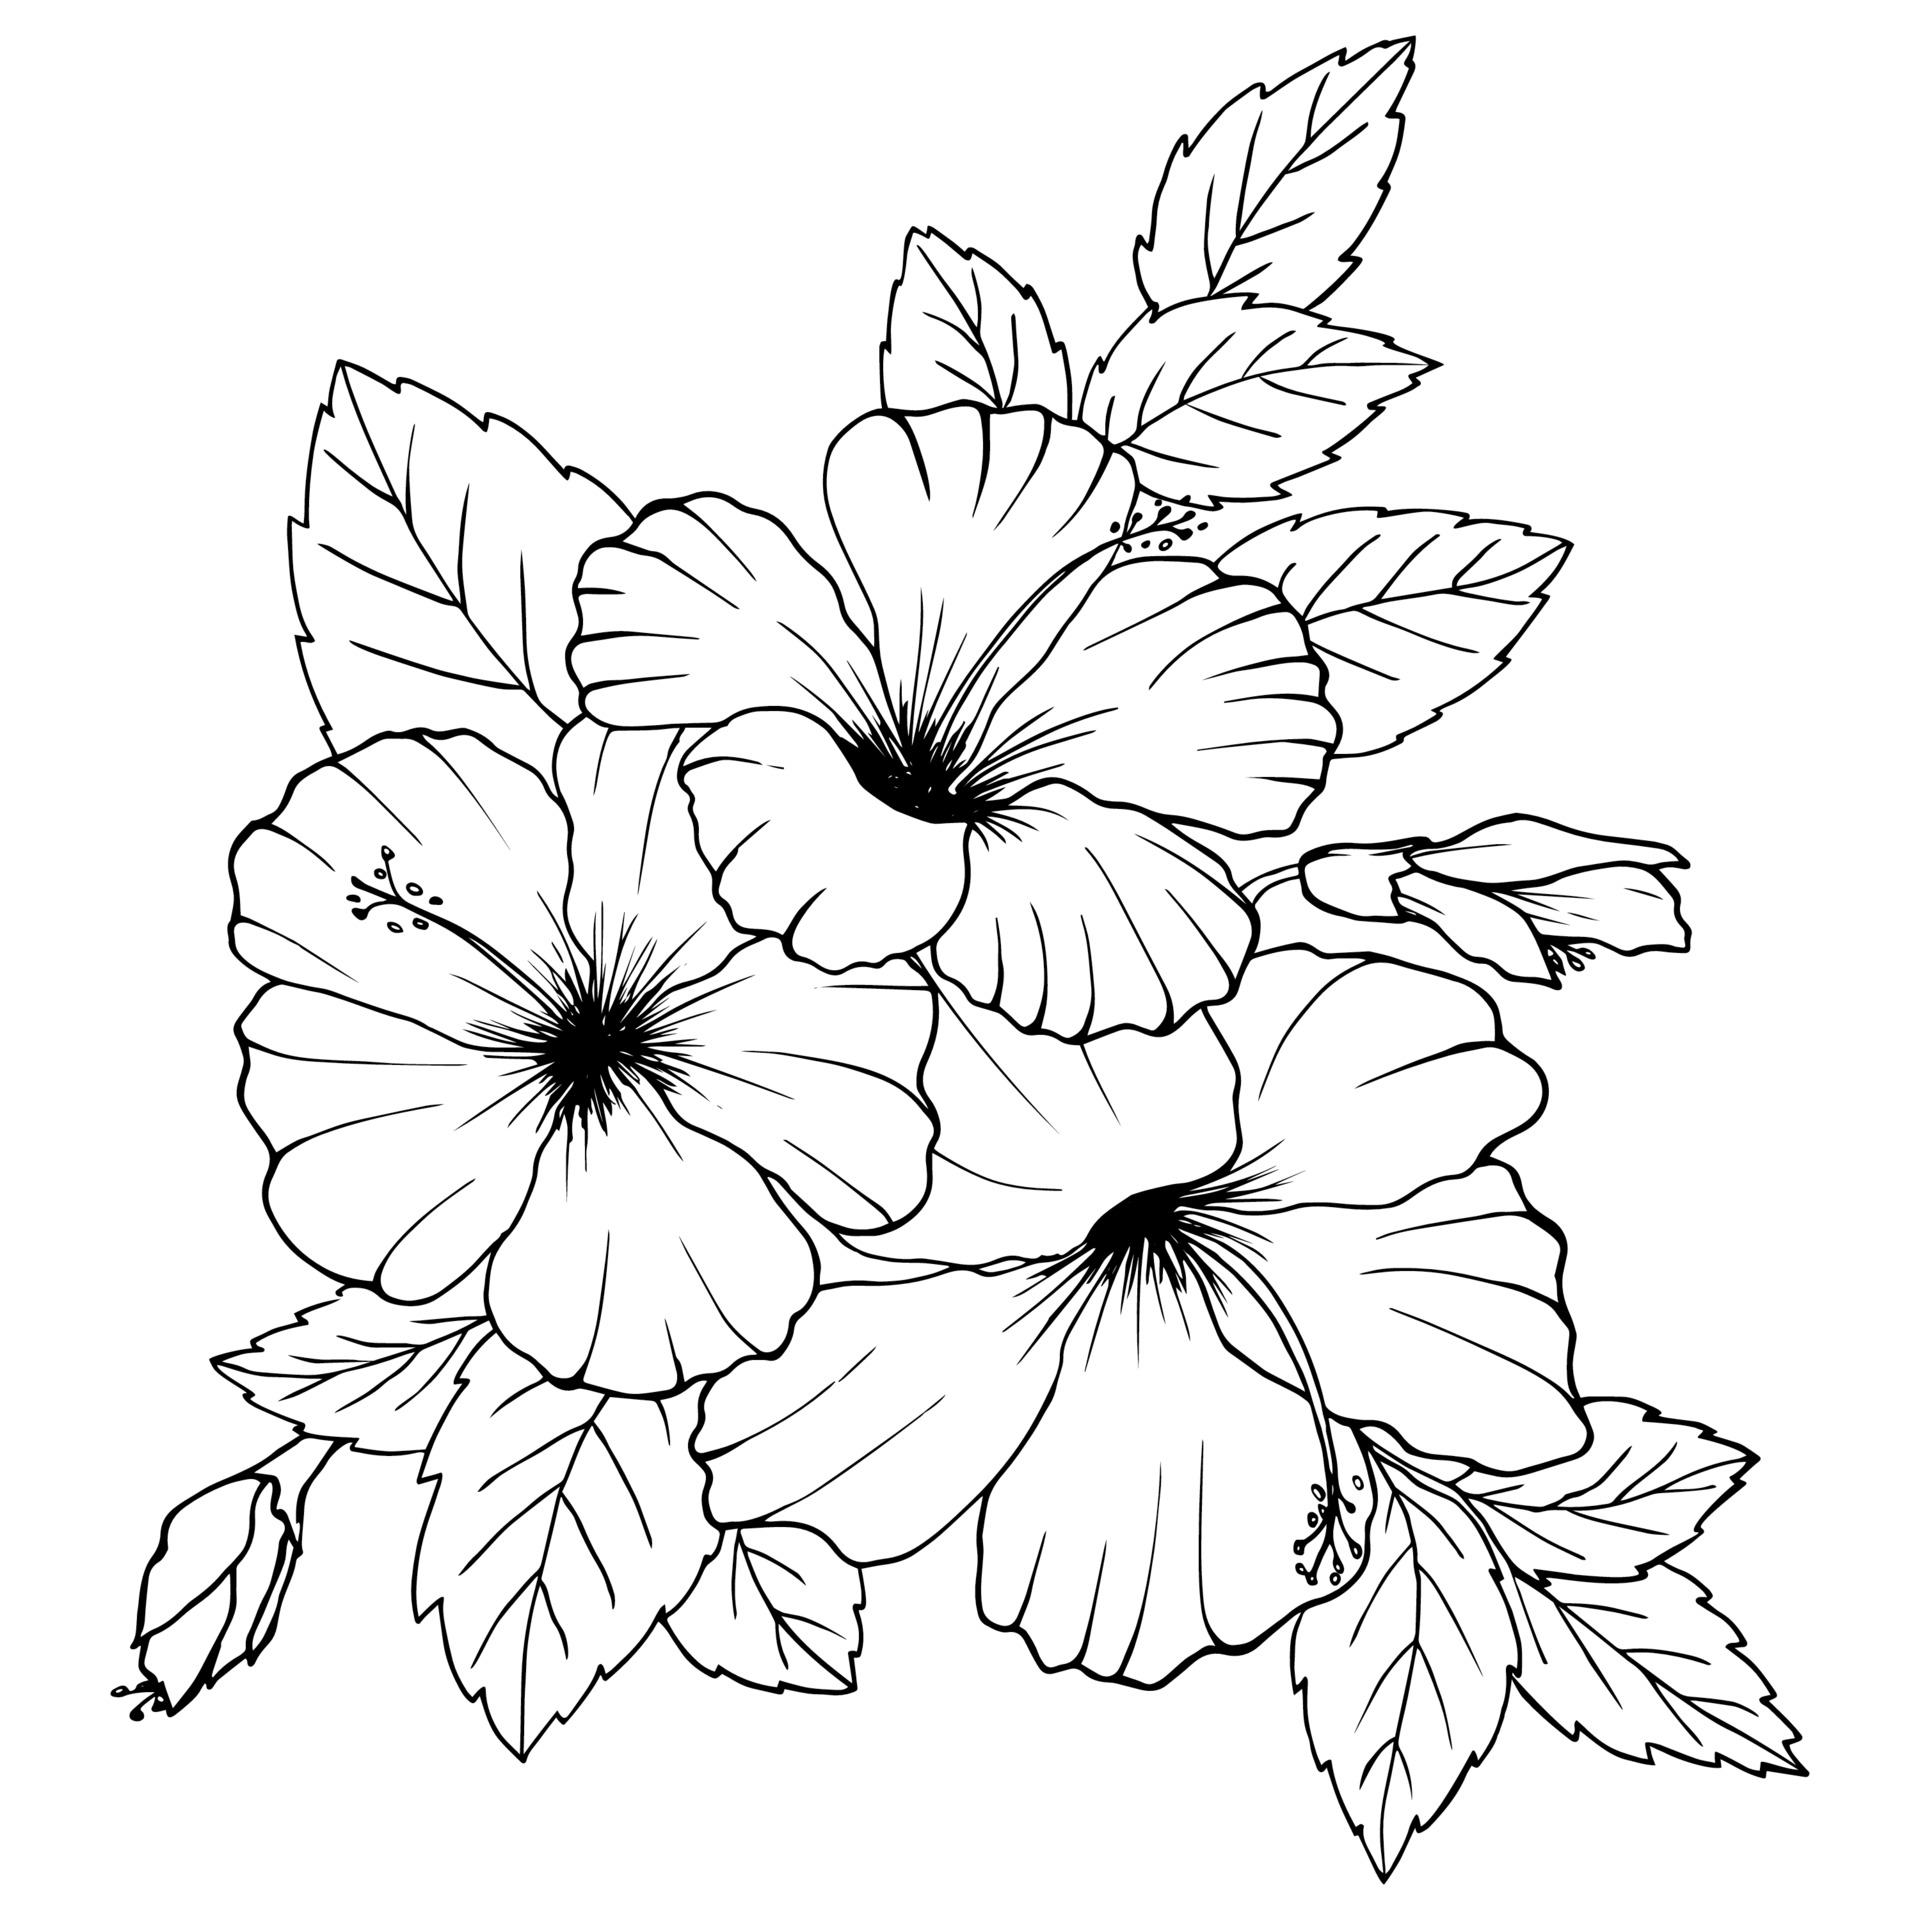
Sketching the Outline
Start by lightly sketching the basic outline of the hibiscus flower. Use simple shapes like circles and ovals to define the petals and the center of the flower. Don't worry about perfection at this stage; focus on capturing the overall shape and proportions.
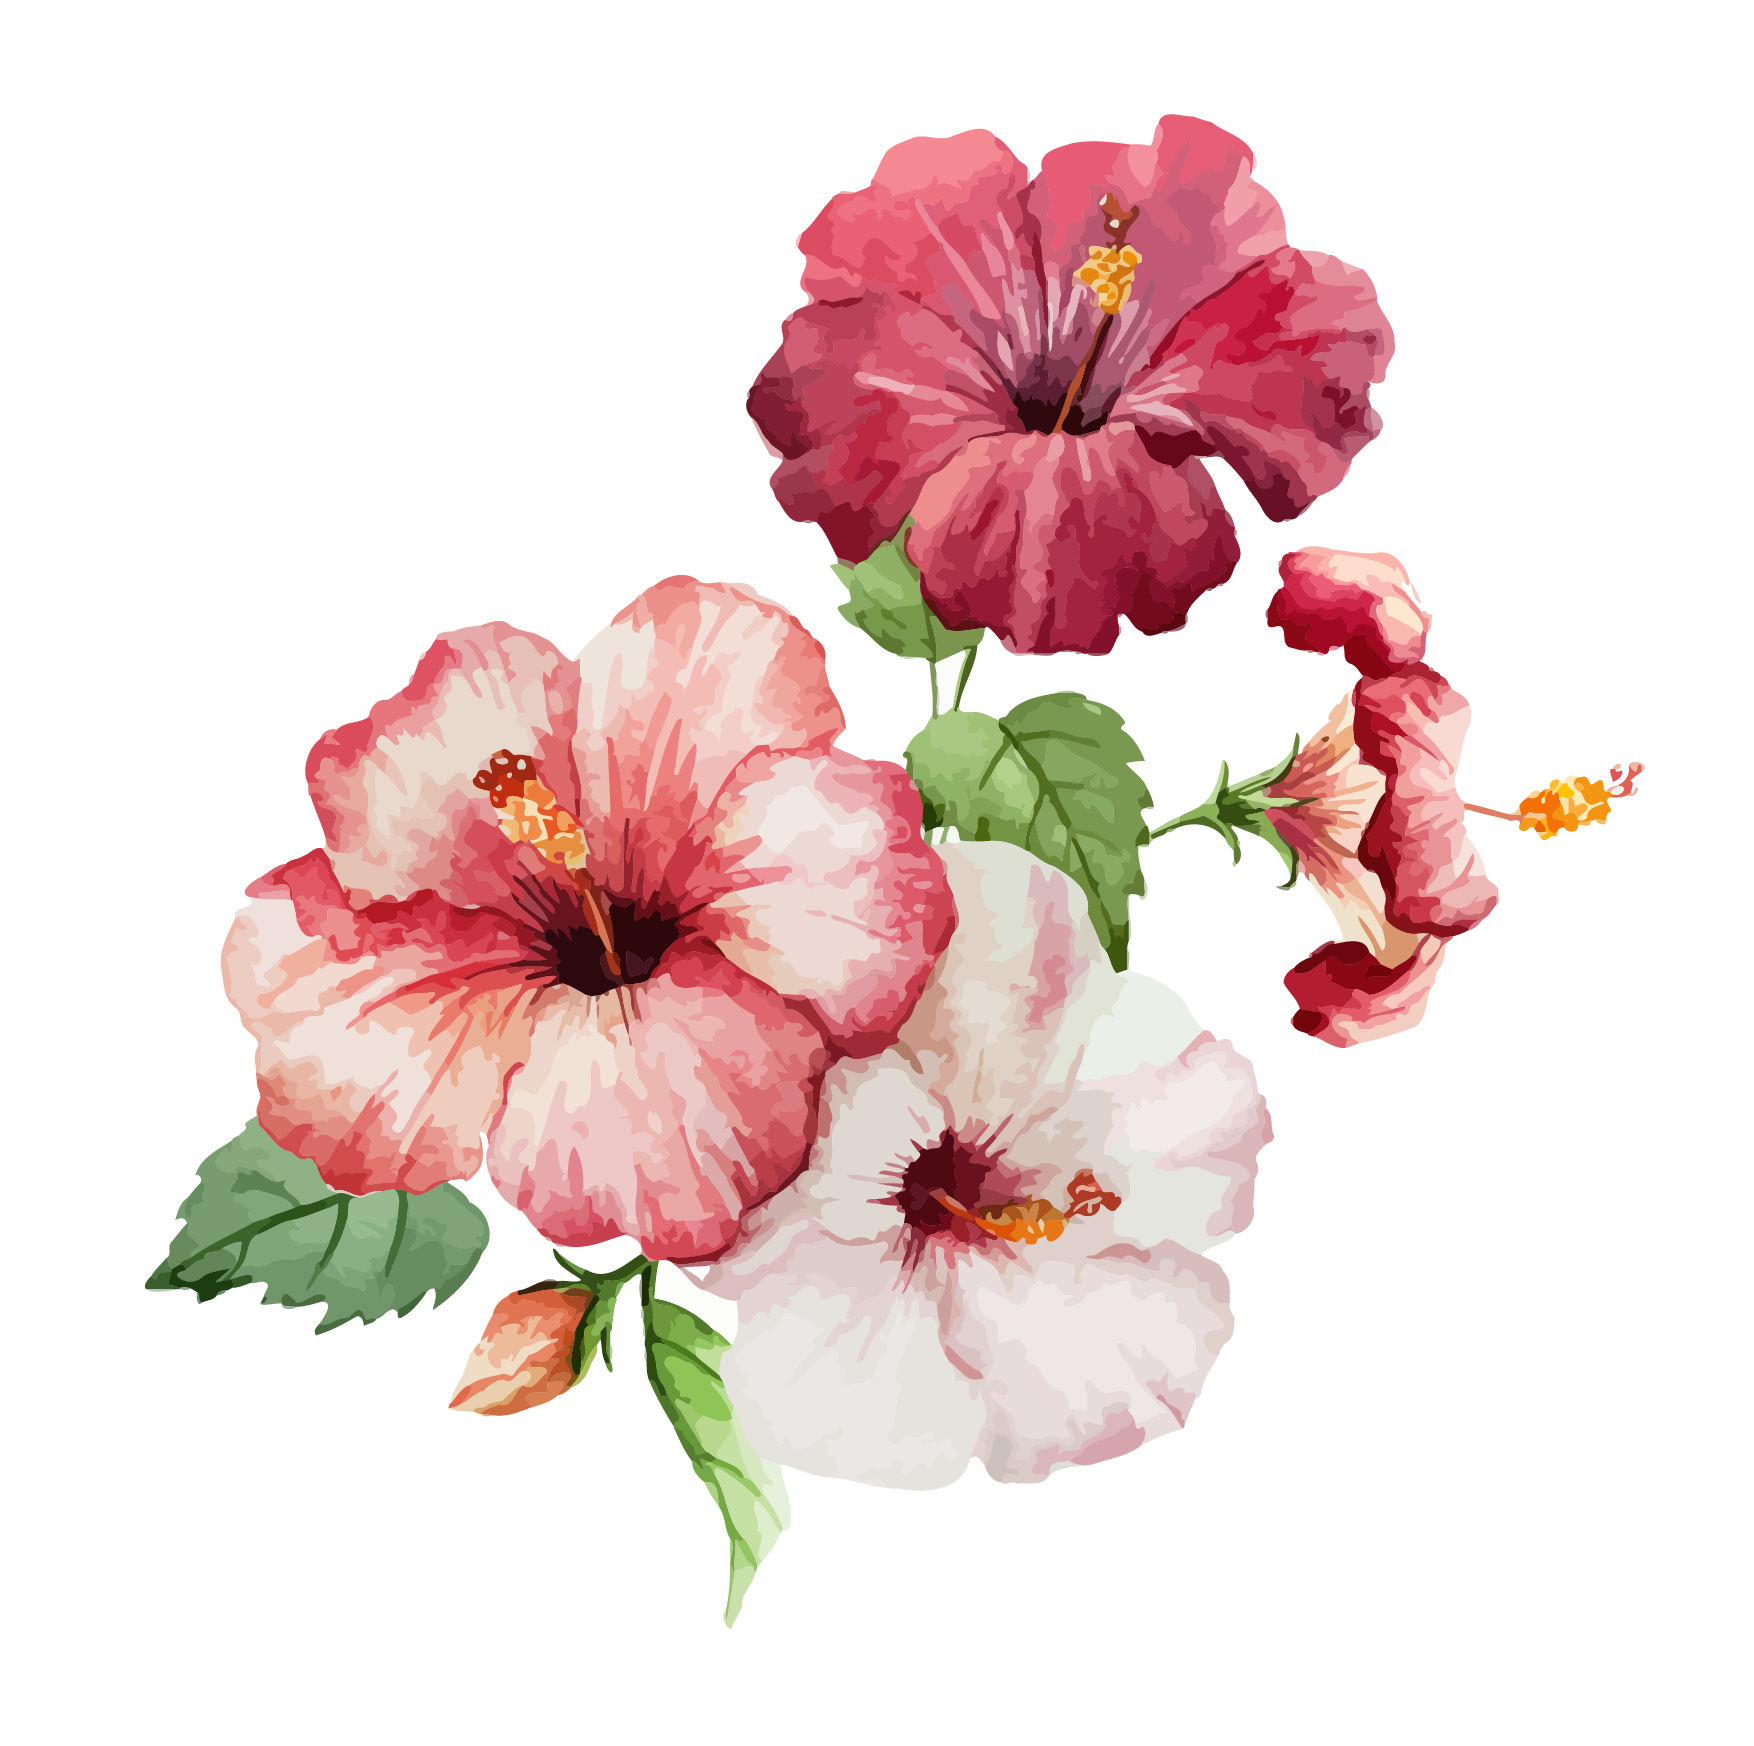
Adding Details
Once you have the basic outline, start adding details to your hibiscus drawing. Pay attention to the intricate patterns on the petals and the texture of the stamen. Use short, light strokes to create the illusion of depth and dimension. Take your time and work gradually to achieve a realistic result.
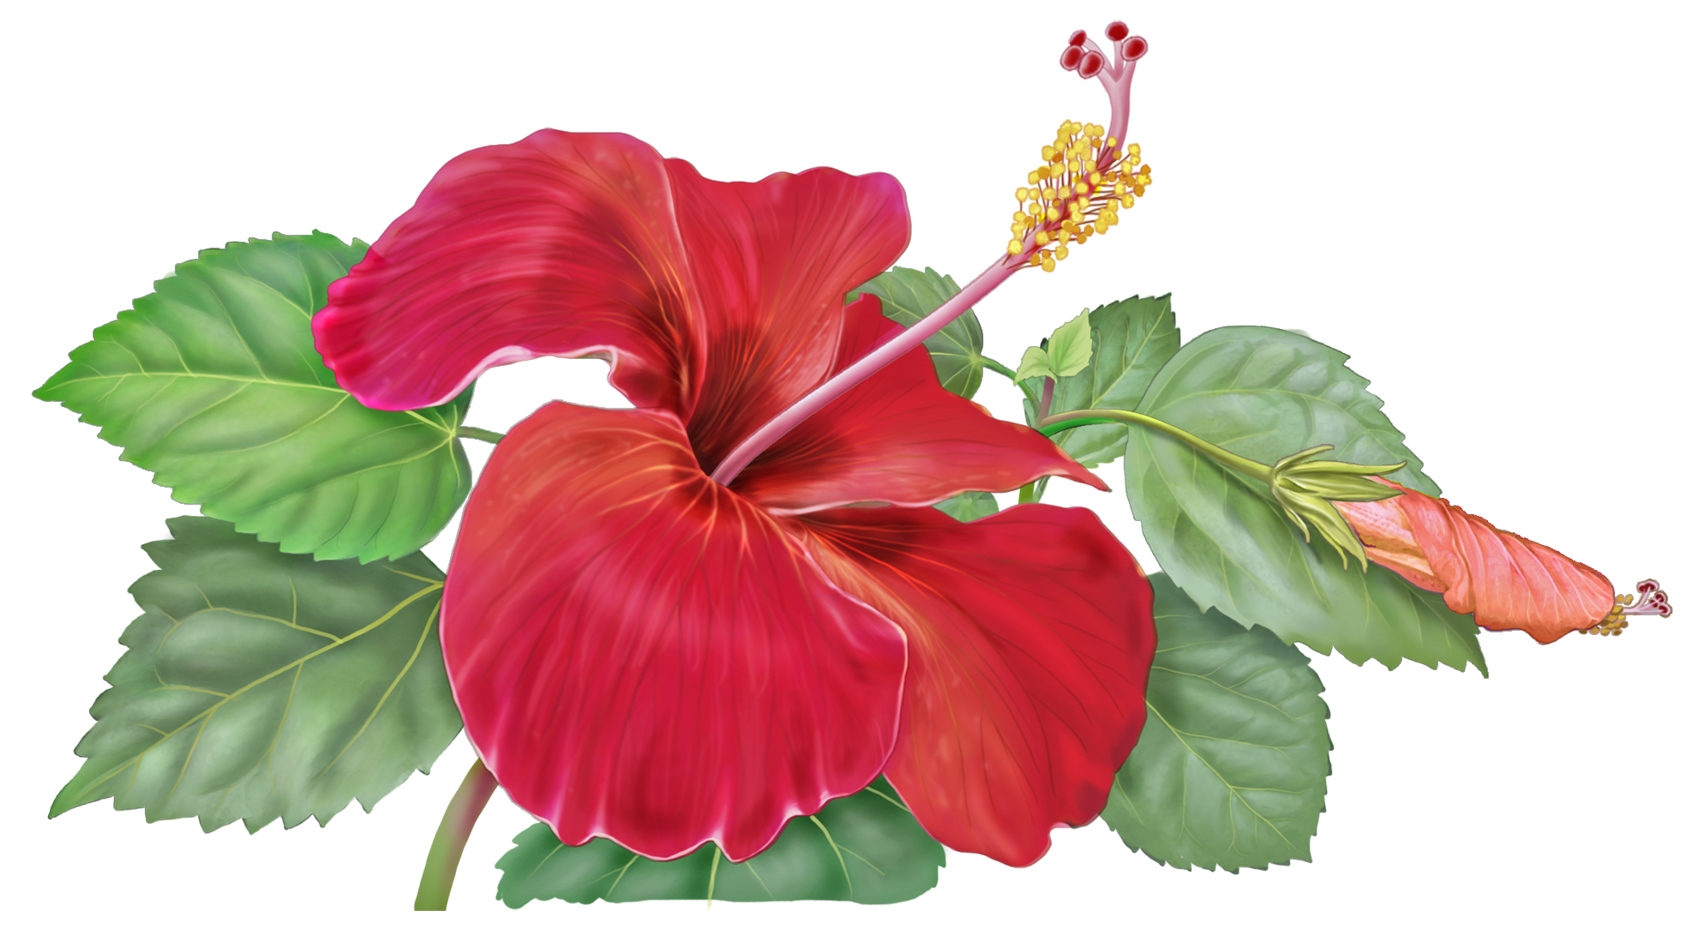
Shading and Texturing
To make your hibiscus drawing truly come to life, focus on shading and texturing. Observe the play of light and shadow on the flower and replicate it in your artwork. Use a variety of shading techniques such as hatching, cross-hatching, and blending to add depth and dimension. Experiment with different pressures on your pencil to achieve a range of values.

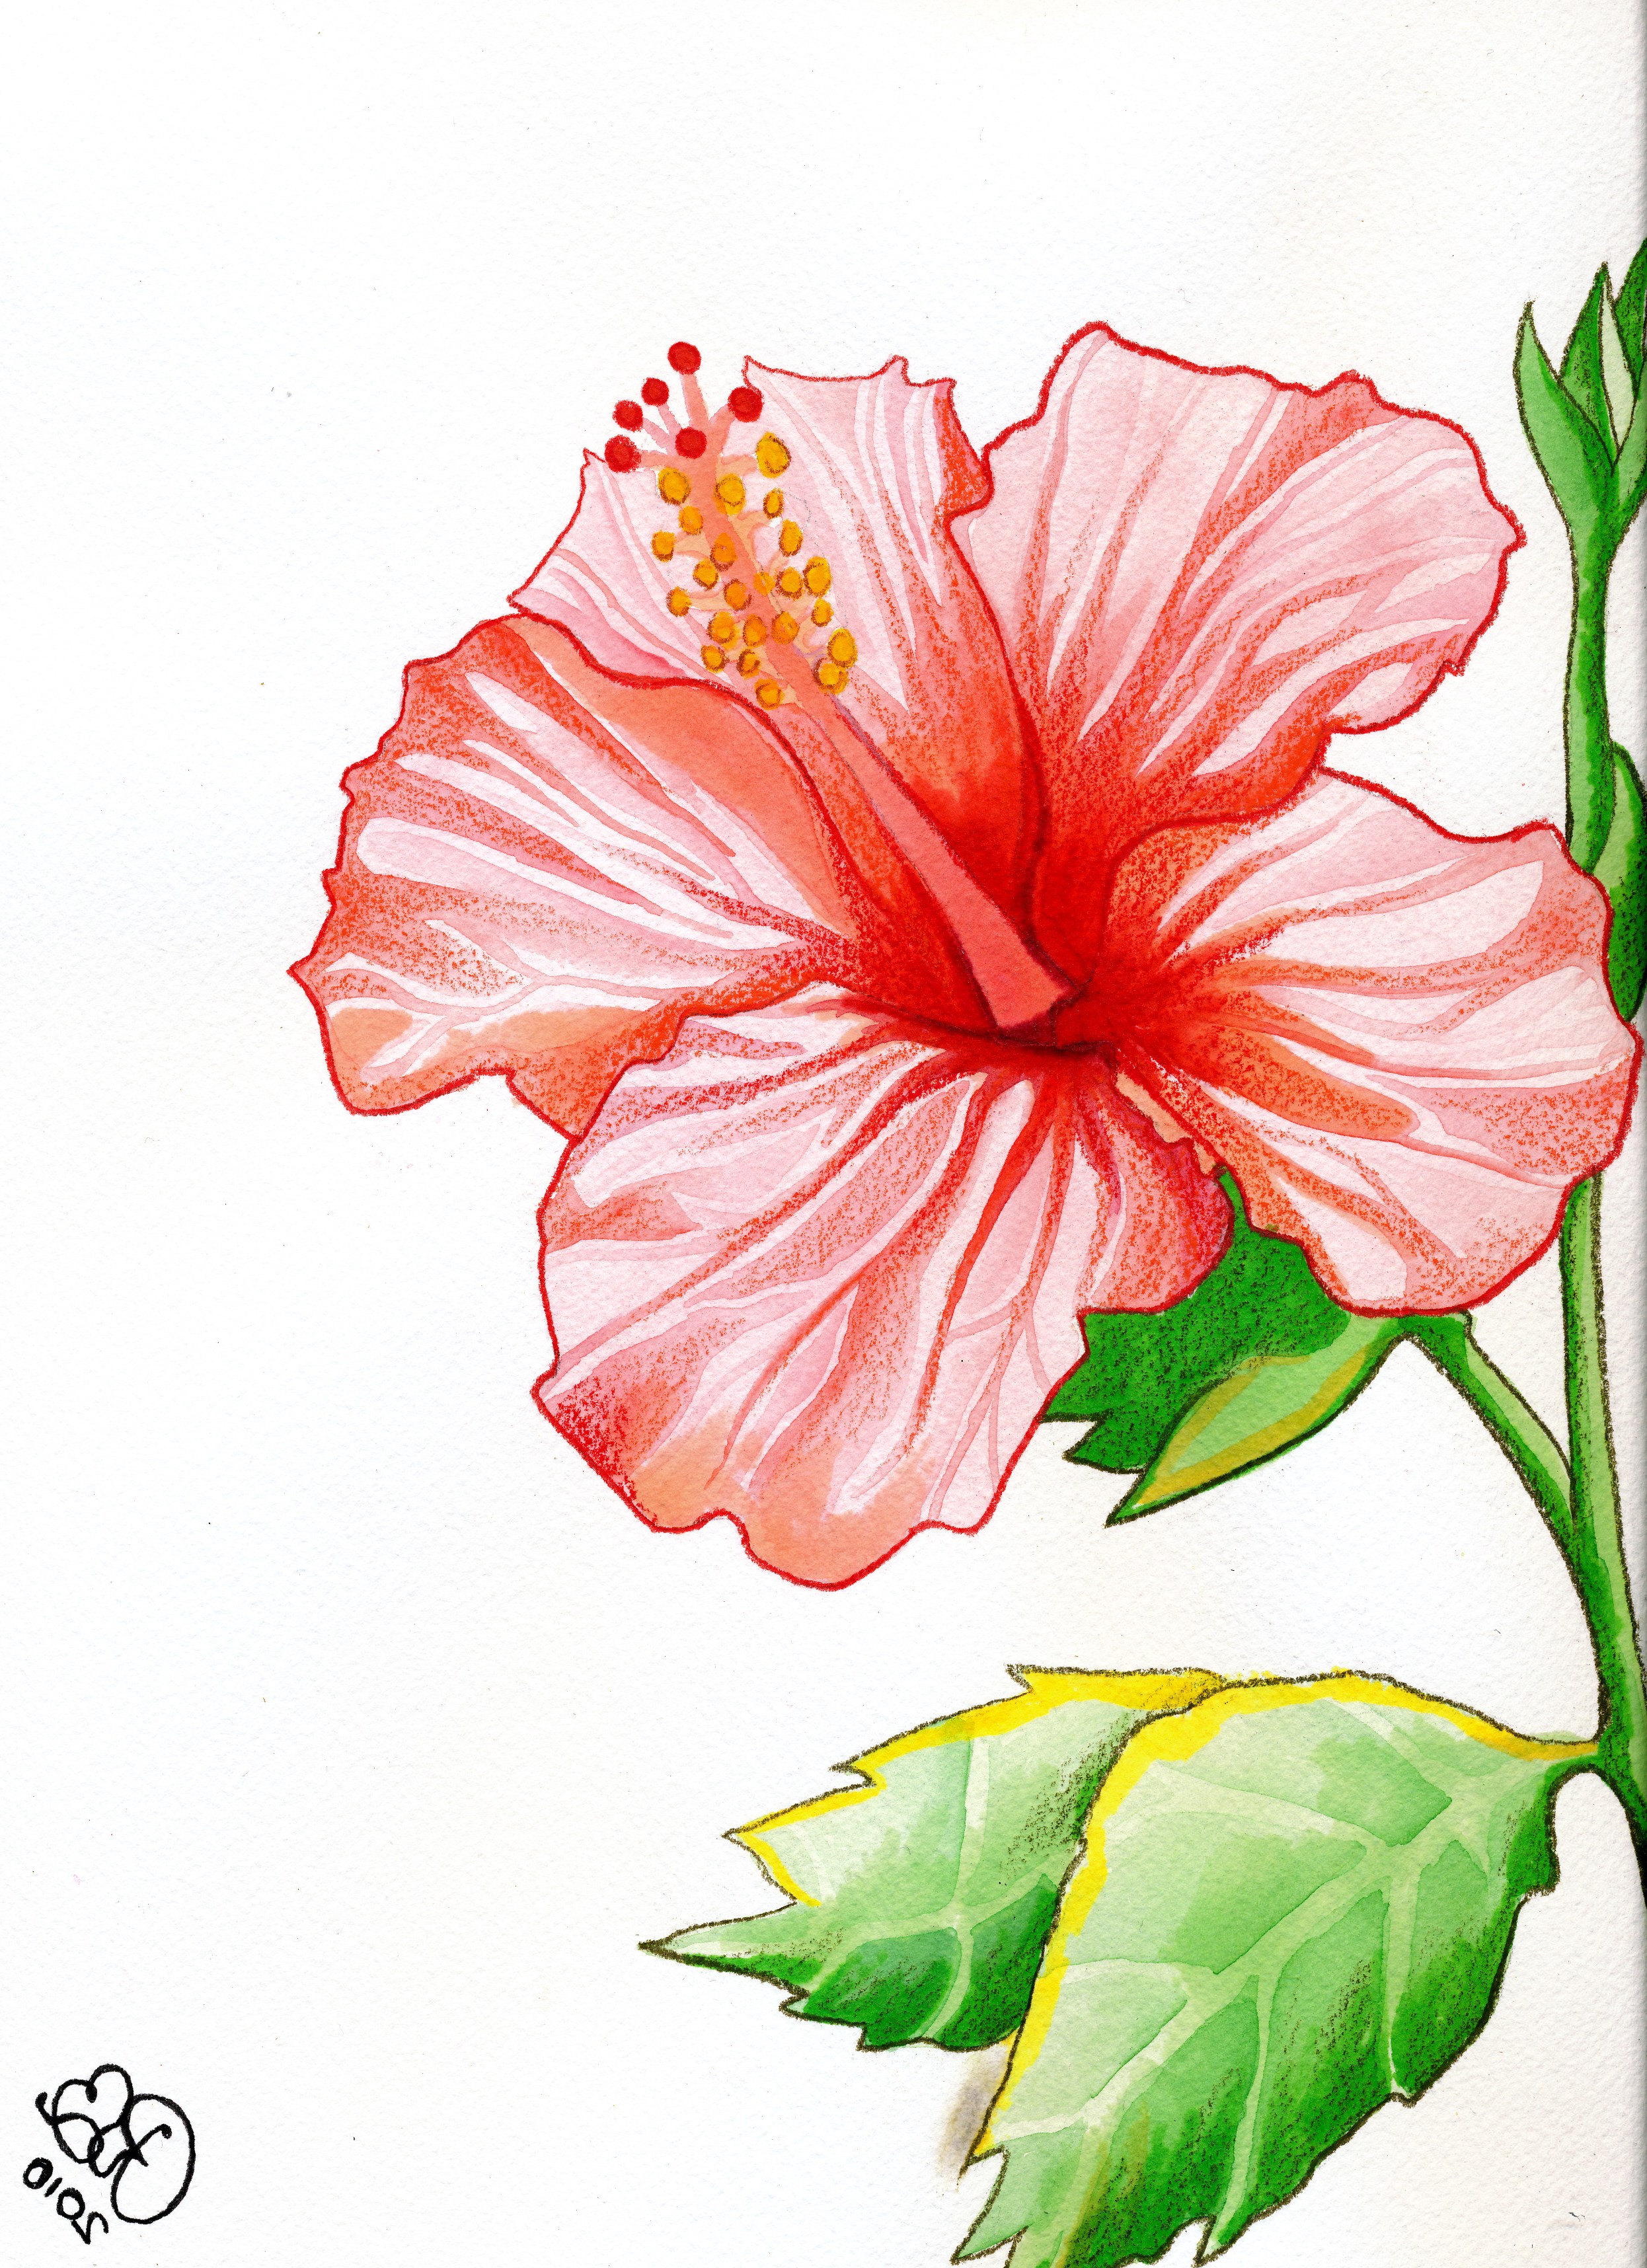
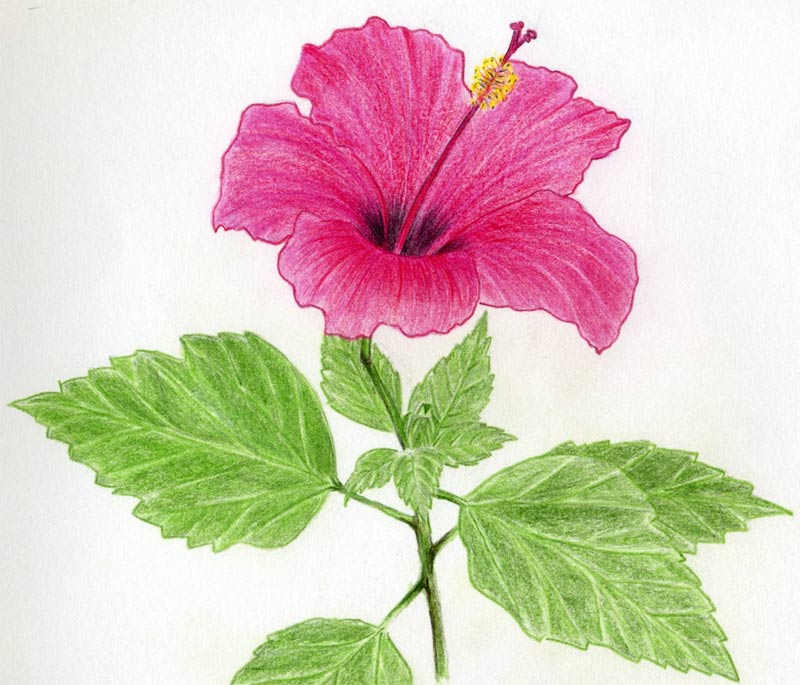
Coloring Your Hibiscus
If you prefer a colored hibiscus drawing, now is the time to bring out your colored pencils. Start by layering light colors and gradually build up to darker shades. Pay attention to the subtle variations in color and use blending techniques to achieve smooth transitions. Don't be afraid to mix different hues to create a vibrant and realistic hibiscus flower.

Adding the Background
To enhance the beauty of your hibiscus drawing, consider adding a background. It could be a simple sky, a lush garden, or a tropical beach. The choice is yours! The background will provide context and make your hibiscus stand out even more.

Refining and Finalizing
Take a step back and evaluate your hibiscus drawing. Are there any areas that need refinement or additional details? Use your eraser and pencil to make any necessary adjustments. Once you are satisfied with the result, trace over your final lines with a darker pencil or ink pen to create a clean, polished look.
Conclusion
Drawing hibiscus flowers can be a rewarding and enjoyable experience. With the right materials, careful observation, and attention to detail, you can create stunning hibiscus drawings that capture the essence of this beautiful flower. Whether you choose to draw in black and white or add vibrant colors, let your creativity flow and enjoy the process. Happy drawing!
