
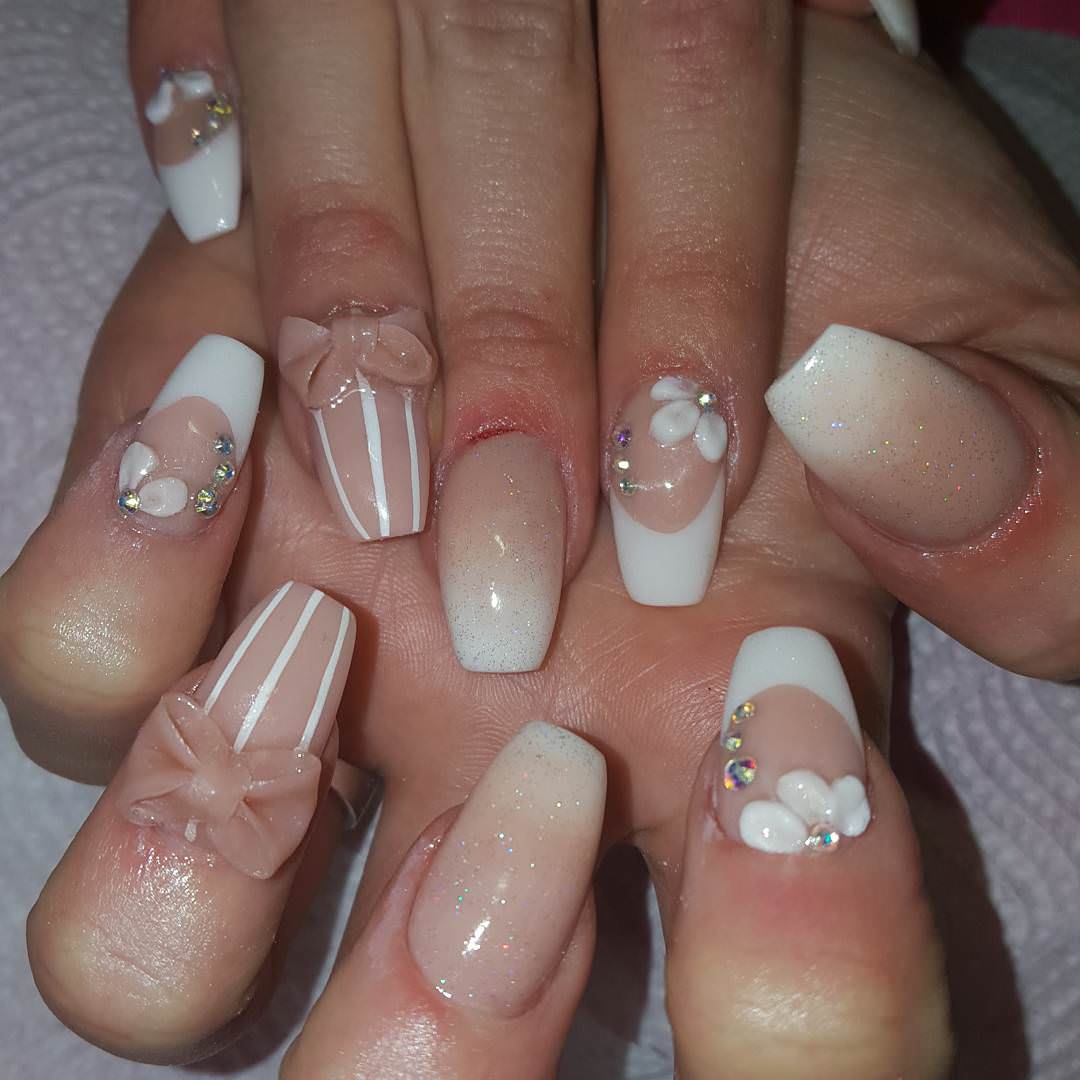
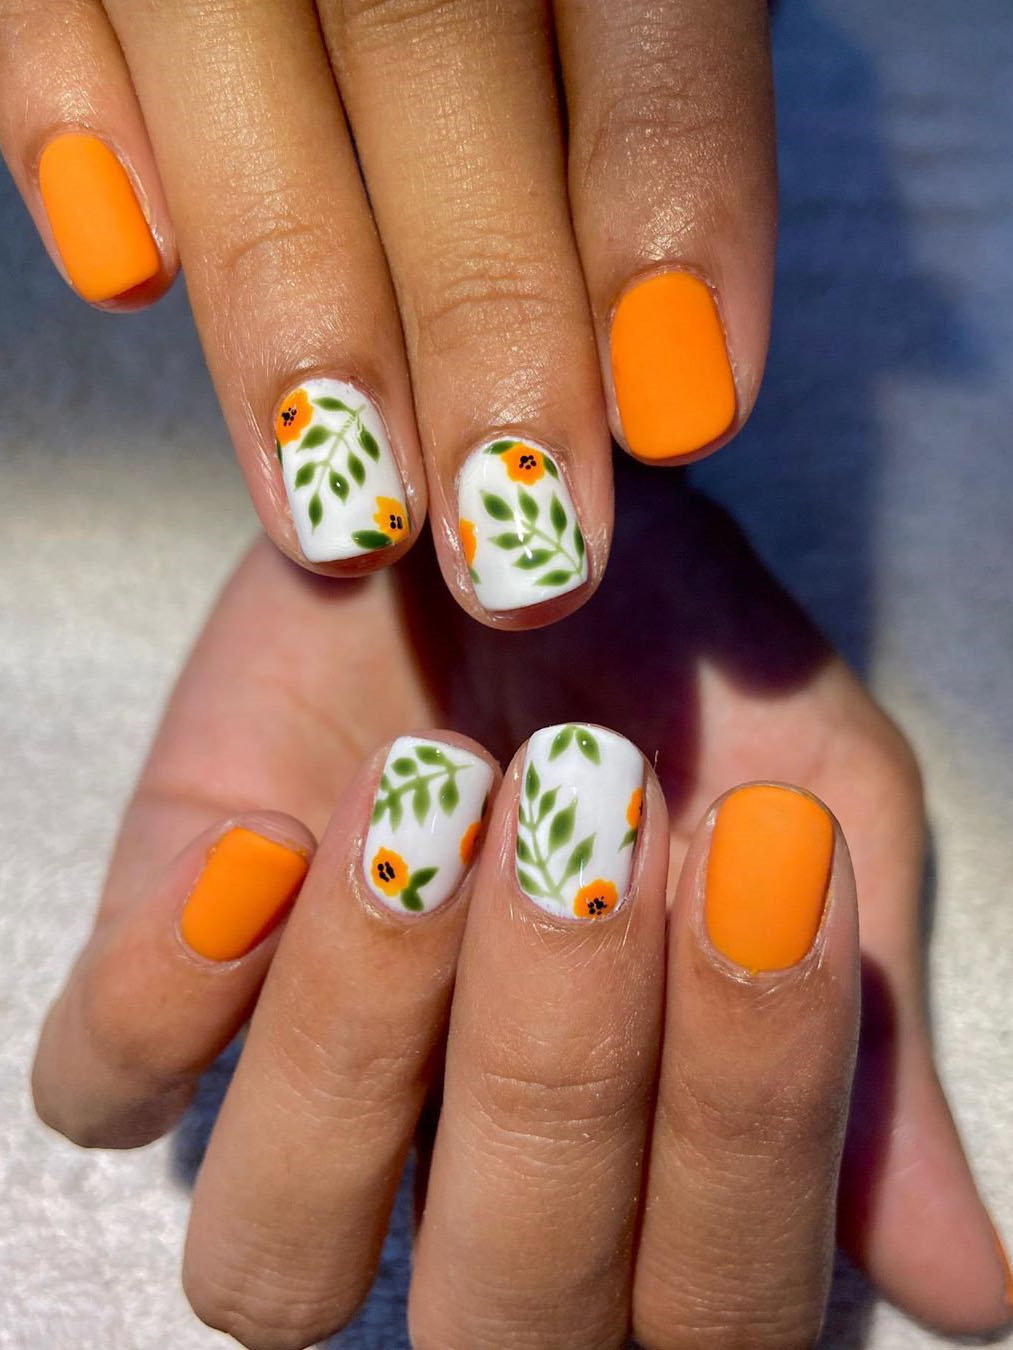
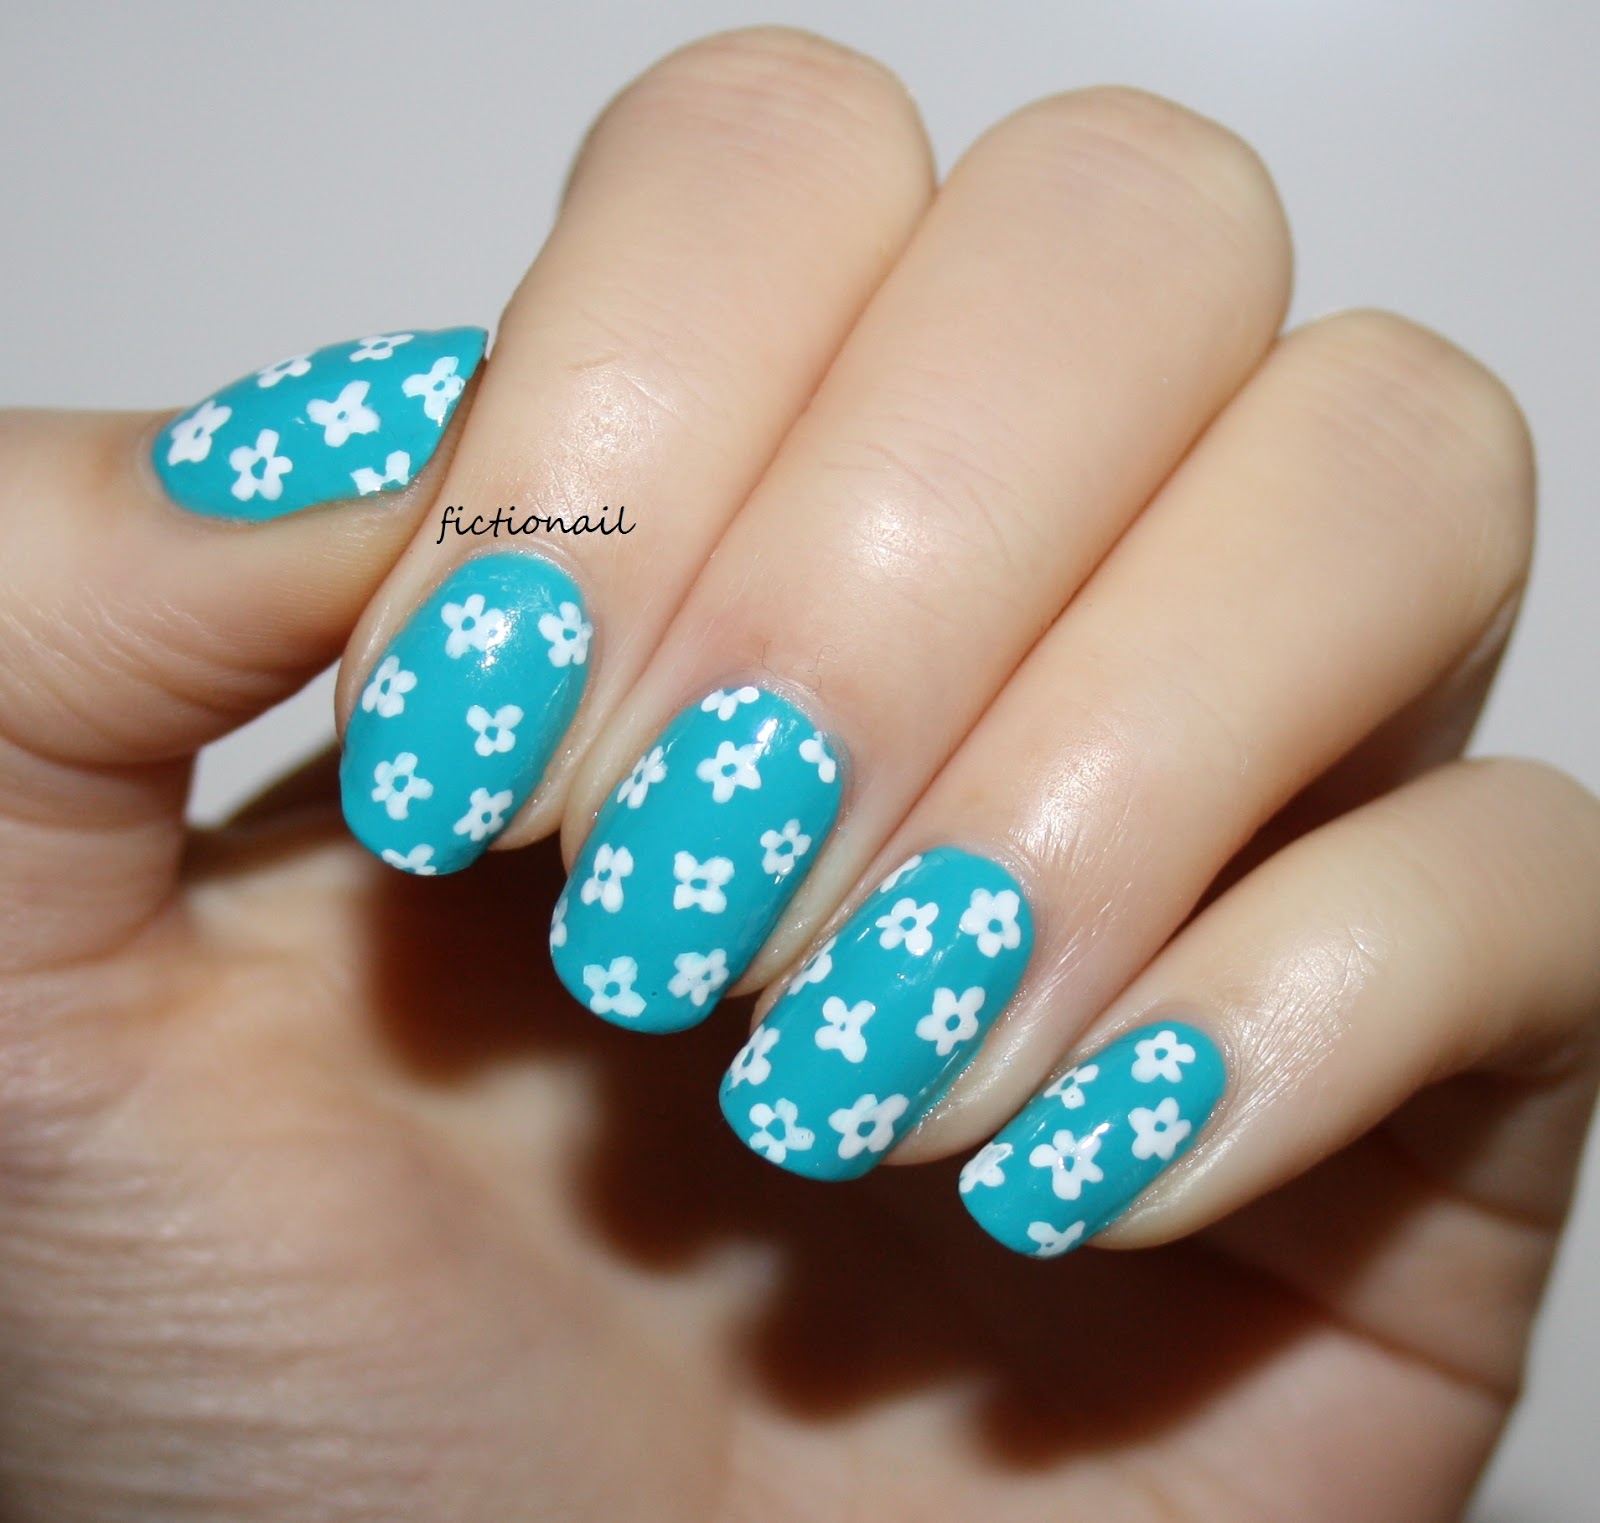
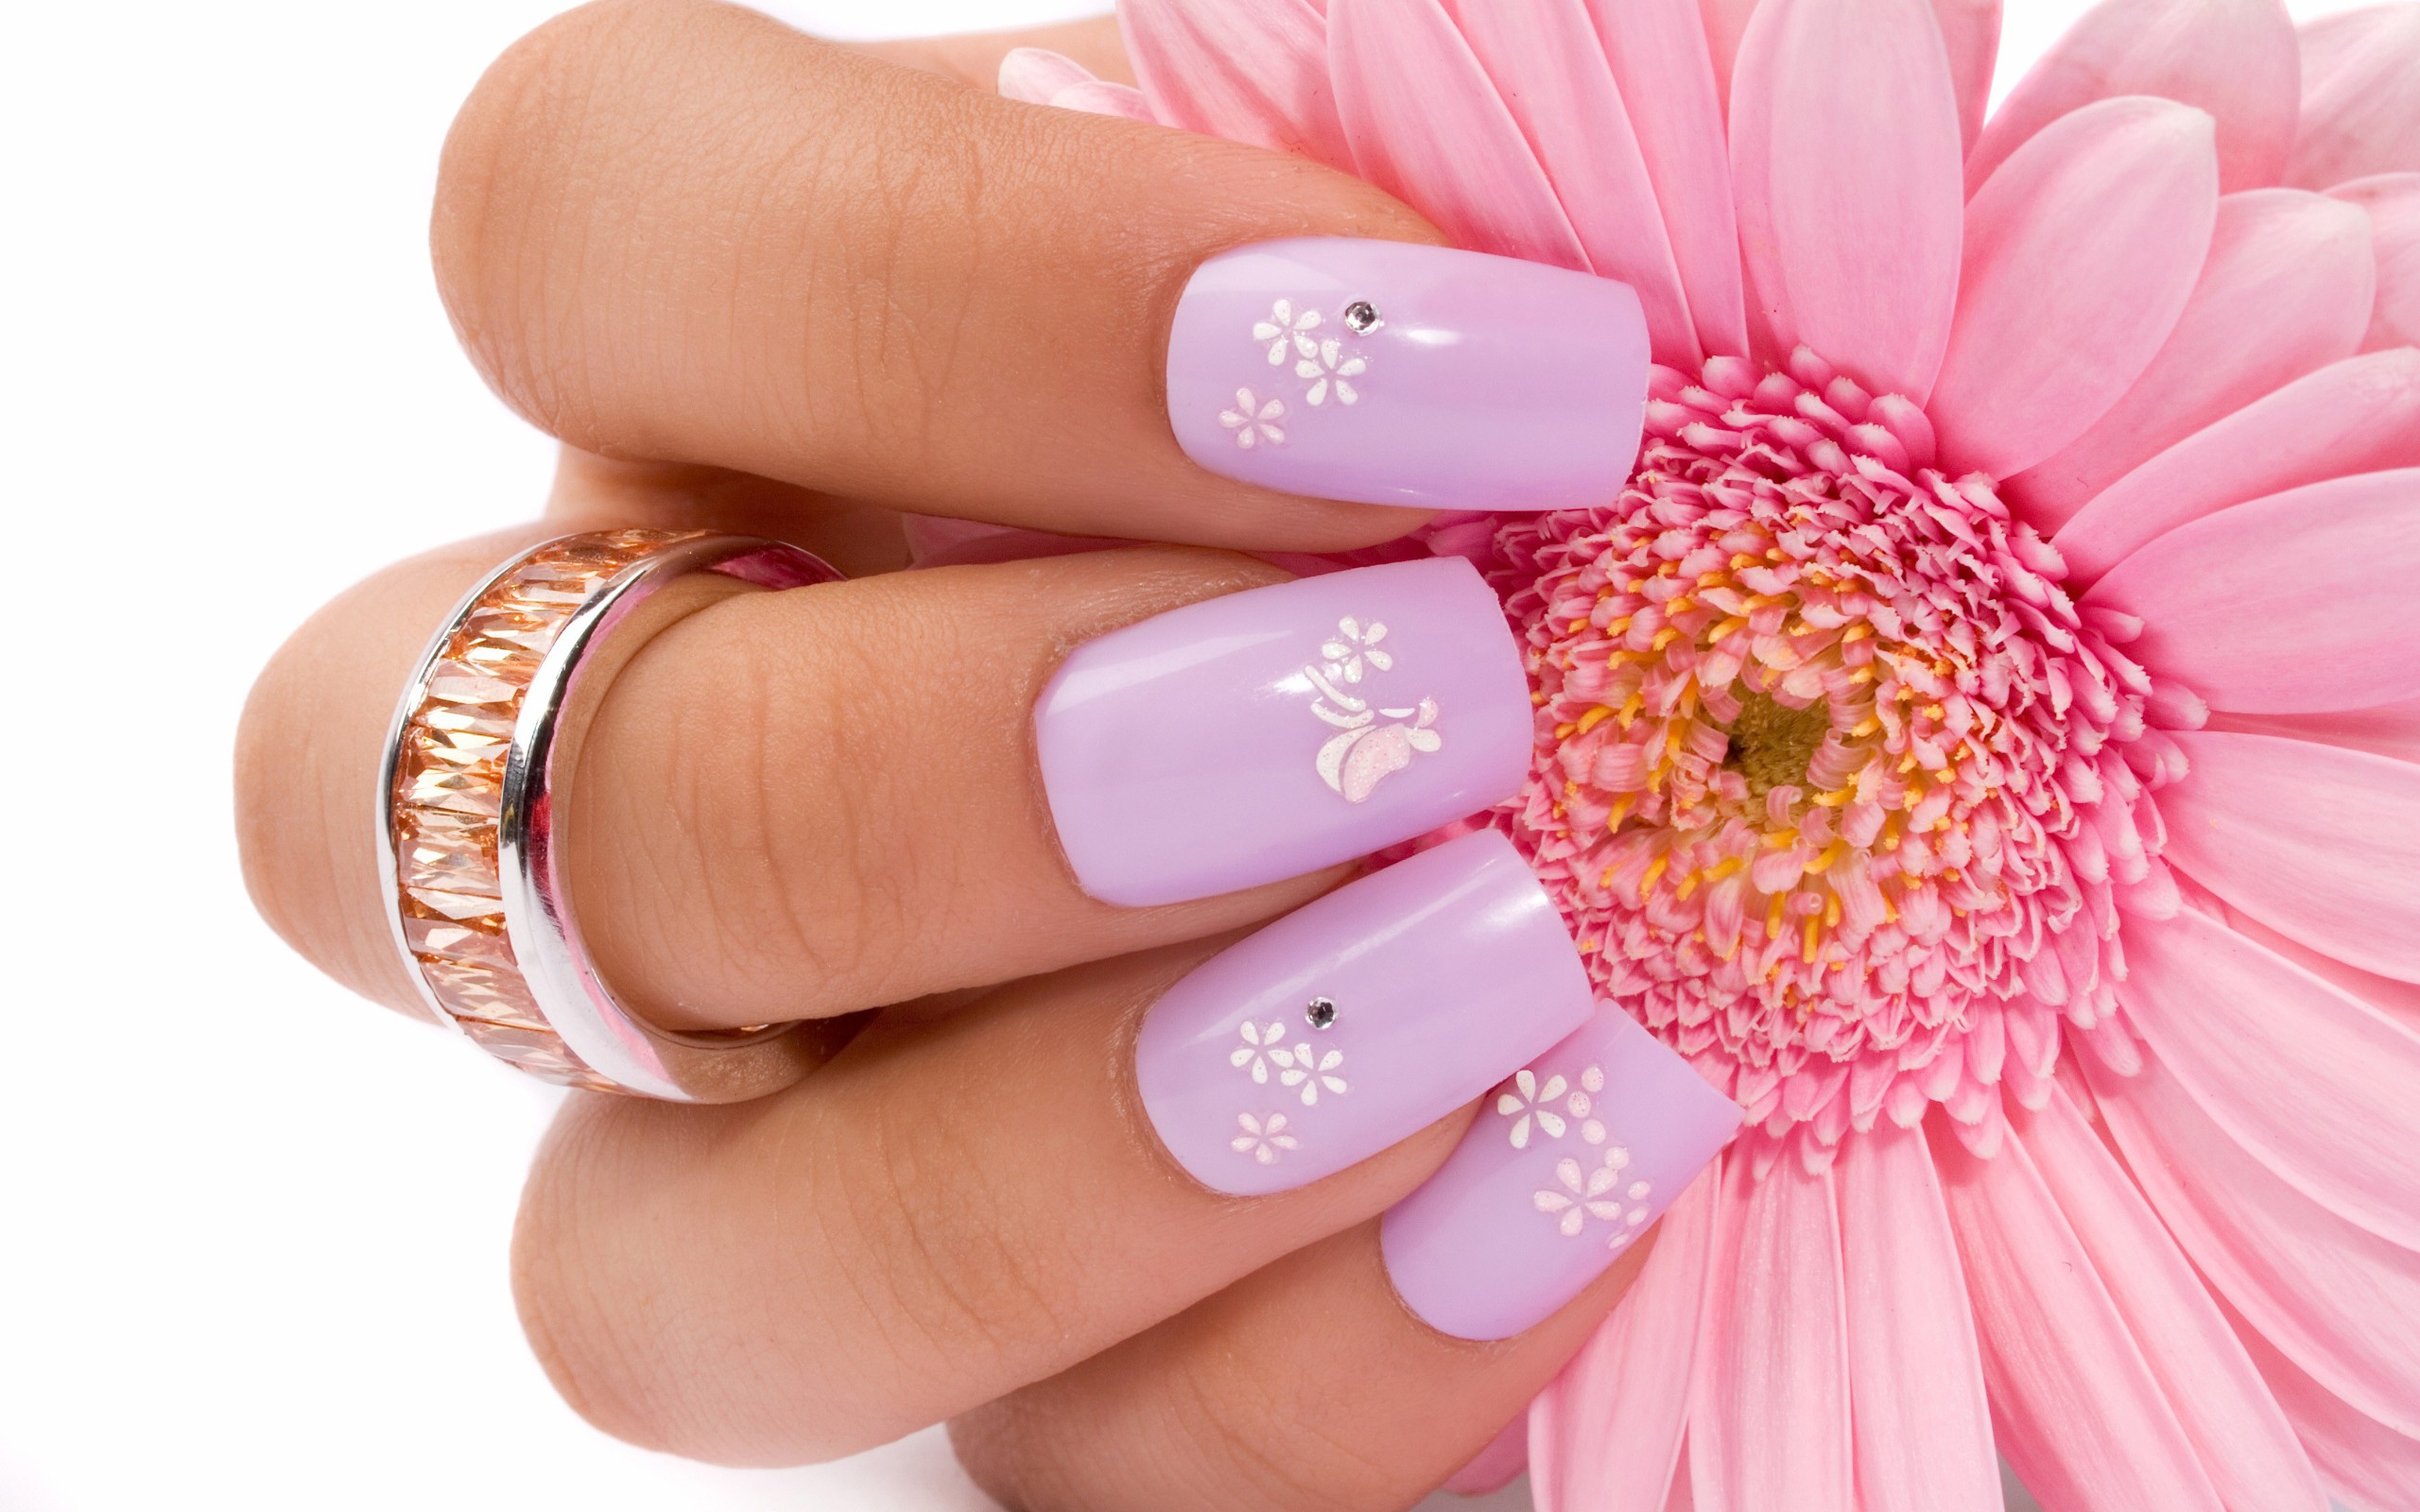
The Art of Flowers on Nails

Flowers on nails have become a popular trend in the world of nail art. This unique and creative style allows individuals to express their love for nature and flowers through their manicures. With various techniques and designs, flowers on nails can be a stunning and eye-catching addition to any outfit or occasion.
Creating Flowers on Nails: Step-by-Step Guide

If you're interested in trying out this delightful nail art trend, follow this step-by-step guide to create your own flowers on nails:
Step 1: Prepare Your Nails

Start by ensuring that your nails are clean and properly shaped. Trim and file your nails to your desired length and shape. Apply a base coat to protect your nails and provide a smooth surface for the design.
Step 2: Choose Your Floral Design

Decide on the type of floral design you'd like to create. You can choose from various options such as roses, sunflowers, daisies, or even a mix of different flowers. Find inspiration from online tutorials or nail art magazines.
Step 3: Gather Your Tools and Materials
To create flowers on nails, you'll need a few essential tools and materials including nail polish in various colors, a small dotting tool or toothpick, and a thin nail art brush. Make sure you have all the necessary supplies before starting.
Step 4: Apply the Base Color
Choose a suitable base color for your nails. Light pastel shades or nude colors work well as they allow the floral design to stand out. Apply two coats of the base color and allow it to dry completely.
Step 5: Create the Flower Petals

Using the nail art brush or a toothpick, start creating the flower petals. Dip the brush into a contrasting color of nail polish and carefully draw small curved lines to form the petals. Repeat this step for each flower.
Step 6: Add Details and Accents
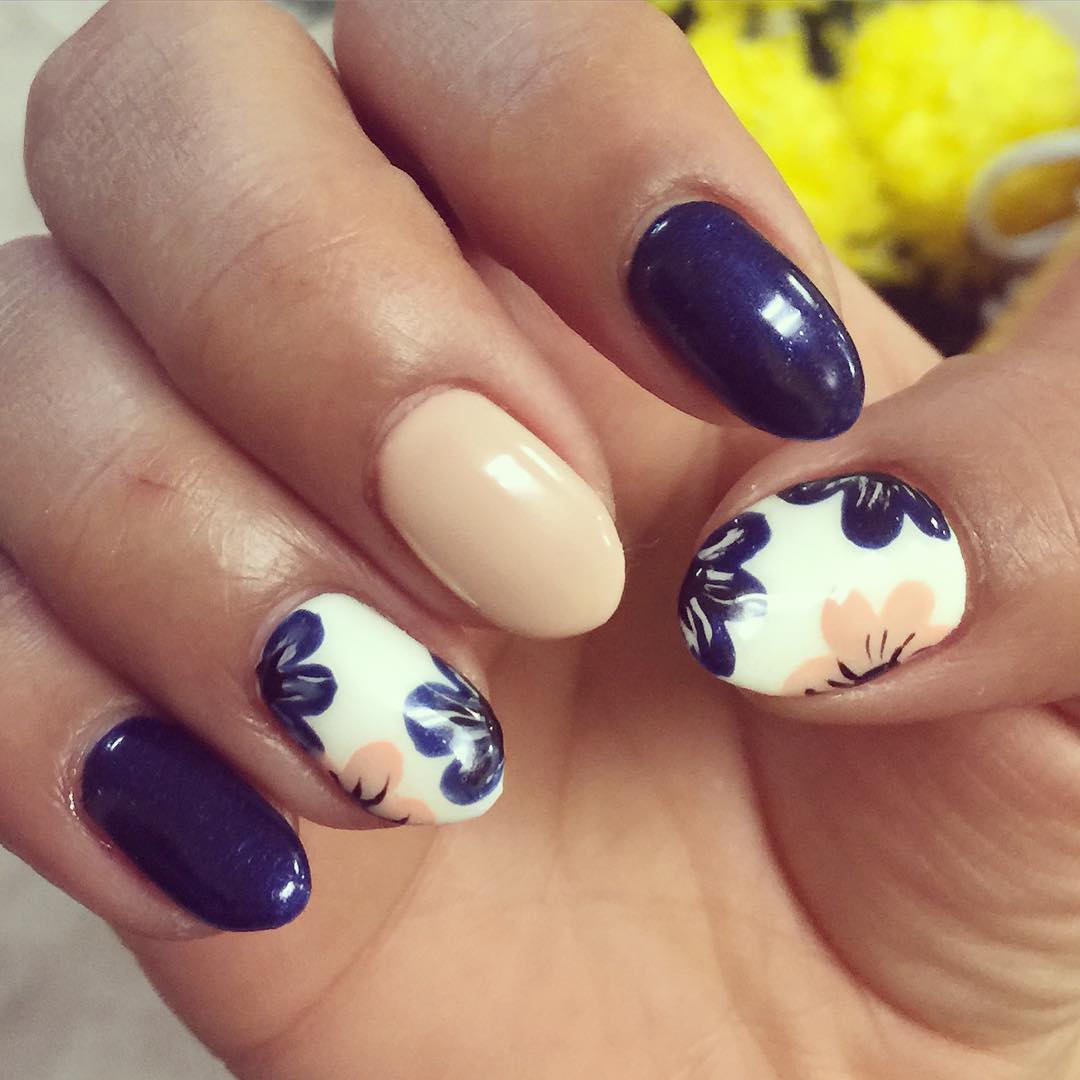
Enhance the floral design by adding details and accents. Use a dotting tool or toothpick to create small dots in the center of each flower or add green leaves to complete the look. Be creative and experiment with different designs.
Step 7: Seal the Design

Once you're satisfied with the floral design, seal it with a top coat. This will protect your masterpiece and give it a glossy finish. Allow the top coat to dry completely before touching anything.
Flowers on Nails: Perfect for Any Occasion
Flowers on nails are a versatile nail art trend that can be worn for various occasions. Whether you're attending a wedding, a garden party, or simply want to add a touch of elegance to your everyday look, flowers on nails are a perfect choice.
Express Your Style with Flowers on Nails
Flowers on nails allow you to express your unique style and personality. Whether you prefer delicate and feminine designs or bold and vibrant floral patterns, there are endless possibilities to showcase your creativity and love for flowers.
Conclusion
Flowers on nails have become a popular trend in the world of nail art due to their beauty and versatility. By following a step-by-step guide, you can create your own stunning floral designs on your nails. Whether you're attending a special event or simply want to add a touch of nature to your everyday look, flowers on nails are a fantastic choice. Express your style, embrace your creativity, and enjoy the beauty of flowers on your fingertips.
