Introduction
Learning how to draw lily flowers can be a rewarding experience for both beginners and experienced artists alike. Lilies are known for their elegant and graceful appearance, making them a popular choice for floral drawings. In this step-by-step guide, we will walk you through the process of drawing lily flowers in a relaxed and easy-to-understand manner.

Gather Your Materials
Before you start drawing, make sure you have all the necessary materials. You will need a piece of drawing paper, a pencil, an eraser, and some colored pencils or markers if you wish to add color to your drawing. Having these materials ready will ensure a smooth drawing process.

Step 1: Sketch the Lily's Basic Shape
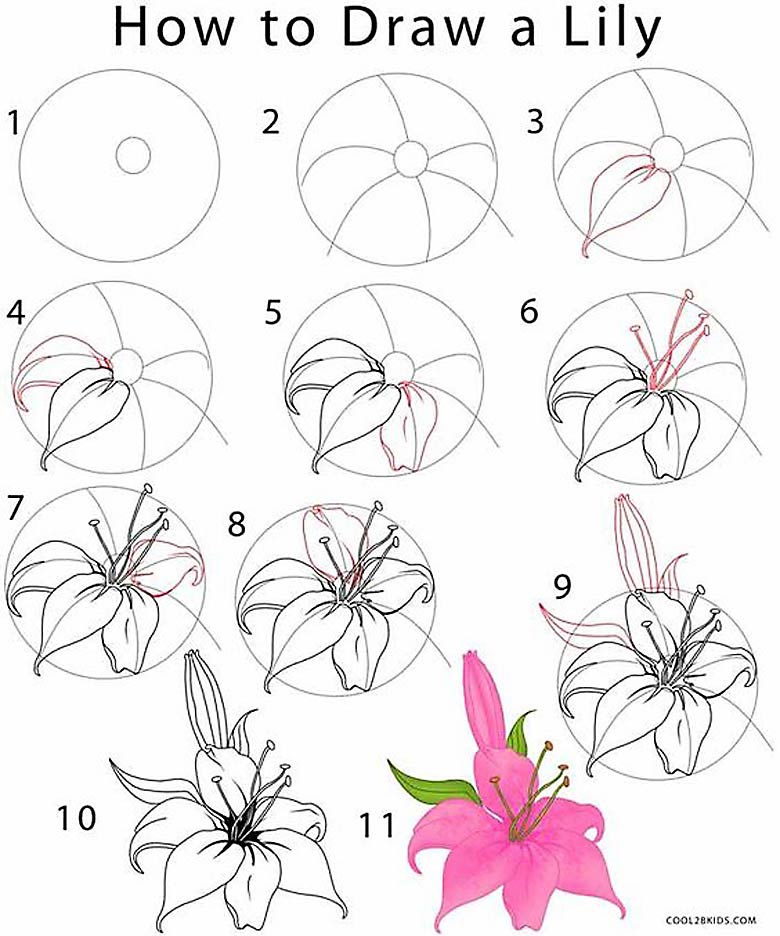
Start by sketching the basic shape of the lily flower. Draw an oval shape for the flower's center and extend two curved lines downwards for the stem. Keep the lines light and loose, as you will be refining them later on.

Step 2: Add Petals to the Flower
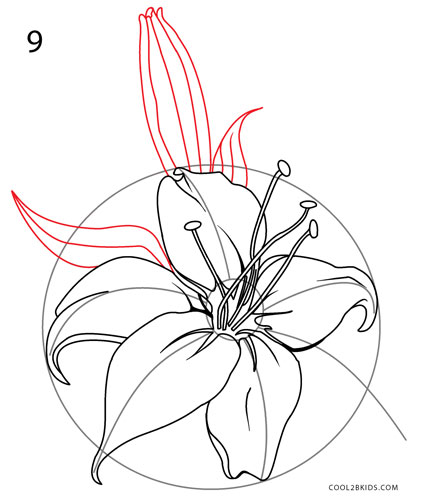
Next, add the petals to the lily flower. Start by drawing three large petals around the oval shape you sketched earlier. These petals should be slightly curved, giving the flower a natural look. Then, add three smaller petals behind the larger ones to create depth and dimension.

Step 3: Refine the Shape and Add Details
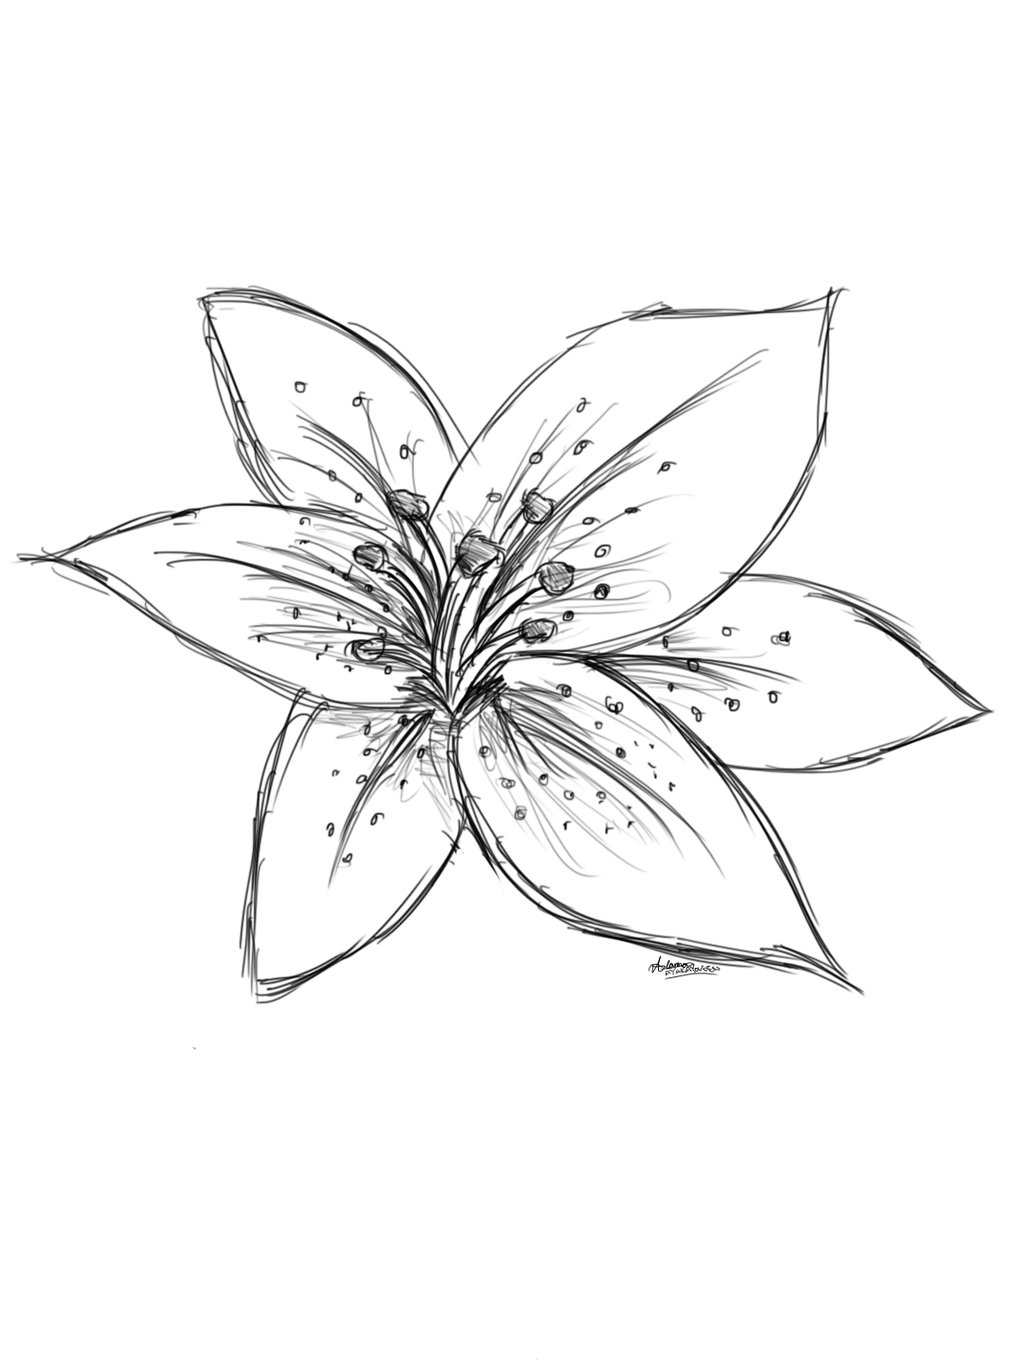
Refine the shape of the lily by erasing any unnecessary lines and adjusting the curves of the petals. Add more details to the flower, such as the stamen in the center and the veins on the petals. Take your time during this step to ensure accuracy and precision.

Step 4: Shade and Add Depth
To make your lily drawing more realistic, add shading and depth. Identify the light source in your drawing and darken the areas that would be in shadow. Use gentle strokes and gradually build up the shading to create a smooth transition between light and dark areas.

Step 5: Color Your Drawing
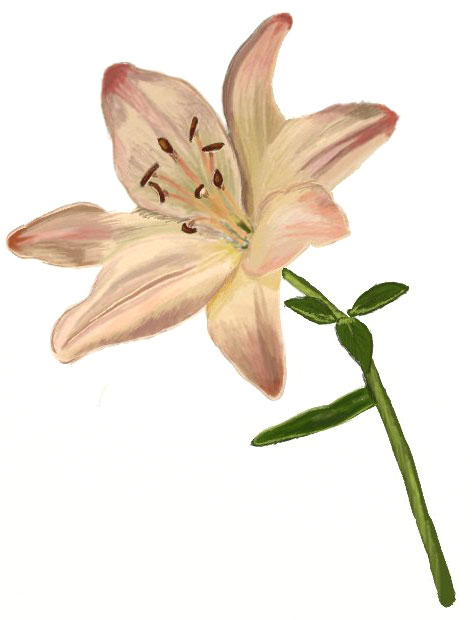
If you prefer a colored lily drawing, now is the time to add some hues. Use colored pencils or markers to carefully color the petals, stamen, and leaves. Pay attention to the subtle color variations and textures in a real lily flower to make your drawing more lifelike.

Step 6: Finalize Your Drawing
Once you are satisfied with your drawing, take a step back and observe it as a whole. Make any necessary adjustments or additions to enhance the overall composition. Erase any remaining sketch lines and refine any details that need attention.

Conclusion
Drawing lily flowers step by step can be a delightful and calming artistic process. By following these simple instructions, you can create a beautiful lily drawing with confidence. Remember to practice regularly and embrace your own unique style. Happy drawing!