
Introduction
Are you looking for a creative and budget-friendly way to decorate your space? Look no further than making 2D paper flowers! Whether you want to add a pop of color to your room or create beautiful handmade cards, paper flowers are a versatile and fun craft project. In this article, we will guide you step-by-step on how to make stunning 2D paper flowers.
Gather Your Supplies

Before you dive into creating paper flowers, ensure you have all the necessary supplies. Here's what you'll need:
- Colored paper or cardstock
- Scissors
- Glue stick or adhesive
- Pencil
- Ruler
- Template (optional)
Having these supplies ready will make the process easier and more enjoyable.
Choose Your Flower Design
Next, decide on the type and design of the flower you want to create. You can choose from a variety of options such as roses, daisies, or lilies. You can also search for flower templates online or sketch your own design. Having a clear idea of your flower's appearance will make the crafting process smoother.
Cut the Paper Strips
Take your colored paper or cardstock and cut it into strips. The width of the strips will determine the size of your flower. Longer strips will result in larger flowers, while shorter ones will create smaller blooms. Use a ruler and pencil to mark the width and then cut the strips carefully with scissors. Aim for around 1 inch in width.
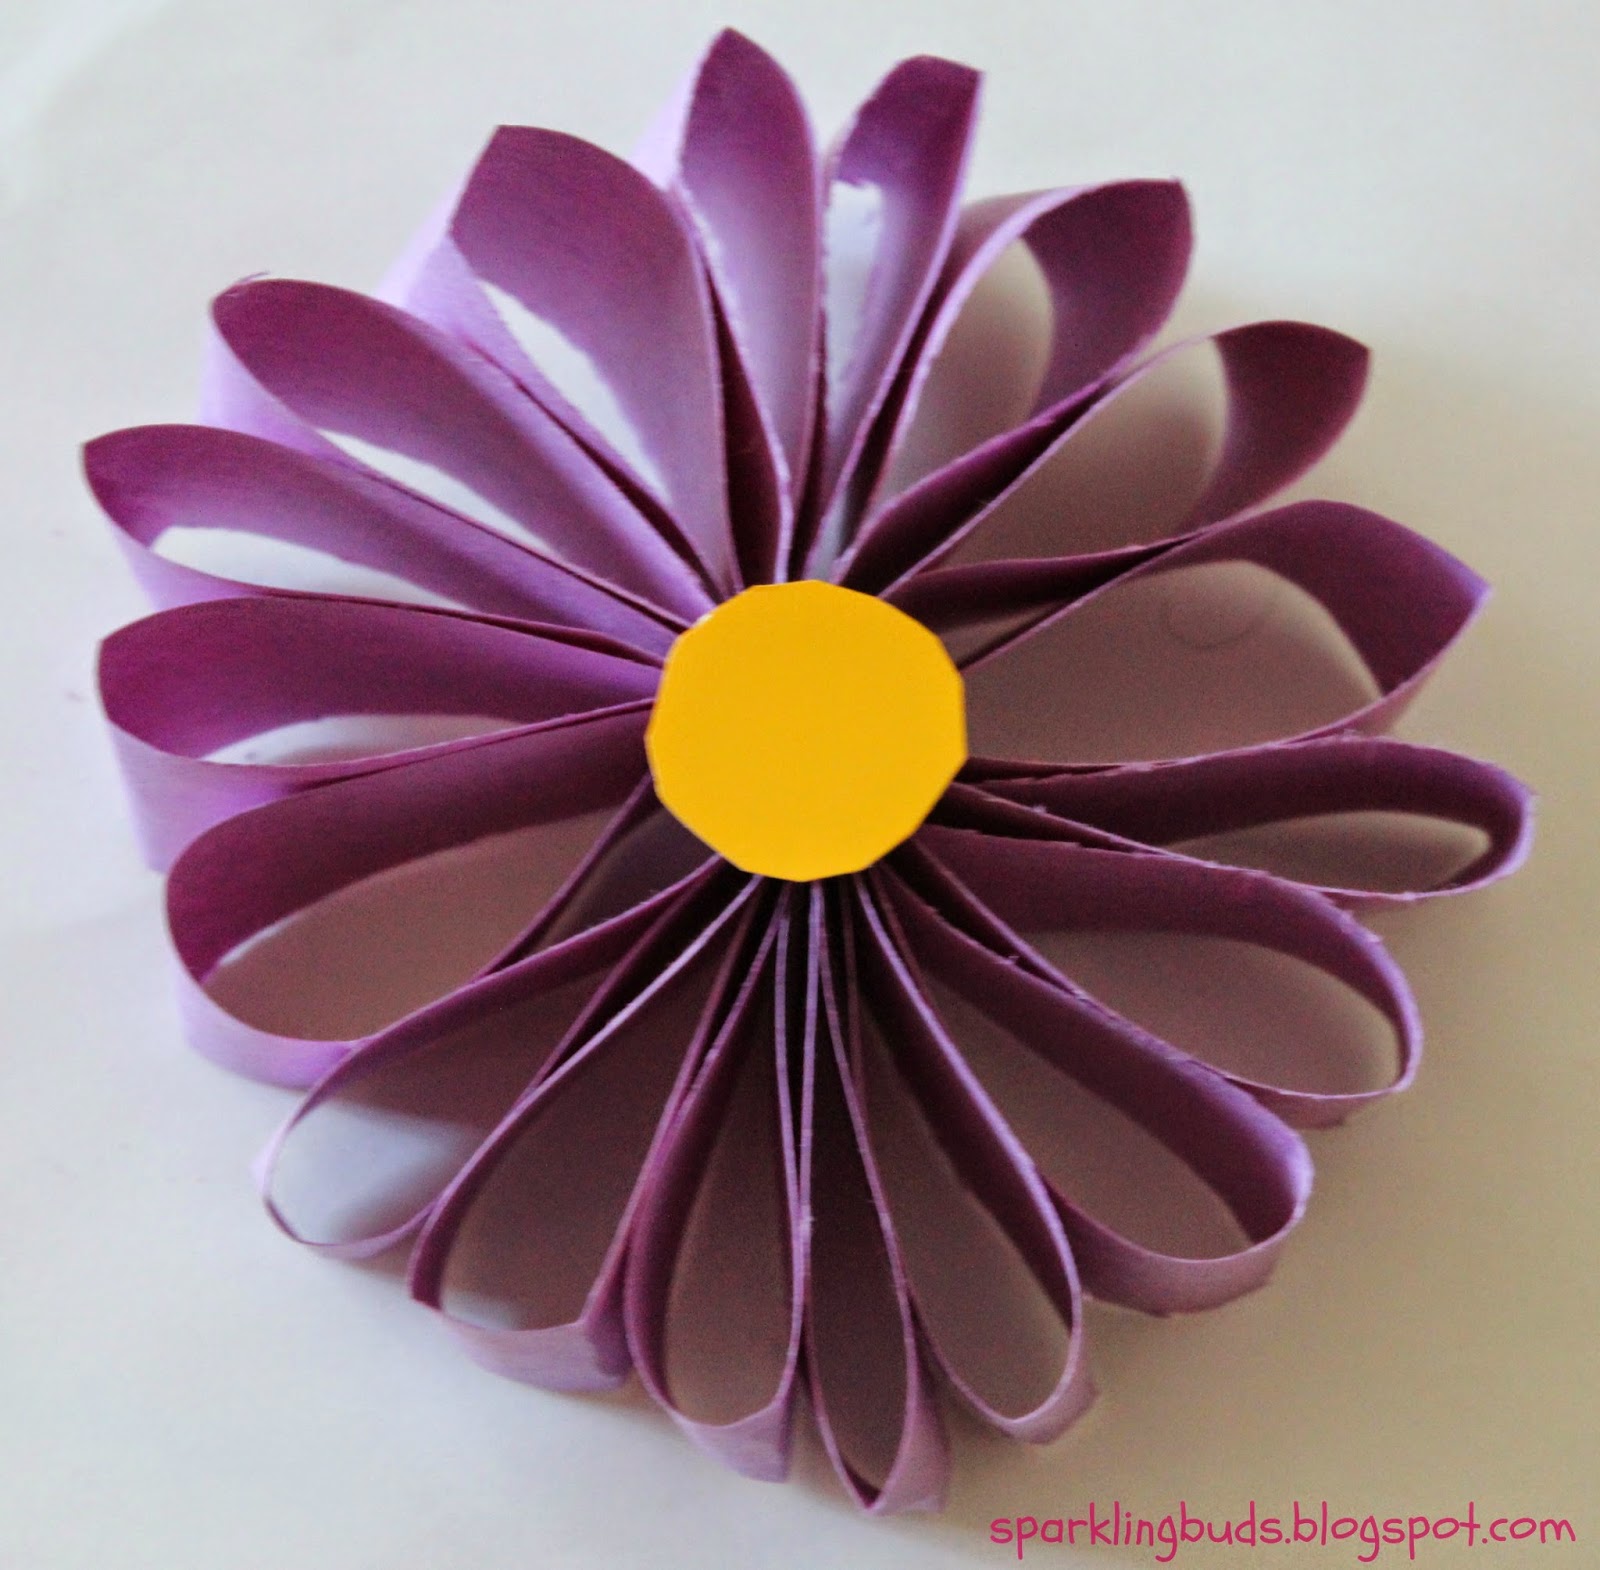
Create the Petals
Now, it's time to shape the petals of your paper flower. You can either create simple oval-shaped petals or experiment with different shapes like heart or teardrop. Take a strip of paper and fold it in half lengthwise. Draw your desired petal shape on one side and cut it out. Once you unfold the strip, you'll have a beautiful petal shape.
Prepare the Flower Center

Every flower needs a center! Cut a small circle or oval shape from a contrasting color of paper or cardstock. This will act as the focal point of your flower. You can experiment with different colors to add visual interest to your creation.
Assemble Your Paper Flower

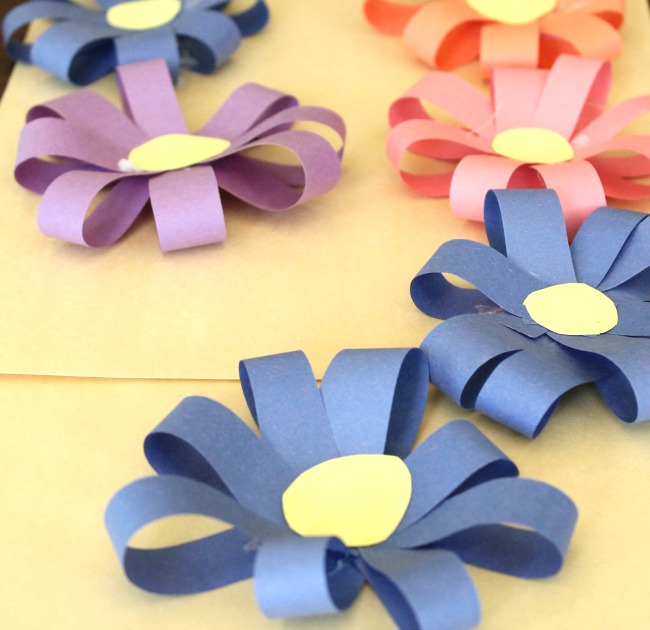
Now comes the fun part ??? assembling your paper flower! Take one of the petal shapes you created earlier and apply a small amount of glue to one end. Gently attach it to the center of the flower, slightly overlapping the petals. Repeat this process with the remaining petals, layering them around the center until you achieve the desired fullness.
Finishing Touches
Once you've assembled your paper flower, you can add some finishing touches to make it even more realistic. Use a pencil or your fingers to curl the edges of the petals slightly. This will give your flower a more natural and lifelike appearance. You can also use markers or colored pencils to add details or shading to the petals.
Display and Enjoy
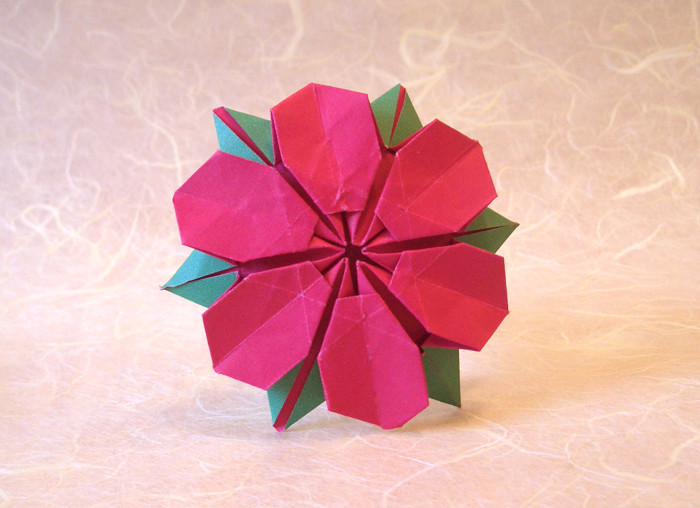
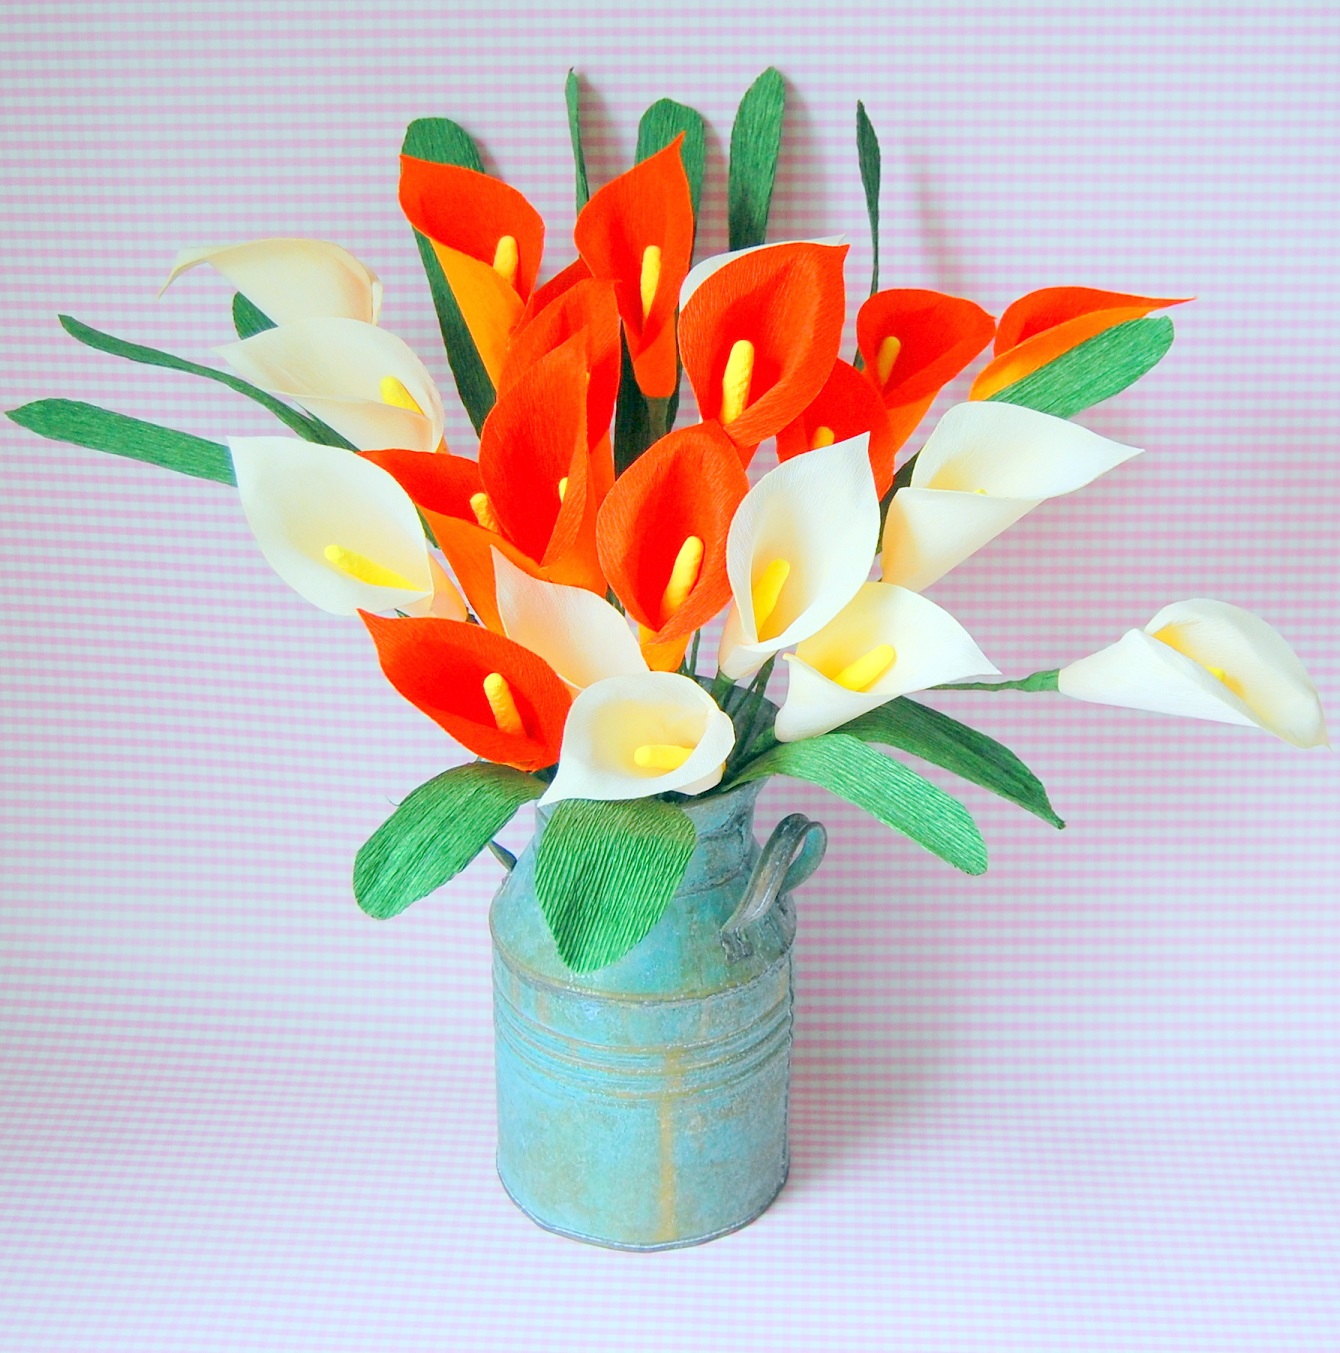
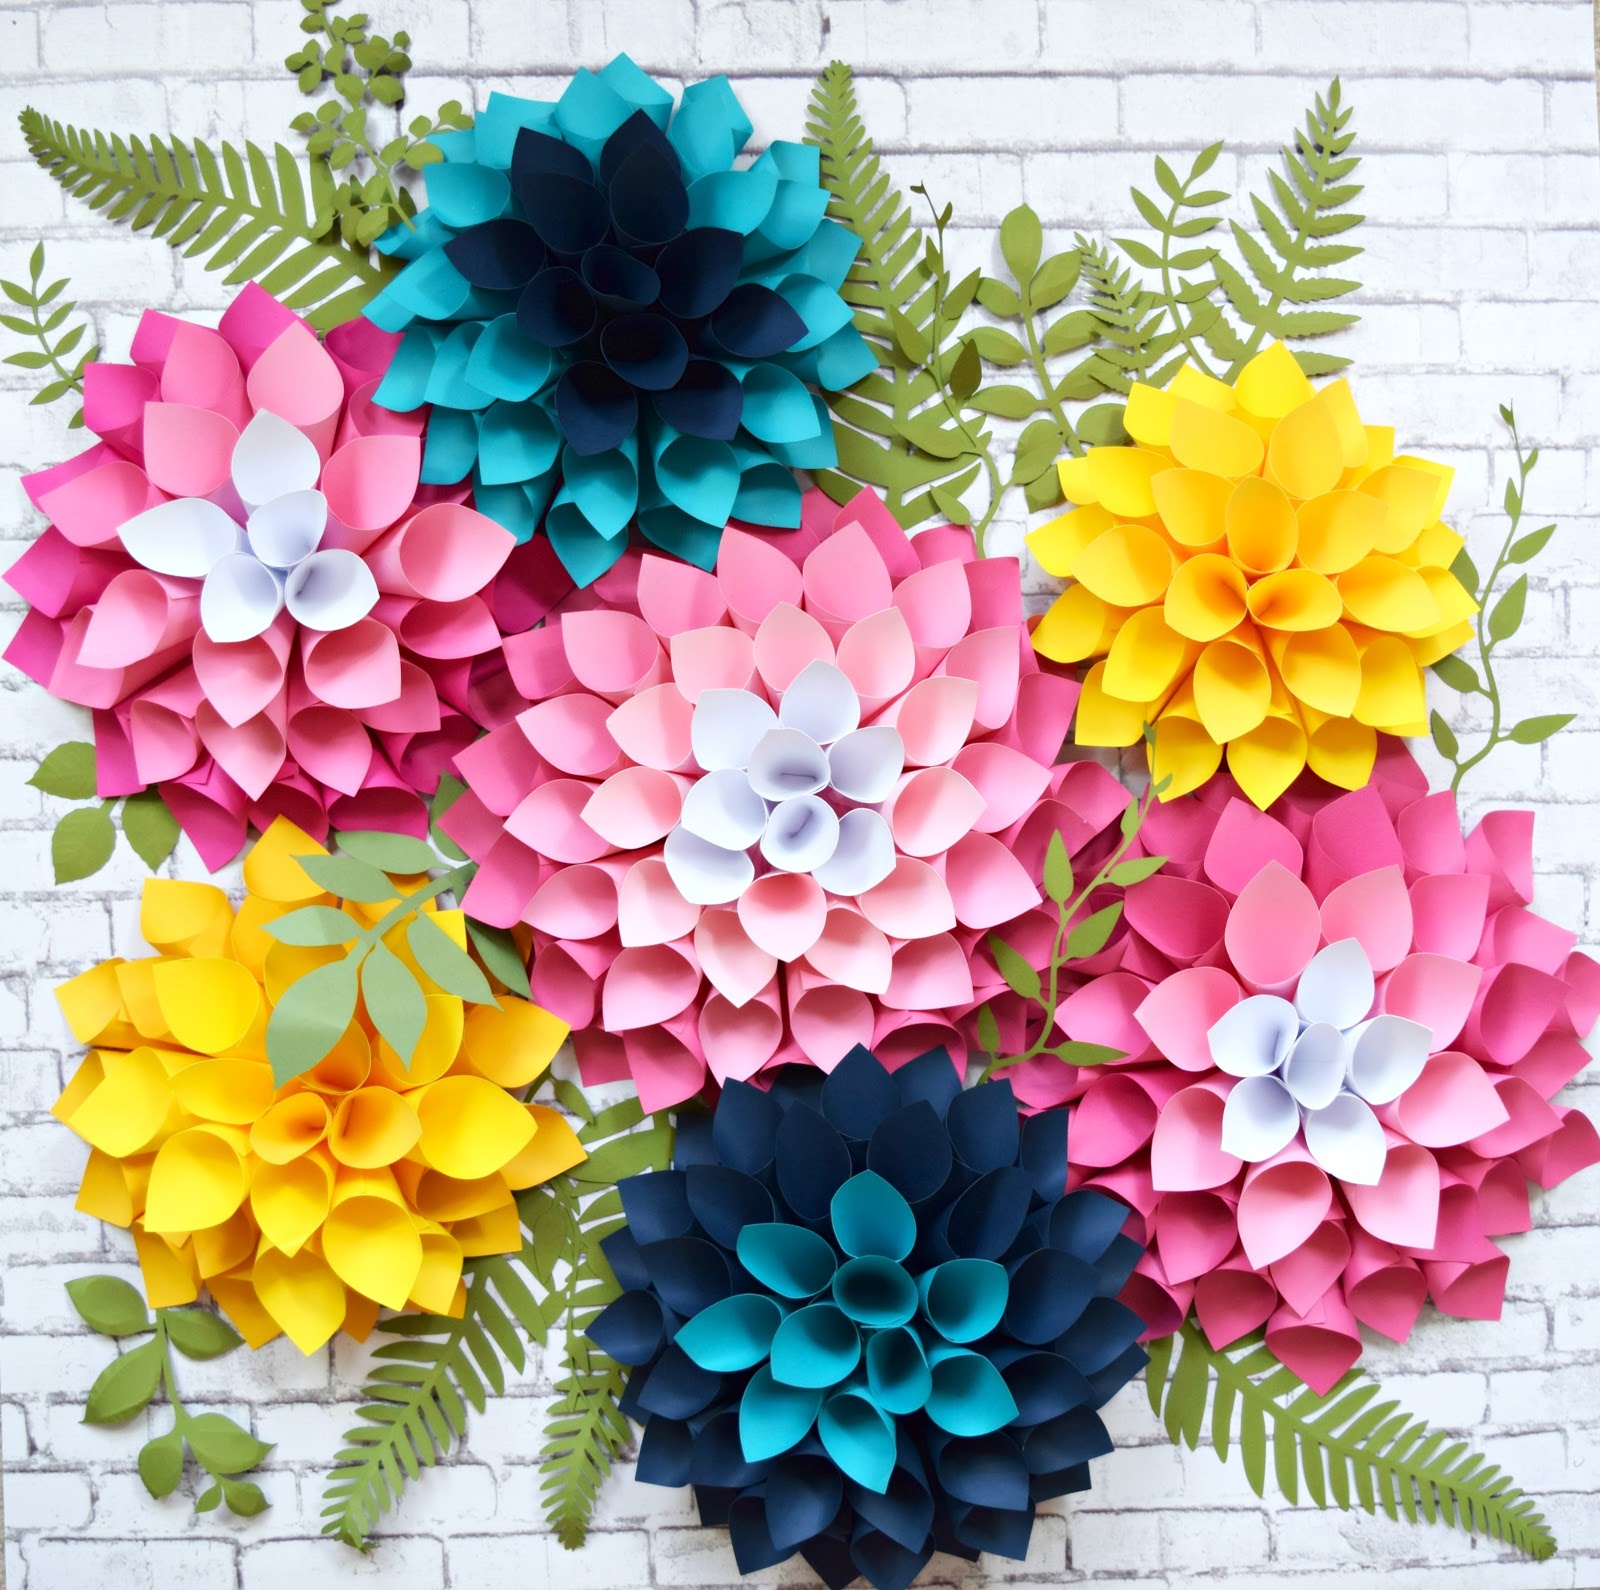
Now that your 2D paper flower is complete, it's time to display and enjoy your creation! Attach your paper flower to a card, create a bouquet, or stick it on a wall for a vibrant and eye-catching decoration. Get creative with different colors, sizes, and arrangements to personalize your paper flower collection.
Meta Description
Create stunning 2D paper flowers with this step-by-step guide. Learn how to choose flower designs, cut and shape petals, and assemble beautiful paper blooms for various creative projects.
Meta Keywords
2D paper flowers, paper flower crafts, DIY paper flowers, handmade flower decorations, paper flower tutorials
