
Introduction
Sketching flowers can be a relaxing and enjoyable activity for both beginners and experienced artists. Whether you want to capture the beauty of a specific flower or simply explore your artistic skills, this step-by-step guide will help you create stunning flower sketches. In this article, we will cover various techniques and tips to make your flower sketches come to life.

Gather Your Materials
Before you begin sketching, it's essential to gather the necessary materials. Here's what you'll need:
- Pencil: Use a graphite pencil with different lead hardness for shading and detailing.
- Sketchbook: Choose a sketchbook with smooth and sturdy paper to prevent smudging and tearing.
- Eraser: Have a kneaded eraser for easy erasing and correcting mistakes.
- Reference Image: Find a clear and detailed reference image of the flower you want to sketch.

Choose Your Flower
Decide on the flower you want to sketch. It could be a rose, daisy, sunflower, or any other flower that inspires you. Look for a reference image that shows the flower from different angles to help you understand its structure and details.
Study the Anatomy
Before you start sketching, take some time to study the anatomy of the flower. Notice the shape of the petals, the arrangement of leaves, and the structure of the stem. Understanding these details will enable you to create a more realistic and accurate sketch.
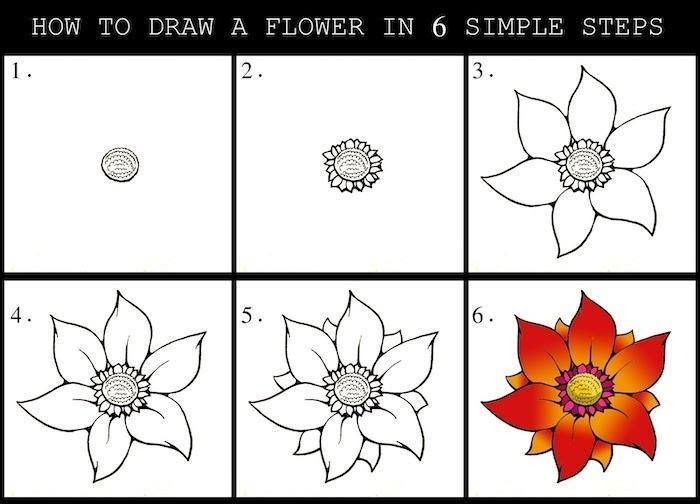
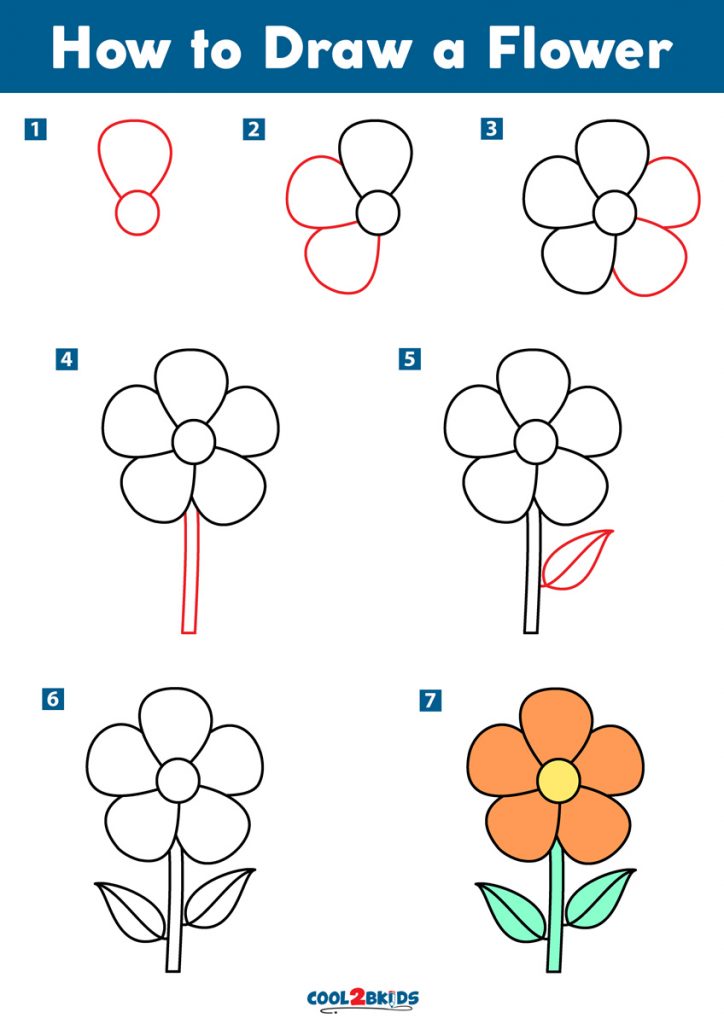
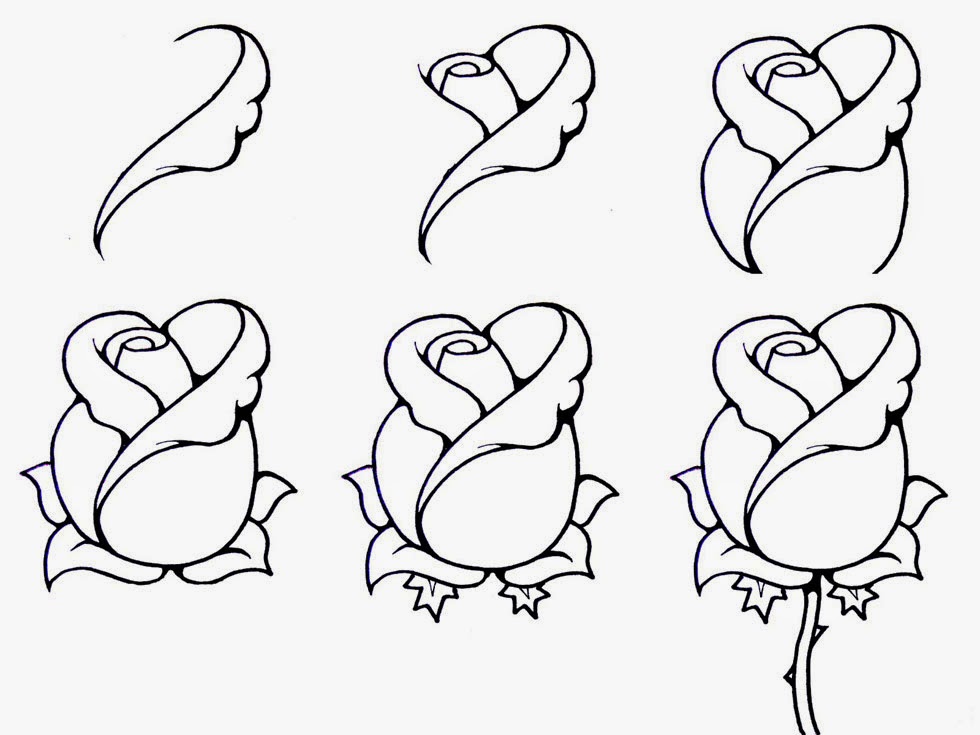
Start with Basic Shapes
Begin your sketch by lightly drawing the basic shapes of the flower. Use simple geometric forms to represent the petals, such as circles, ovals, or triangles. This step will help you establish the overall composition and proportions of your sketch.

Add Details and Texture
Once you have the basic shapes in place, start adding more details to your sketch. Observe the texture of the petals, leaves, and other elements of the flower. Use short lines, curves, or dots to represent the fine details and textures accurately.

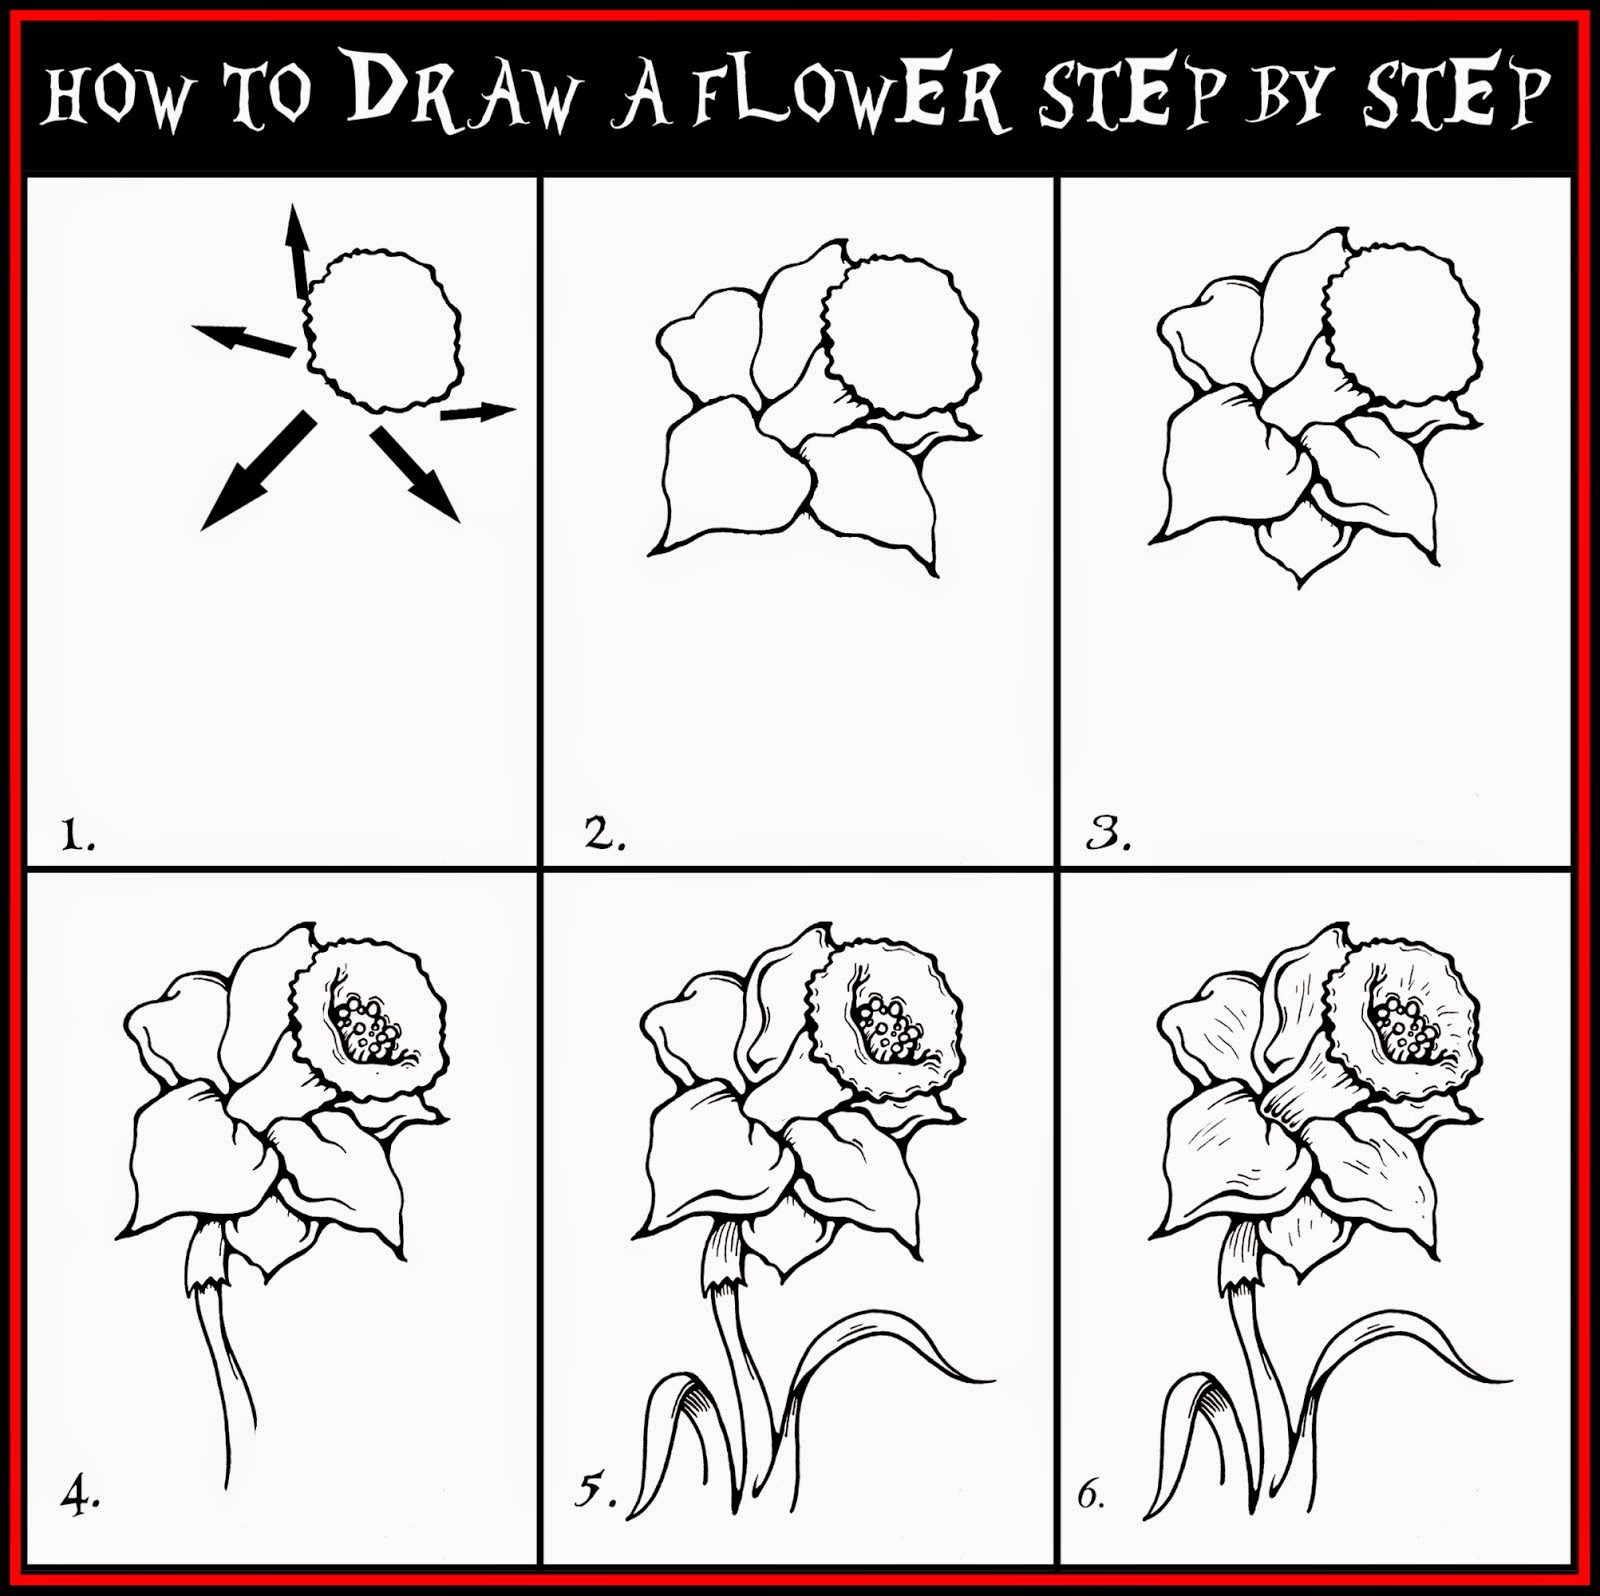
Focus on Light and Shadow
Light and shadow play a vital role in bringing depth and realism to your flower sketch. Observe where the light source is coming from in your reference image and create shadows accordingly. Use different shading techniques, such as cross-hatching or stippling, to add volume and dimension to your sketch.
Refine Your Sketch
Once you have completed the initial sketch, take a step back and evaluate your work. Look for any areas that need refinement or adjustment. Make necessary corrections to ensure your sketch accurately represents the flower you chose.
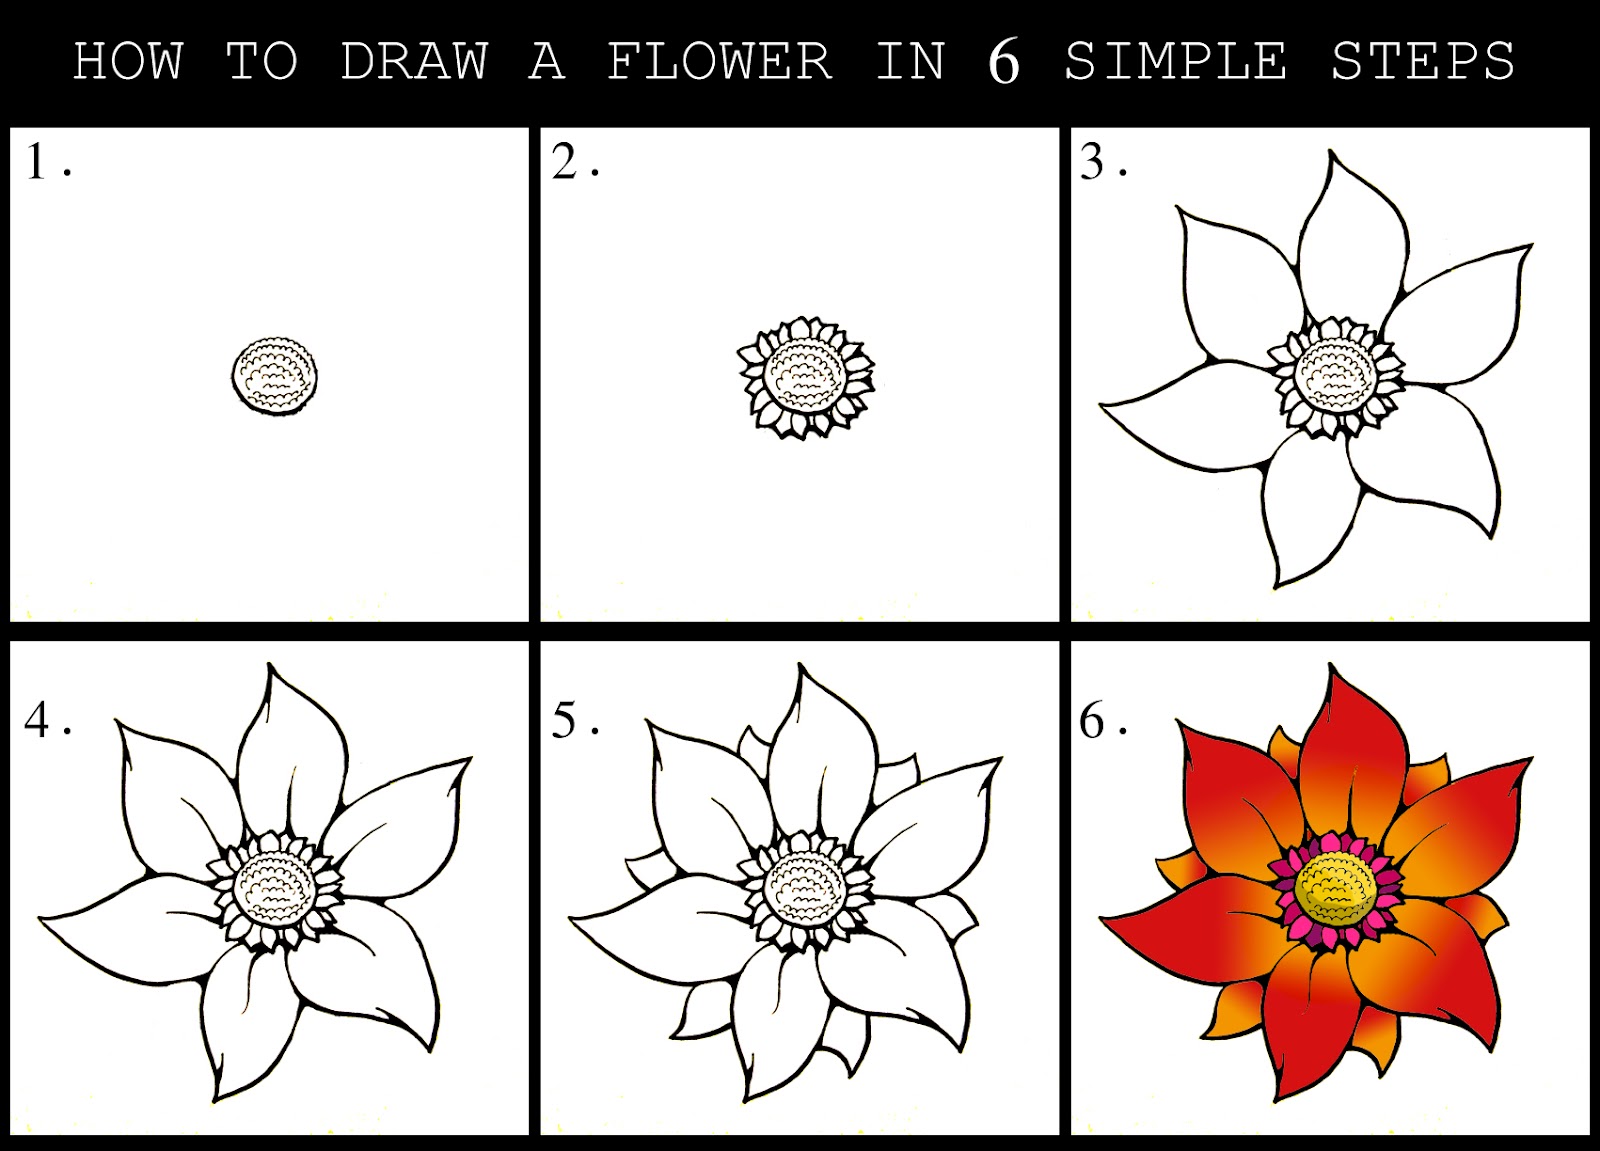
Experiment with Colors
If you want to add color to your flower sketch, you can use colored pencils, watercolors, or markers. Start by applying light layers of color and gradually build up the intensity. Pay attention to the subtle variations in color and shading to create a realistic representation of the flower.
Practice Regularly
Improving your sketching skills requires practice. Set aside regular time to sketch flowers or other subjects of interest. Experiment with different techniques and styles to develop your unique artistic voice. The more you practice, the more confident and skilled you will become.

Conclusion
Sketching flowers step by step can be a rewarding and therapeutic experience. By following these guidelines and dedicating time to practice, you can create beautiful flower sketches that capture the essence of nature. Remember to enjoy the process and let your creativity blossom!
