
Introduction
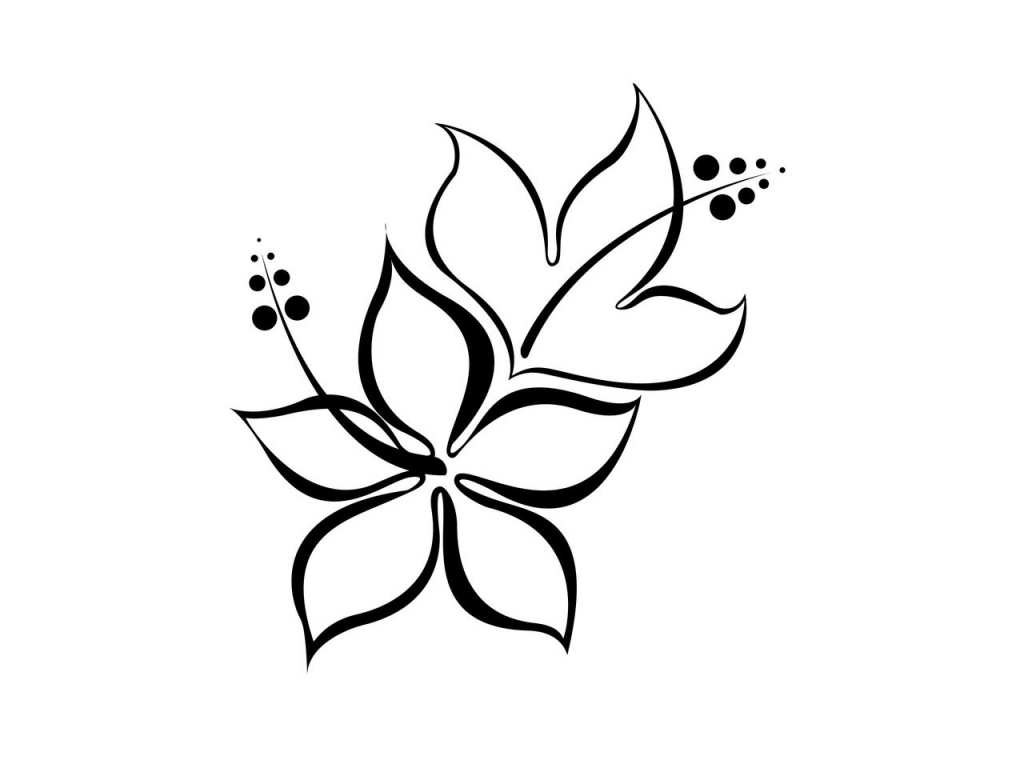
Flowers are a popular subject for drawing due to their beauty and variety. If you're looking to create mini flower drawings that are simple yet charming, this article is for you. In this guide, we will provide step-by-step instructions on how to draw mini flowers with ease. Whether you're a beginner or an experienced artist, these simple techniques will help you create stunning mini flower drawings.
Gathering Your Materials

Before you start drawing, make sure you have all the necessary materials. You will need a pencil, eraser, fine-tip markers or colored pencils, and a sketchbook or drawing paper. Having these materials ready will ensure a smooth drawing process.
Choosing Your Flowers

There are countless flower types to choose from when it comes to mini flower drawings. Some popular options include roses, daisies, sunflowers, and tulips. Decide on the flower(s) you want to draw and gather reference images for guidance.
Starting with Basic Shapes

Begin by lightly sketching the basic shapes of your chosen flowers. For example, if you're drawing a rose, start with a small circle for the center and add oval shapes around it to form the petals. Keep the shapes simple and focus on capturing the overall form of the flower.
Adding Details and Texture

Once you have the basic shapes in place, start adding details and texture to your mini flower drawing. Use your reference images to guide you in adding the right number of petals, the shape of the leaves, and any other distinctive features of the flower. Pay attention to the lines and curves in the petals to make your drawing more realistic.
Choosing Colors

Now it's time to choose the colors for your mini flower drawing. If you're using markers, select a few shades of the same color to create depth and dimension. If you prefer colored pencils, experiment with blending different hues to achieve a realistic look. Take your time and have fun with the coloring process.
Shading and Highlights

To make your mini flower drawing pop, add shading and highlights. Observe your reference images to determine where the light source is coming from and add shading accordingly. Use a darker shade of your chosen color to create shadows and a lighter shade or white to add highlights. This will give your drawing a three-dimensional appearance.
Adding Background
Consider adding a background to your mini flower drawing to enhance its overall composition. It could be a simple gradient or a more elaborate scene. Experiment with different backgrounds to see which one complements your flowers the best.
Signing Your Artwork

Once you're satisfied with your mini flower drawing, don't forget to sign your artwork. Use a fine-tip marker or a small brush with your signature to add a personal touch. Signing your artwork adds a sense of ownership and professionalism.
Conclusion
Creating mini flower drawings can be a relaxing and enjoyable activity. By following the steps outlined in this article, you'll be able to create simple yet beautiful mini flower drawings. Remember to gather your materials, choose your flowers, start with basic shapes, add details and texture, choose colors, add shading and highlights, consider the background, and sign your artwork. With practice and patience, you'll be able to create stunning mini flower drawings that will impress others.
