
Introduction
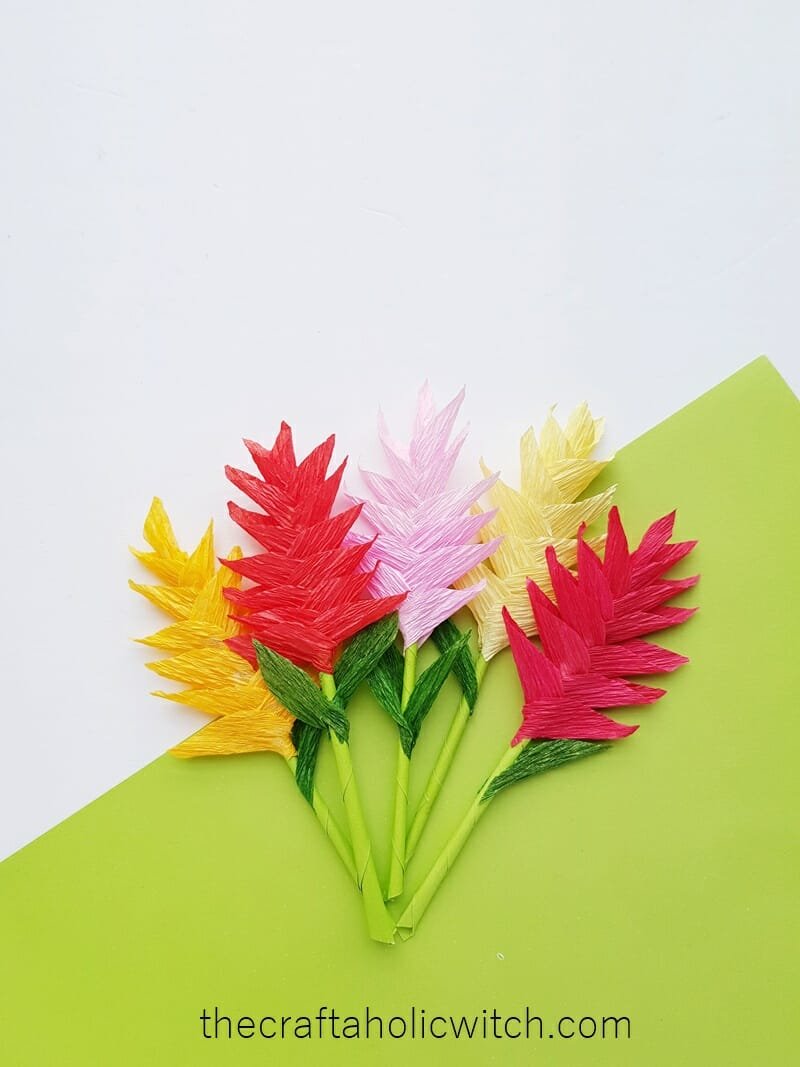
Creating beautiful paper flowers with stems can be a wonderful and creative DIY project. Whether you want to decorate your home, prepare for a special occasion, or simply enjoy a relaxing and rewarding craft activity, making paper flowers with stems allows you to add a touch of nature to your space. In this article, we will guide you through the process of creating stunning paper flowers with stems, step by step.
Gathering Materials

Before starting your DIY project, it's important to gather all the necessary materials. You will need colored paper, scissors, a ruler, a pencil, floral wire, floral tape, and glue. You can find these materials at your local craft store or order them online.
Choosing the Right Paper
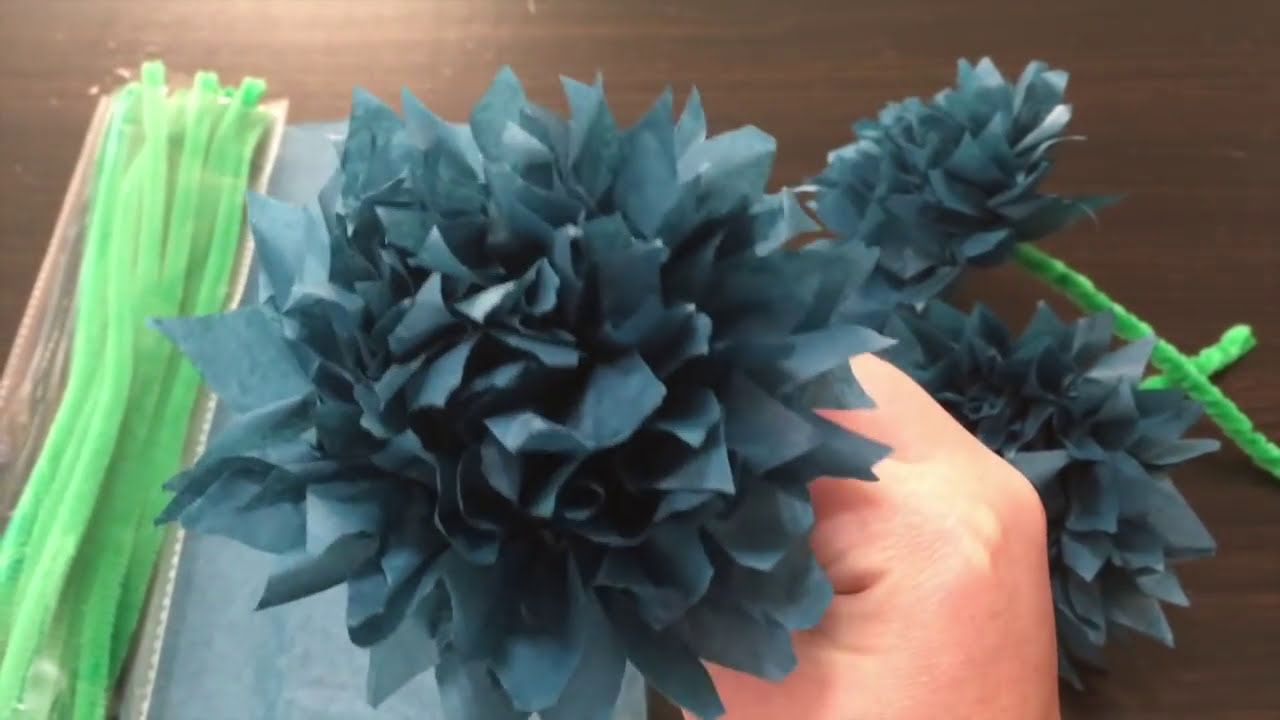
When it comes to creating paper flowers with stems, the type of paper you use is crucial. Look for sturdy and flexible paper that can hold its shape. Crepe paper is a popular choice due to its texture and stretchiness. Tissue paper can also work well, especially for delicate flower designs.
Selecting Flower Designs

Now it's time to choose the flower designs you want to create. You can opt for classic flowers such as roses, daisies, or tulips, or get creative with unique and exotic blooms. Look for flower templates online or use your imagination to design your own flower shapes.
Creating the Flower Petals
To make the flower petals, trace the chosen template onto your colored paper using a pencil. Cut along the outlines carefully, ensuring smooth and even edges. Repeat this step for each petal required, depending on the size and fullness of your desired flower.
Shaping the Petals

Once you have all the petals ready, you can shape them to add dimension and realism to your paper flowers. Gently curl the edges of each petal using a pencil or your fingers. This will create a natural curve and make the petals more lifelike.
Constructing the Flower Center

The flower center is an essential part of your paper flower design. Roll a small strip of colored paper tightly to create the center. Glue the end of the strip to secure it, and then let it expand slightly to form a pleasing shape. You can experiment with different sizes and colors for the centers.
Attaching the Petals

Now it's time to attach the petals to the flower center. Apply a small amount of glue to the base of each petal and carefully position it around the center. Overlap the petals slightly to create a full and realistic flower. Continue adding petals until you achieve the desired fullness.
Creating the Flower Stem

To create the stem, cut a piece of floral wire to your desired length. Apply floral tape to the wire, starting at one end and wrapping it tightly along the length. This will create a smooth and realistic stem for your paper flower.
Attaching the Flower to the Stem

Finally, it's time to attach the flower to the stem. Apply a small amount of glue to the base of the flower and carefully insert the stem into the glue. Hold it firmly for a few seconds to ensure it adheres properly. Once the glue is dry, your paper flower with a stem is complete!
Conclusion
Creating paper flowers with stems is a delightful and rewarding DIY project. With a few simple materials and some creativity, you can bring the beauty of nature into your home or event. Whether you're a beginner or an experienced crafter, making paper flowers with stems allows you to explore your artistic side. Enjoy the process, experiment with different designs and colors, and let your imagination bloom!
