
Introduction
Drawing flowers can be a delightful and relaxing activity for both beginners and experienced artists. In this article, we will guide you through the process of creating an easy and beautiful flowers bouquet drawing. Whether you want to create a lovely artwork for your home or simply enjoy the therapeutic benefits of drawing, this step-by-step tutorial will help you achieve stunning results.
Gathering the Materials
Before starting your drawing, it's essential to gather all the necessary materials. You will need a sketchbook or a sheet of paper, a pencil, an eraser, and some colored pencils or markers to add vibrant hues to your artwork. Having all the materials ready will ensure a smooth and uninterrupted drawing experience.

Choosing the Flowers
Now, let's decide which flowers you'd like to include in your bouquet drawing. You can choose a combination of your favorite blooms or explore different varieties for a diverse and visually appealing arrangement. Roses, tulips, daisies, and sunflowers are popular choices due to their distinct shapes and colors.

Sketching the Outline
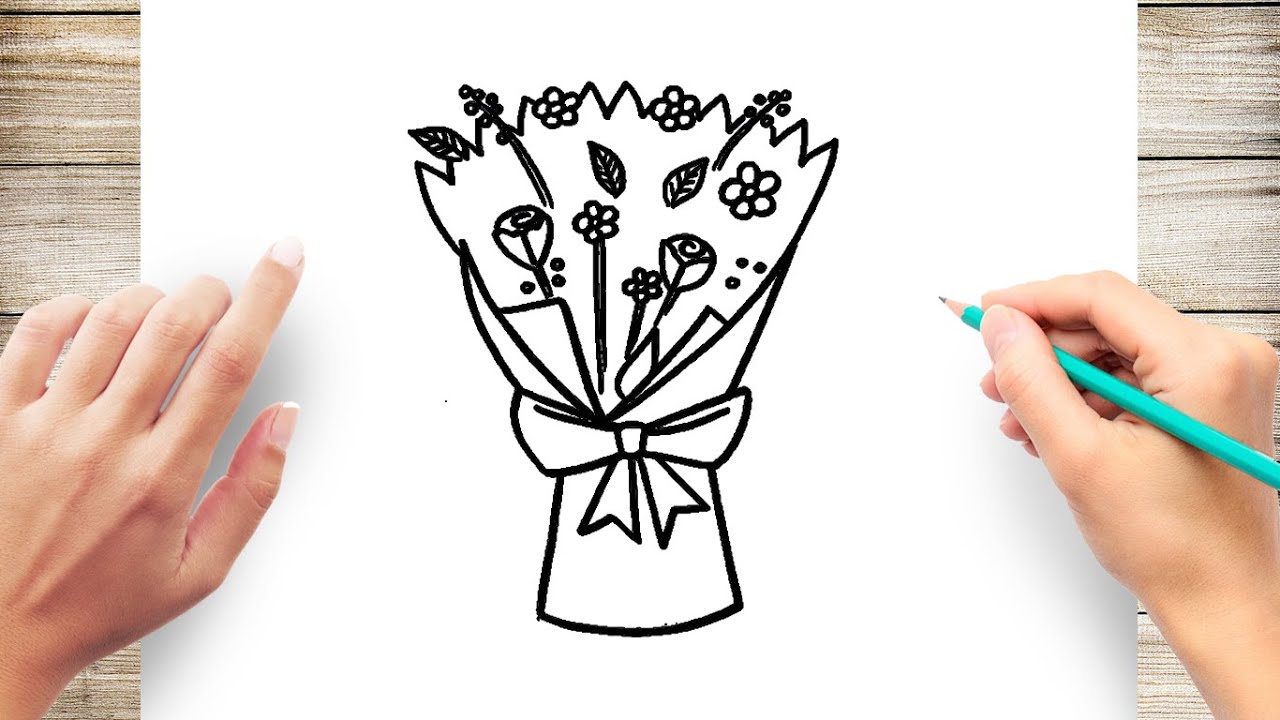
Start by lightly sketching the outline of the bouquet on your paper. You can draw a circular shape to represent the overall arrangement and then add curved lines to indicate the position of each flower. Don't worry about making it perfect at this stage; the outline will serve as a guide for the subsequent steps.

Adding Details to the Flowers
Now, focus on each flower individually and add more details to bring them to life. Begin with the petals, carefully observing their shapes and curves. Use gentle strokes to create the delicate petals of a rose, the pointed petals of a tulip, or the simple circular petals of a daisy. Pay attention to the reference image you have chosen to capture the unique characteristics of each flower.

Enhancing the Bouquet with Foliage
A beautiful bouquet often includes foliage to add texture and depth. Draw leaves and stems around the flowers, considering their position and direction. Leaves can have various shapes and sizes, so take your time to observe and replicate them accurately. Adding foliage will make your bouquet drawing more realistic and visually appealing.

Coloring the Flowers and Foliage
Once you are satisfied with the sketch, it's time to bring your bouquet to life with colors. Use colored pencils or markers to add vibrant hues to the flowers and foliage. Refer to the reference image or let your imagination guide you in choosing the right colors for each flower. Blend the colors smoothly to create a realistic and harmonious composition.
Adding Shadows and Highlights
To make your bouquet drawing more dynamic and three-dimensional, add shadows and highlights to the flowers and foliage. Observe your reference image or imagine a light source in your drawing. Shade the areas that would naturally be darker due to the light source and add highlights to the parts that would catch the most light. This technique will give your artwork depth and dimension.

Final Touches
Once you are satisfied with the colors, shadows, and highlights, take a step back and evaluate your drawing. Make any necessary adjustments or add final details to enhance the overall composition. Pay attention to any areas that might need refinement or additional shading. When you feel that your bouquet drawing is complete, it's time to sign your artwork proudly.
Conclusion
Drawing a flowers bouquet can be a rewarding and enjoyable experience. By following this easy step-by-step tutorial, you have learned how to create a stunning bouquet drawing that showcases your creativity and artistic skills. Remember to have fun throughout the process and let your imagination guide you. Happy drawing!
