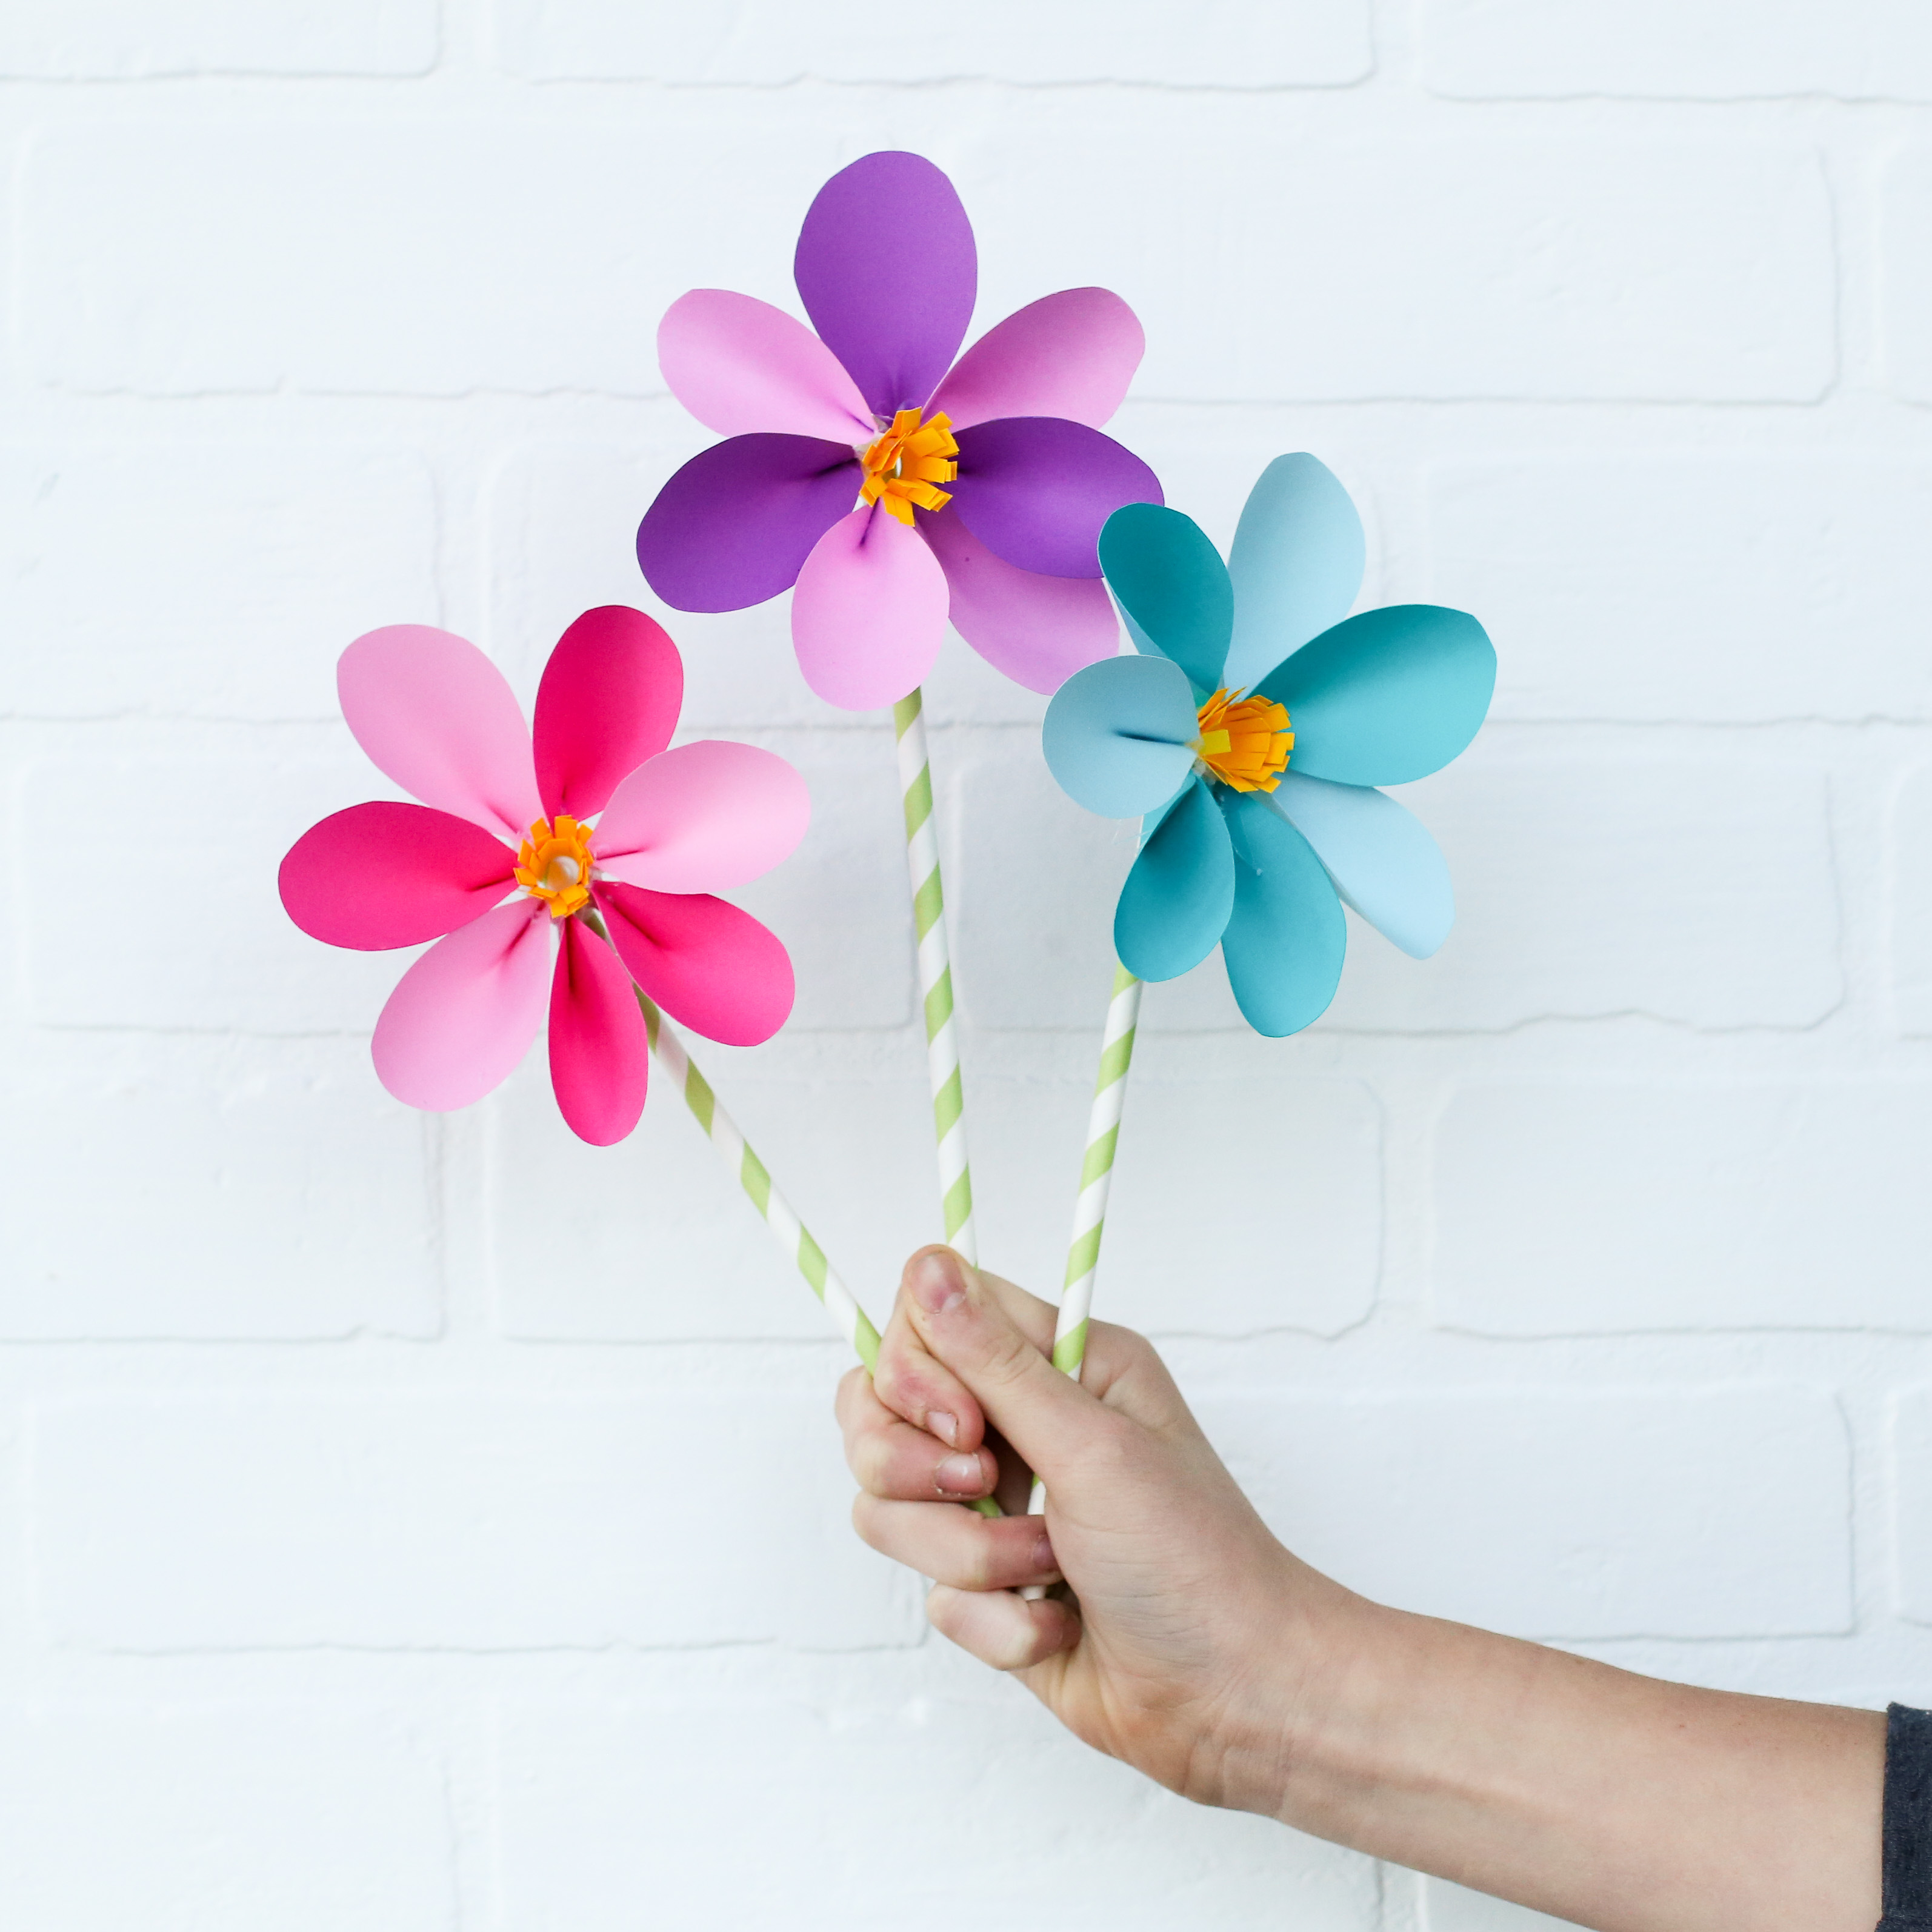
Engaging in arts and crafts activities is not only a fun way to spend time with your kids, but it also helps develop their creativity and fine motor skills. One popular craft project that children enjoy is making paper flowers. This activity allows them to explore various colors, shapes, and textures while creating beautiful floral arrangements. In this article, we will guide you through the process of making paper flowers with kids, providing step-by-step instructions and helpful tips.
Materials Needed
Before diving into the craft, gather the following materials:
- Colored construction paper
- Scissors
- Glue stick
- Green pipe cleaners
- Pencil
- Ruler
- Markers or crayons
Step 1: Choosing Flower Designs
Start by discussing different types of flowers with your kids. Show them pictures or drawings to inspire their creativity. Let them choose the flowers they would like to create using the colored construction paper.
Step 2: Tracing and Cutting

Using a pencil and ruler, help your kids trace flower shapes on the construction paper. They can also freehand draw if they prefer. Once the shapes are traced, carefully cut them out. Encourage your children to practice their scissor skills, assisting them when needed.
Step 3: Decorating the Flowers

Allow your kids to decorate the cut-out flower shapes using markers or crayons. They can experiment with various colors and patterns to make their flowers unique and vibrant. This step encourages their imagination and personal expression.
Step 4: Creating the Flower Centers

In this step, guide your children in making flower centers using small circles or other shapes cut from colored paper. They can also use buttons, beads, or stickers to add extra details. Glue the centers onto the decorated flower shapes.
Step 5: Attaching Stems

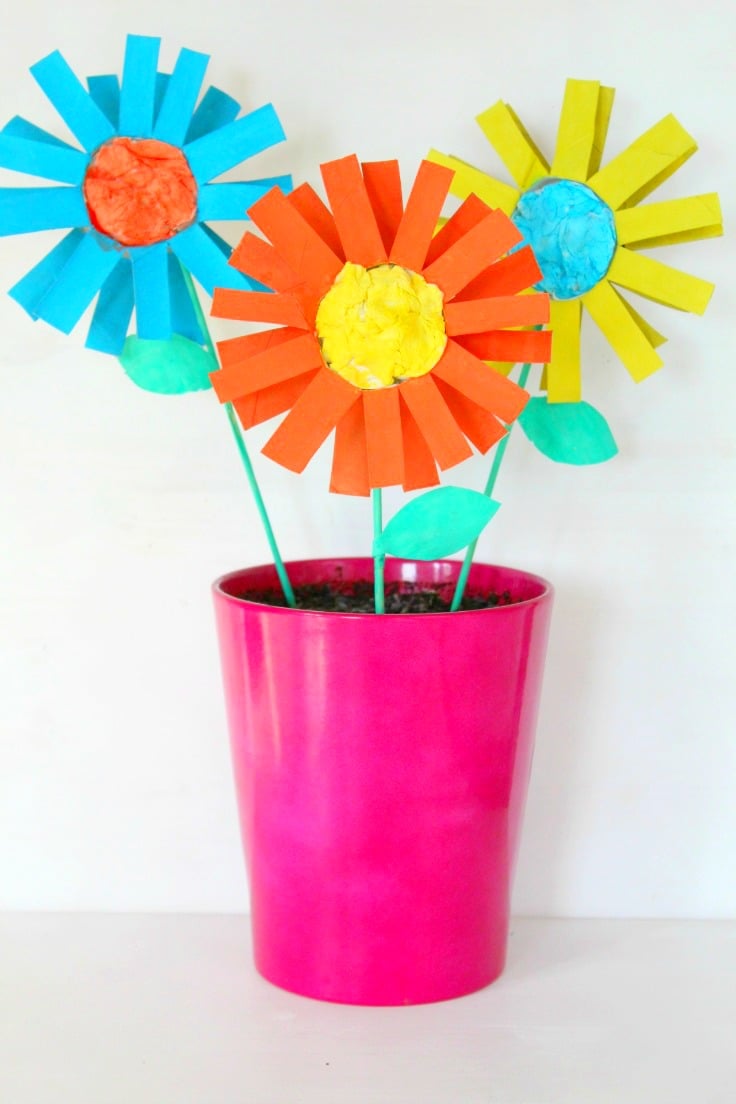
To complete the paper flowers, attach green pipe cleaners as stems. Help your kids fold the pipe cleaners in half and glue one end to the back of each flower. The pipe cleaners serve as a sturdy support and make the flowers easy to arrange in vases or other displays.
Step 6: Display and Enjoy!

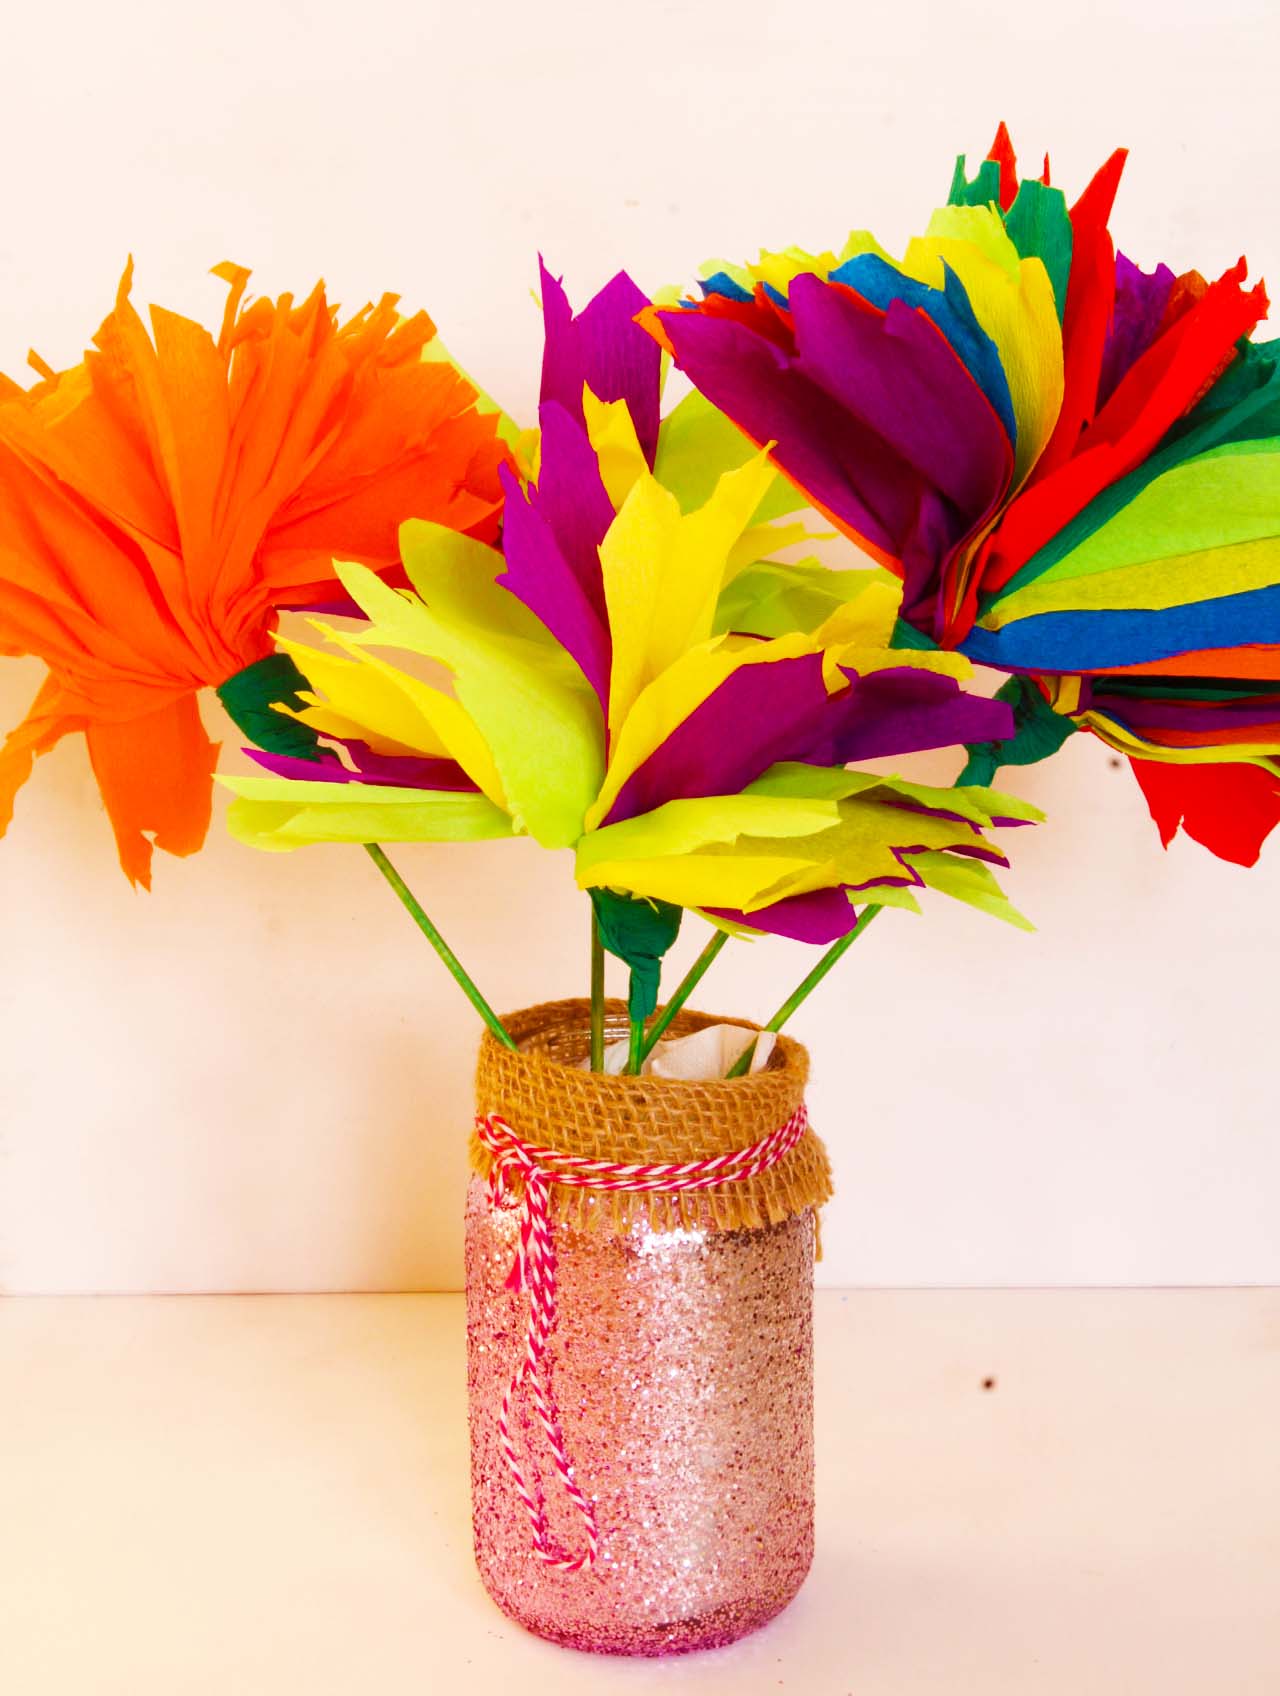
Once the paper flowers are finished, set up a display area where your kids can proudly showcase their creations. Consider arranging the flowers in vases, making a bouquet, or attaching them to a decorative background. Celebrate their artistic achievements and encourage them to be proud of their work.
Conclusion
Creating paper flowers with kids is a delightful and educational activity that stimulates their imagination and fine motor skills. Through this craft, children can explore their creativity, learn about different flower species, and develop their cutting, coloring, and gluing abilities. It also provides an opportunity for quality bonding time with your little ones. So, gather the materials, follow the steps, and embark on a colorful journey of crafting beautiful paper flowers with your kids!
